

This chicken is just too much fun! Back when my kids were in 4H and we had a coop full of chickens we had a girl who looked just like this. She was the free exotic chick that came with our order. It was always so cool to have the post office call and tell us that the chicks had arrived and we would go pick them up. They would fill the post office with their little peeking.

This girl is from the original Hey Chick stamp set and the stump and die to cut her out is from the Chick Dies. Her crest and tail are colored in with a Black Stampin’ Blend Marker. Her feet and beard are colored with Light Daffodil Delight and I’ve added just a bit of shading with Light Smoky Slate.
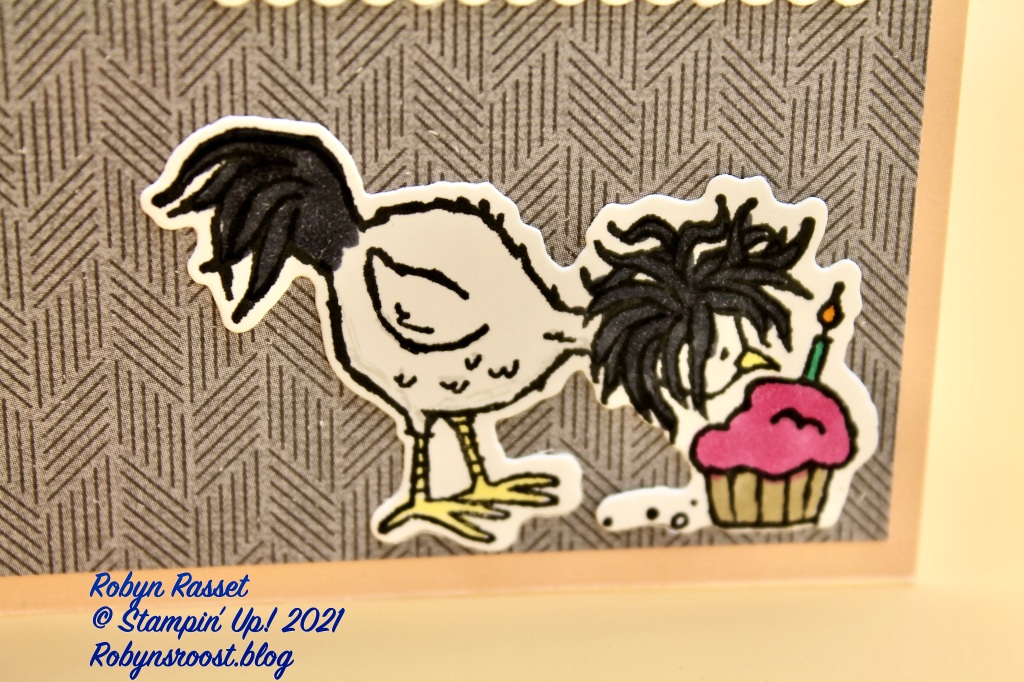
This girl is from the new Hey Birthday Chick set and cut with the matching Birthday Chick Dies. She is colored the same as the other girls but of course has her cupcake.

To create this fun fold back card base, start with a standard card base which is 8 1/2″ x 5 1/2″ scored at 4 1/4″ then add an extra score on the front at 2 1/8″. To cut off the angle on the front, measure down 2 1/4′ from the right corner of the card front. Cut from the fold to the mark to remove the top corner of the card front. Fold back at the 2 1/8″ score line.
For the Designer Paper Layers:
Layer 1. Cut 2″ x 5 1/4″ measure down 1″ from the top right hand corner and cut from the top left corner down to the mark.
Layer 2. Cut 2″ x 4 1/8″ measure down 1″ from the top Left hand corner and cut from the top right corner down to the mark.
Be careful to have the right side of the designer paper up when measuring and cutting.
Product List – I’ve included links for the stamp and die bundles but they can be purchase separately as well.
")
")


Sale-a-bration ends on Sunday, February 28! Stock up on supplies and get some free products!

Great card. Love the chicken.
LikeLiked by 1 person