Today I’m traveling to Houston, Texas to the Stampin’ Up! OnStage Event but I’ve got a preplanned post for you. I’ve got one scheduled for tomorrow too because I know that you all love my Swap Card Friday posts where I showcase other crafters’ work. You’ll be happy to hear that I have about 60 swap cards in my bag so I will have LOTS of swaps to share with you.
I usually prefer to color outside the lines, so I usually start my projects from scratch, BUT, I really liked the Happy Houseplants Kit so I ordered one. I didn’t know when I ordered it what exactly I would do with it, but an opportunity arose shortly after I got the kit.

Our door bell died and we decided not to replace it but when Gary took it down this is what we were left to look at. Yuck! What the heck did they need these huge holes to hold up that little piece of plastic! Darn, was it ever a good thing I had ordered the Happy Houseplants Kit!
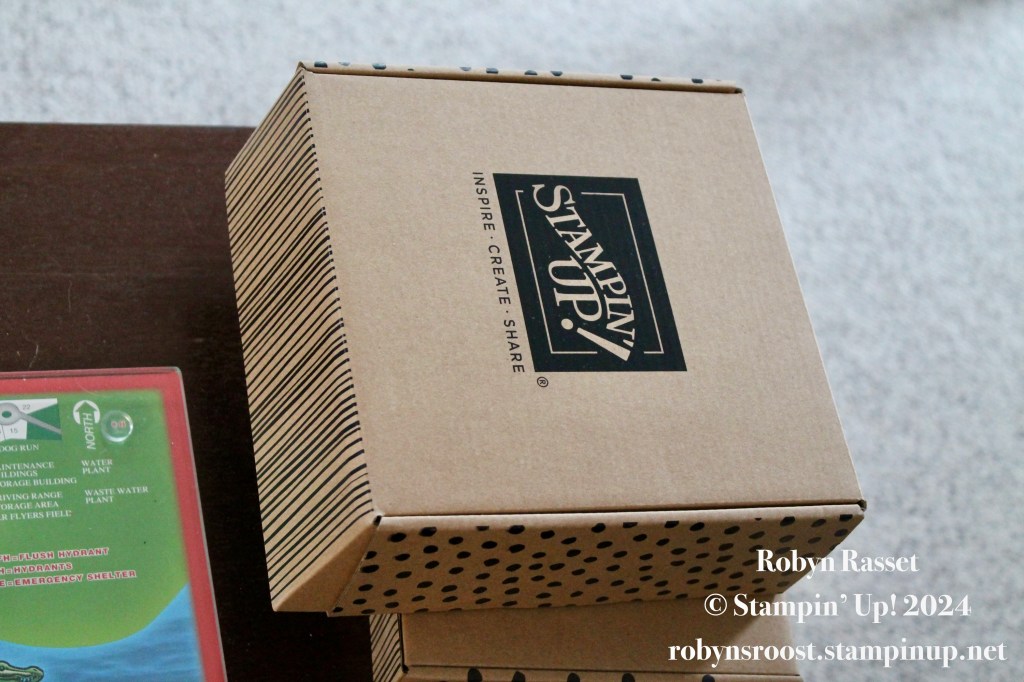
It arrived in this nice box (I’m still holding on to it thinking it might be handy for something??).
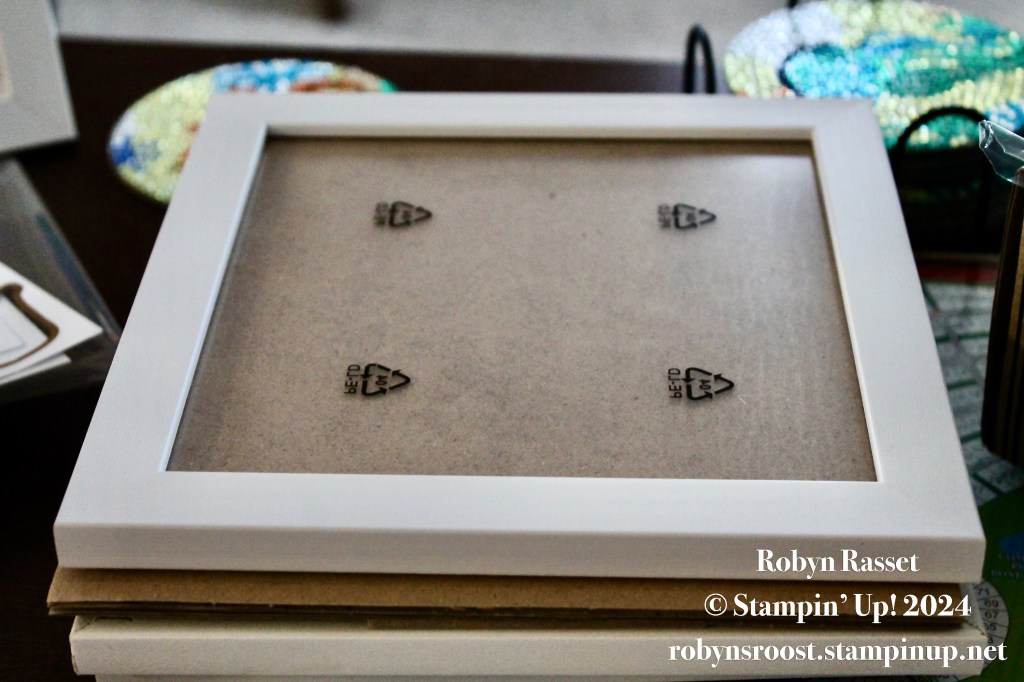
The frames came all nicely packed and shrink wrapped together. They are of good quality and sturdy. With both an easel to stand and a hanger they could be used on a wall or on a shelf.
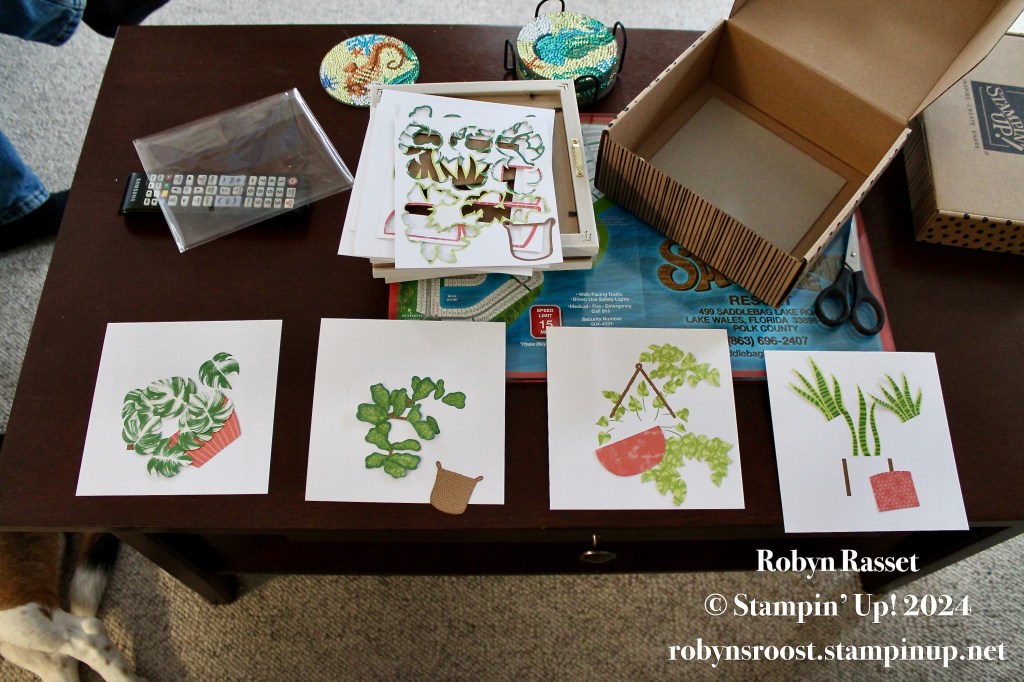
I used the directions to sort all of the pieces into four piles and created all four pictures while watching television.
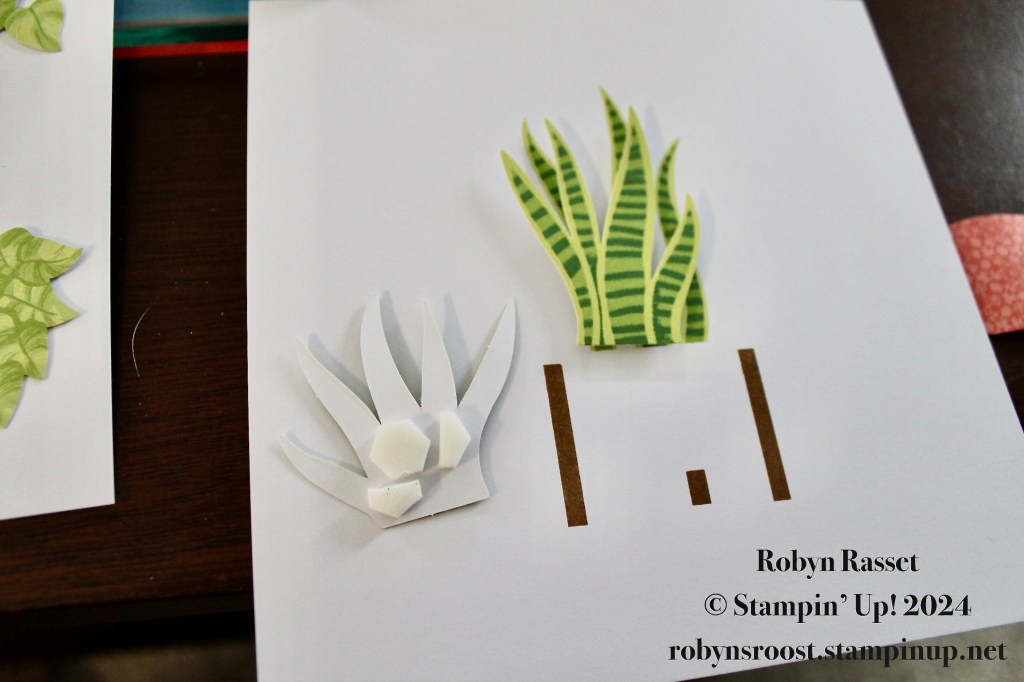
I did find that I had to cut some of the dimensionals in half to fit on the pieces but otherwise I followed the directions as shown (unusual for me, lol).
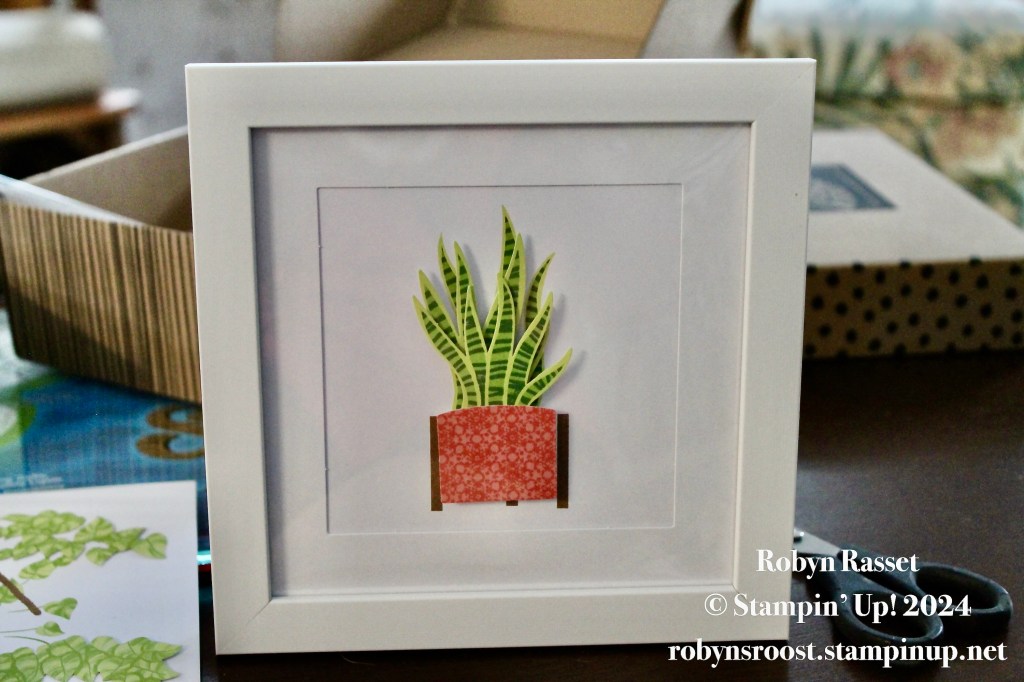
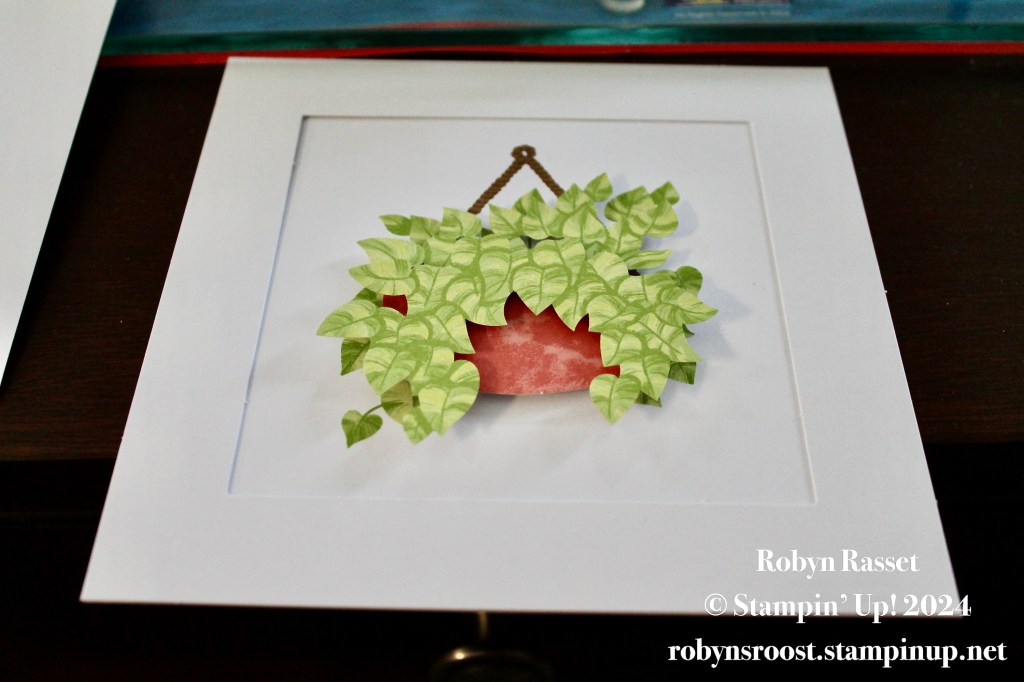
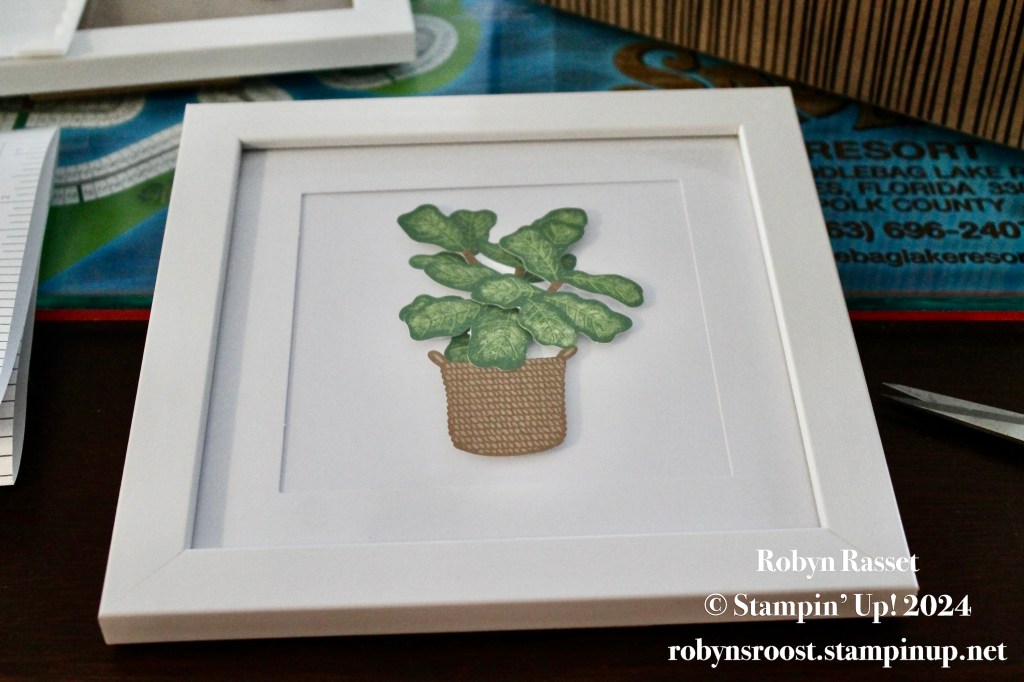
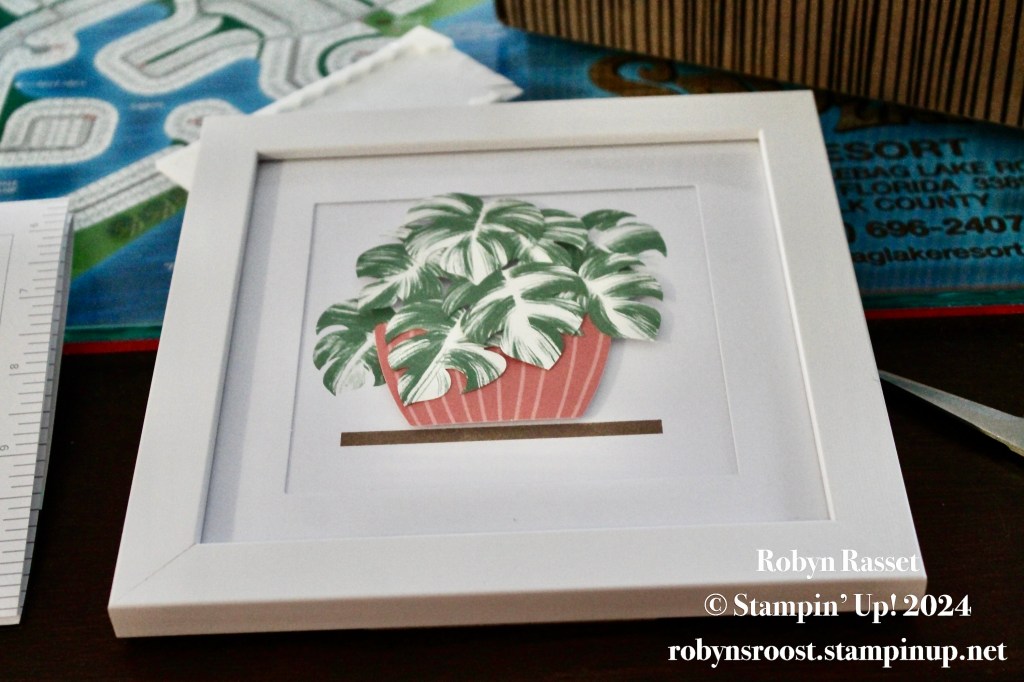
I was really happy with the way they looked and they were quick to make. The little metal tabs on the back of the frames were hard to bend so I did need a screw driver to help bend them.
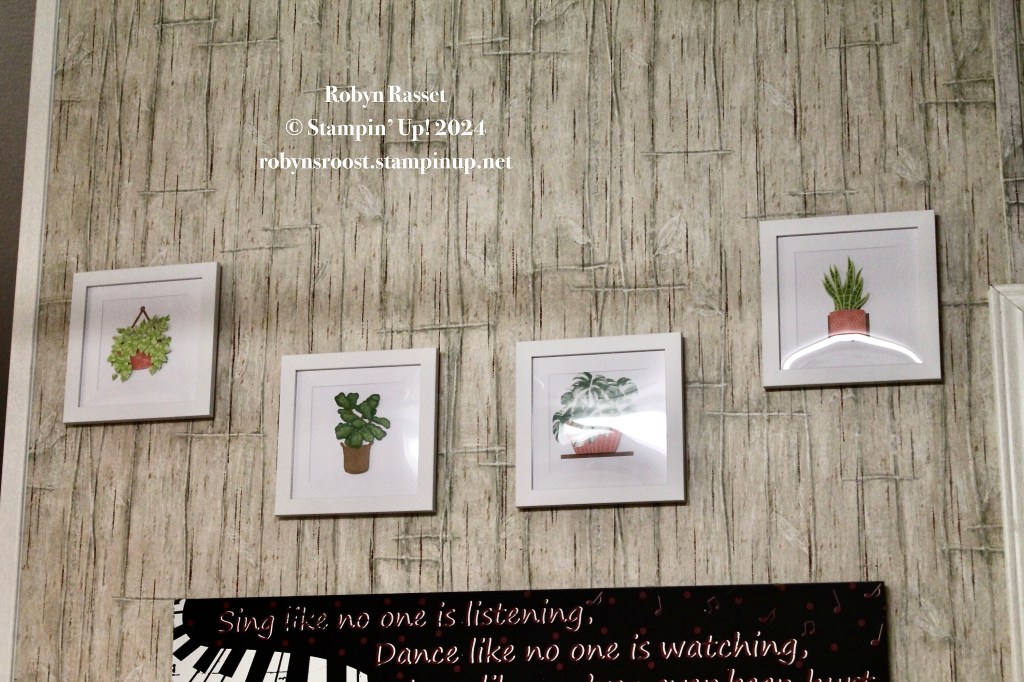
Looks much nicer than the holes in the wall and I know that there was no way we could patch them without painting the whole wall. I really like this wall paper pattern and don’t want to paint over it.
These houseplants hanging here definitely make me happy!
Product List

|