
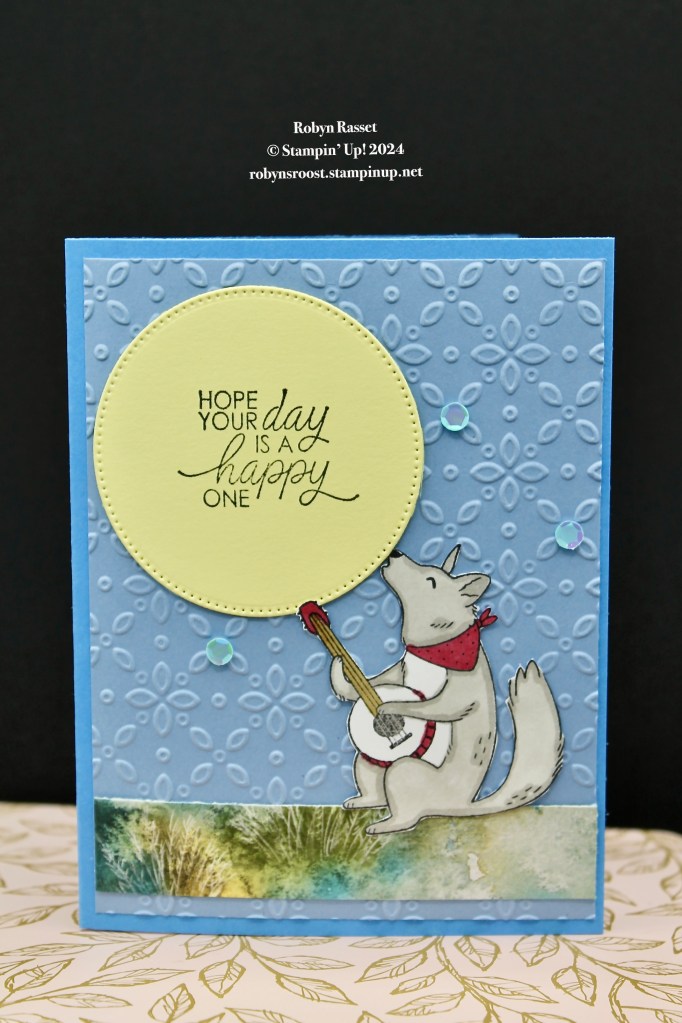
My friend Sandy Reid shared this cool pop-up mechanism with me and I HAD to make a card using it!!! I needed to make a critter card for the July STARS challenge, so… I thought, let’s have a Musical Jamboree Birthday Card.
The three critters from the Musical Jamboree stamp set were perfect for this technique. The banjo strumming wolf found a home on the front with a greeting stamped on the big moon. A Balmy Blue layer has been embossed with the Eyelet Embossing Folder for this card.
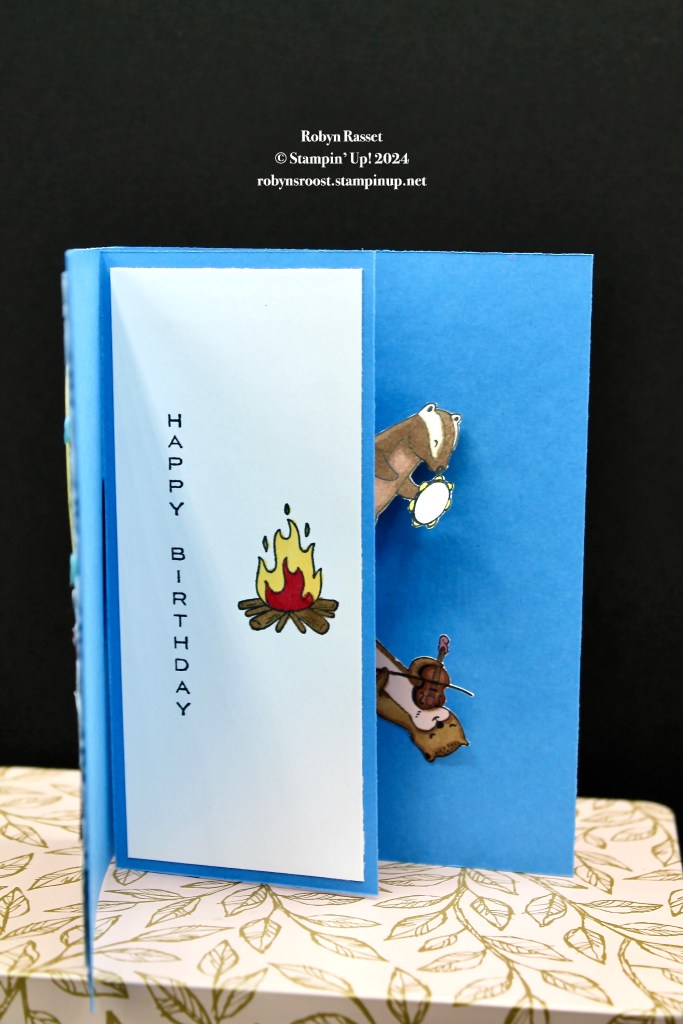
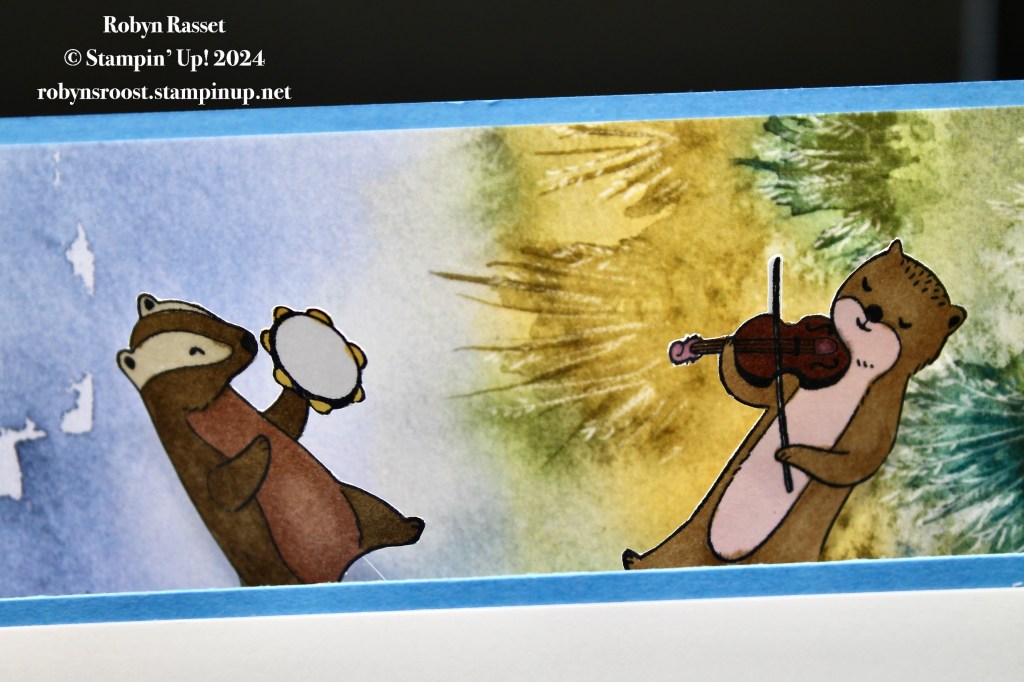
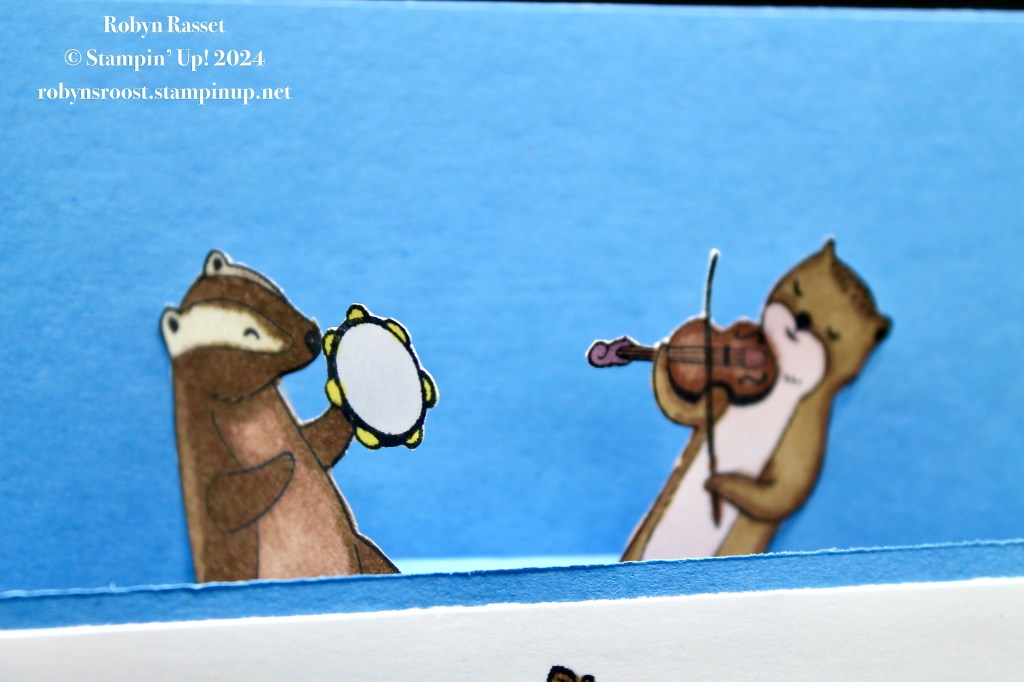
The otter and badger swing out when the card is opened to add to the Musical Jamboree by the campfire on the inside of the card. The critters are colored with Stampin’ Blend Markers. They did have to be fussy cut because, sadly, there aren’t any dies for these guys.
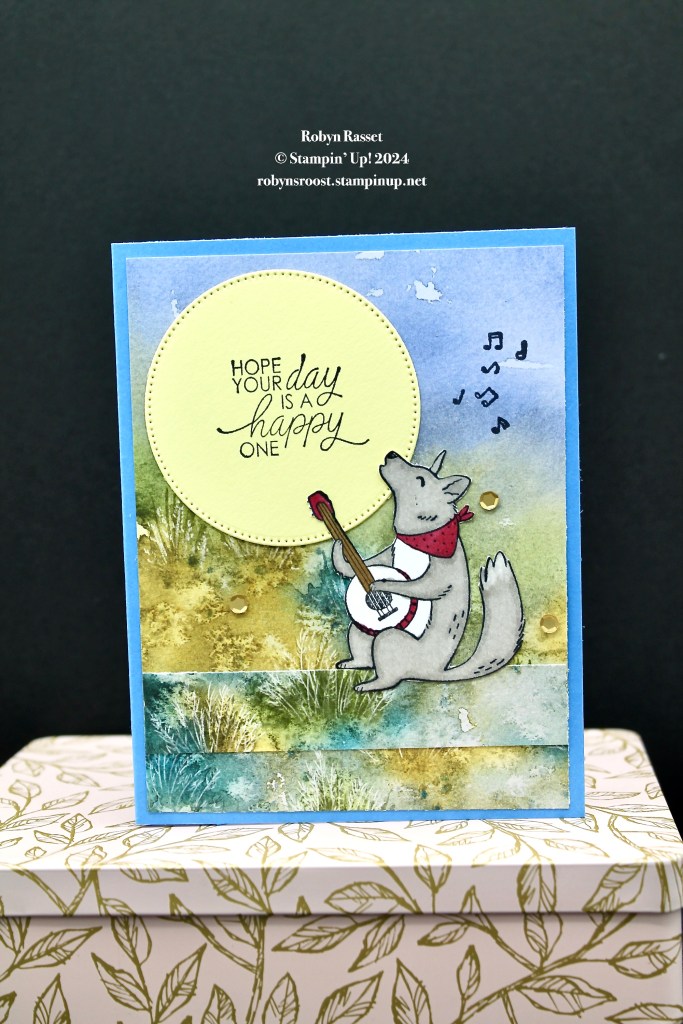
Be sure to watch my Musical Jamboree Pop Up Video Tutorial to see the card come together. The card on the video is a slightly different version. Here is a photo of that card.
Paper Measurements for the video version:
- Base 8 1/2″ x 5 1/2″ scored at 4 1/4″
- DSP 4″ x 5 1/4″
- DSP 2″ x 5 1/4″
- DSP 3/4″ x 4″
- 2 1/2″ circle
- Basic White 2 1/4″ x 5 1/4″
- Card Stock same color as base 2 1/2″ x 5 1/2″
- Window Sheets 2 pieces 1/4″ x 1 1/2″
- Mechanism piece same color as base 1 1/2″ x 4 1/4″
- Piece of Basic White for stamping critters
SCORING THE MECHANISM – Score at 1/2″, 1 1/4″, 2″, & 3 1/2″ Then score diagonally from the 1/2″ score line to the 2″ score line crossing at the two diagonal score lines at the 1 1/4″ score line.
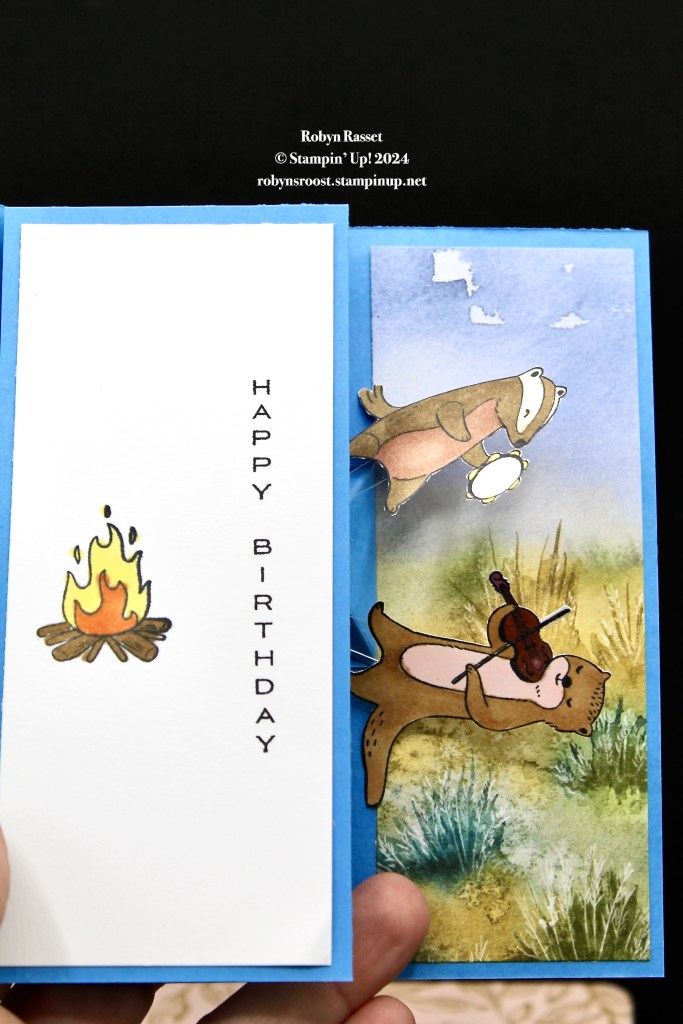
Above is a photo of the inside of the card from the video.
Product List

|
|||

|

|
||

|
|||

|
|||

|

|

|
")
")


 Designer Series Paper")
I used two different techniques when coloring the critters with Stampin’ Blend Markers on these cards. It’s a subtle difference.
On this card, I didn’t do any shading. For each color there is only one layer. Super simple!
For these critters, I first colored with the light marker (Stampin’ Blend Markers come in sets with one light and one dark for each color). Next, I used the dark marker and outlined the area to give it shadows along the edge. A bit more time consuming.

On this card the wolf was colored first with the light gray, then edged with the dark gray.
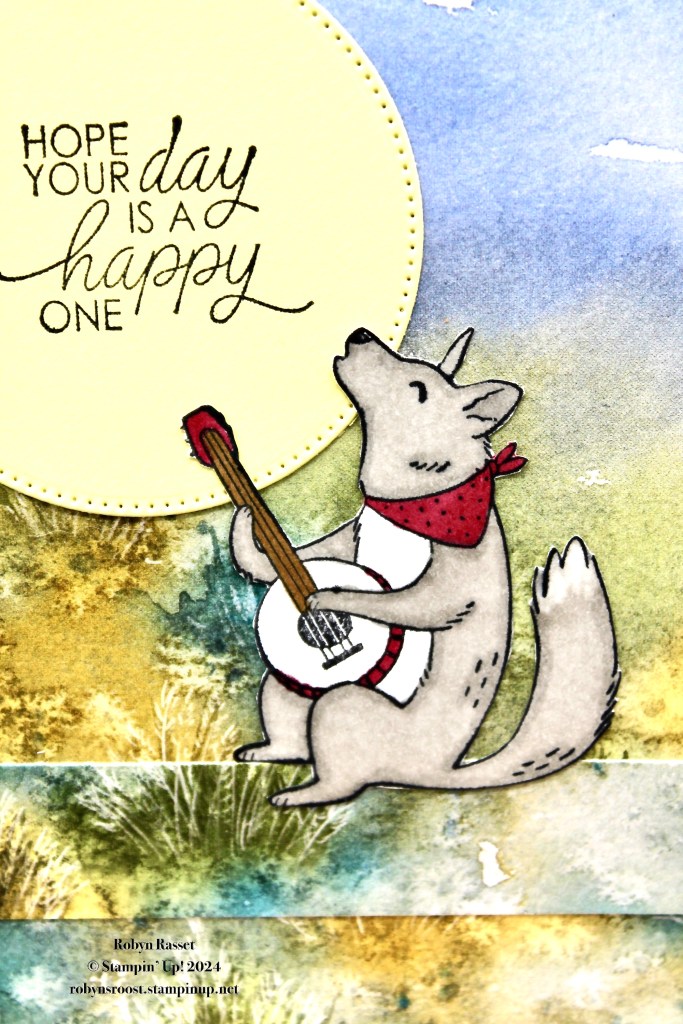
This wolf was colored using another technique. It started like the first wolf, coloring with the light marker, then outlining with the dark, but a third step was added. It was colored again with the light marker but this time circular movement was used to blend the outlines. Then a Color Lifter Marker was used to add a white tip to his tail.
My whole point of this long diatribe on coloring the critters is, don’t be scared of coloring with the Stampin’ Blend Markers. There is no one right way! Experiment, have fun, create your own unique technique!
Thanks for stopping by at The Roost, hope you have a great day.
