
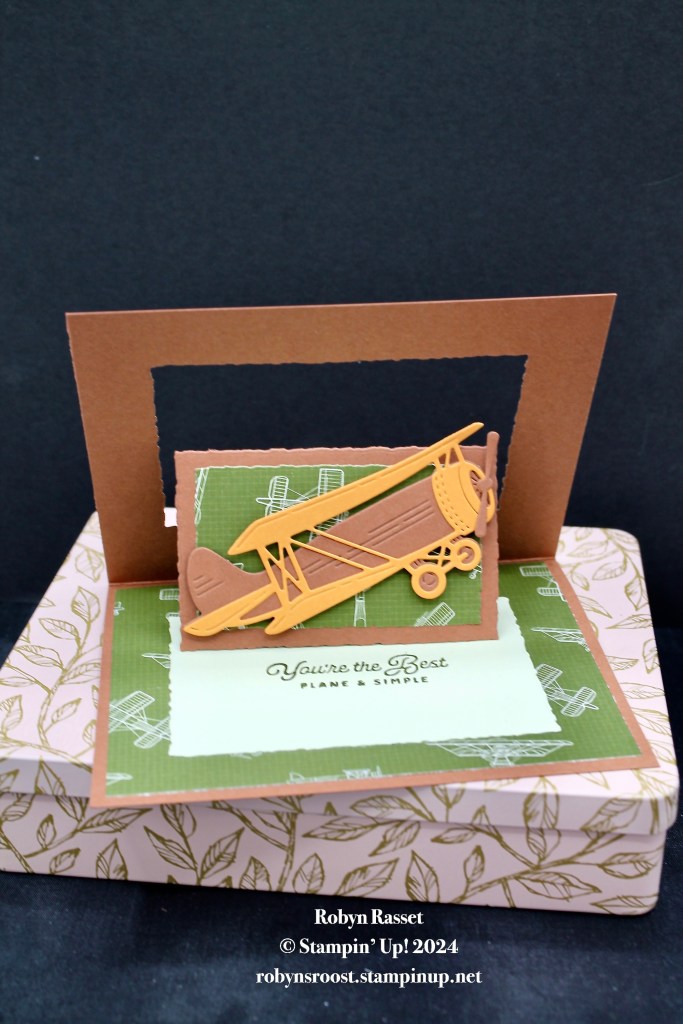
I’m not sure if I’ve called this card design by the correct name but it does stand open like an easel card and it has a fun element that moves from the outside (front) of the card to the inside when opened.
Here are the paper dimensions for this card:
- Base 8 1/2″ x 5 1/2″ scored at 4 1/4″
- Patterned Paper 2 pieces 4″‘ x 5 1/4″
- Light colored cardstock 4″ x 2 3/4″
- Cardstock to die cut the plane in 2 colors
- 4″ x 3″ cardstock same color as base scored at 1″, 2″ & 3″
- 3/4″ x 2″ cardstock same color as base scored at 1″
Directions:
- Adhere 1 of the patterned papers to the inside of the base and the other to the front. On the front, only add adhesive to the edges.
- Die cut a rectangle in the center of the front (approximately 4″ x 2 3/4″)
- Use the 2 pieces from the center to die cut two rectangles. The cardstock piece about 3 1/2″ x 2 1/4″ and the DSP 3 1/4″ x 1 3/4″
- Die cut the light colored cardstock for the inside about 4″ x 2 3/4″ and adhere to the inside of the card
- Adhere the 3″ x 4″ scored piece to the inside of the card. Place adhesive (liquid glue is my fav) on the area before the first score and center along the fold. Fold in half add adhesive to the area above the score line and close the card to adhere to the back of the card front.
- Adhere the 3/4″ x 2″ piece in the center of this tube, bending the score line to adhere the decorative image layer.
- For the decorative image layer, adhere the small die cut DSP to the cardstock die cut layer (these are the pieces cut from the center of the card front).
- Die cut the airplane from the two colors and adhere together. Add to the card with dimensionals.
- Die cut a banner for the greeting on the front and stamp a greeting on the inside.
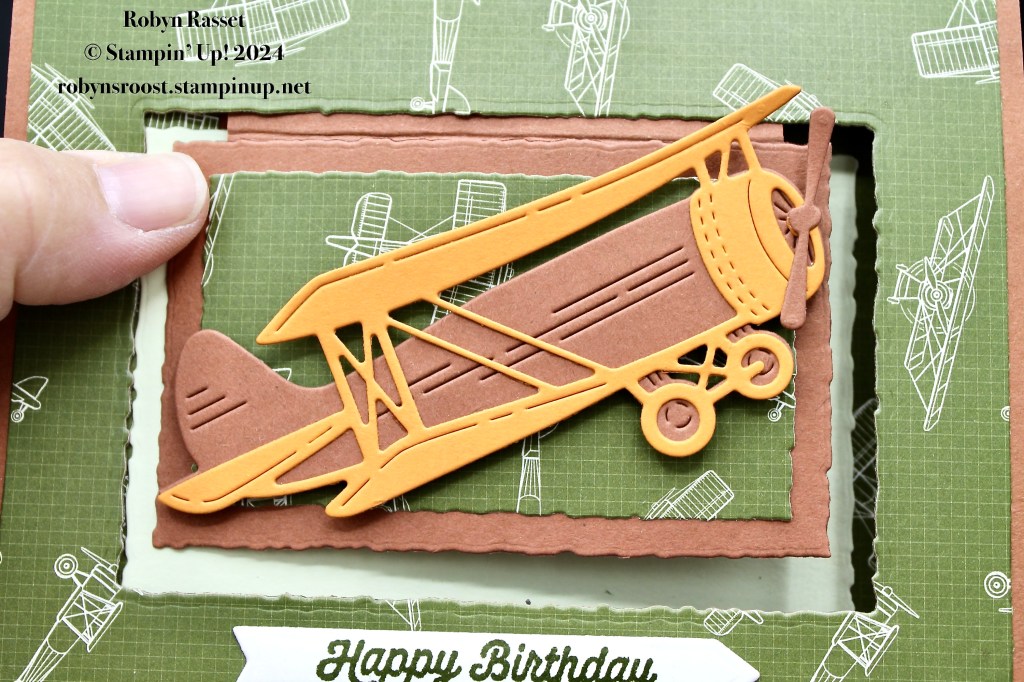
I still haven’t decided which airplane I like best in the Adventurous Sky Bundle, the stamped one or the die cut one. Both are awesome!
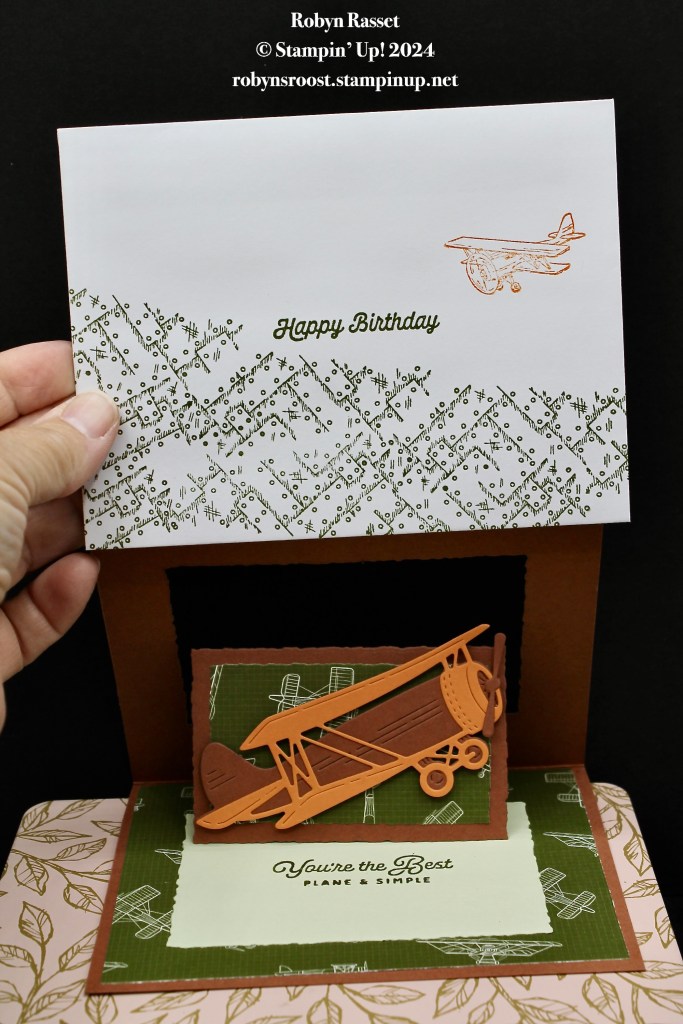
This card is going to be hand delivered so I decorated the envelope too.
BONUS DAYS ARE ENDING SOON – DON’T MISS OUT!

Product List
")
|

|

|
|

|
 Designer Series Paper")


