
Today I’m sharing the fun that I had using the two stamp sets in the Fluttering Garden Paper Pumpkin kit. I found myself looking for things to do to avoid doing the things that I didn’t want to do, lol.
This kit has two stamp sets and they are both awesome. I chose to create the cards that were included in the kit, mostly to the directions provided. I did add some color to the images using Watercolor Pencils. Then I loved the images in the stamp sets so much that I started creating cards using the stamps and my own papers.
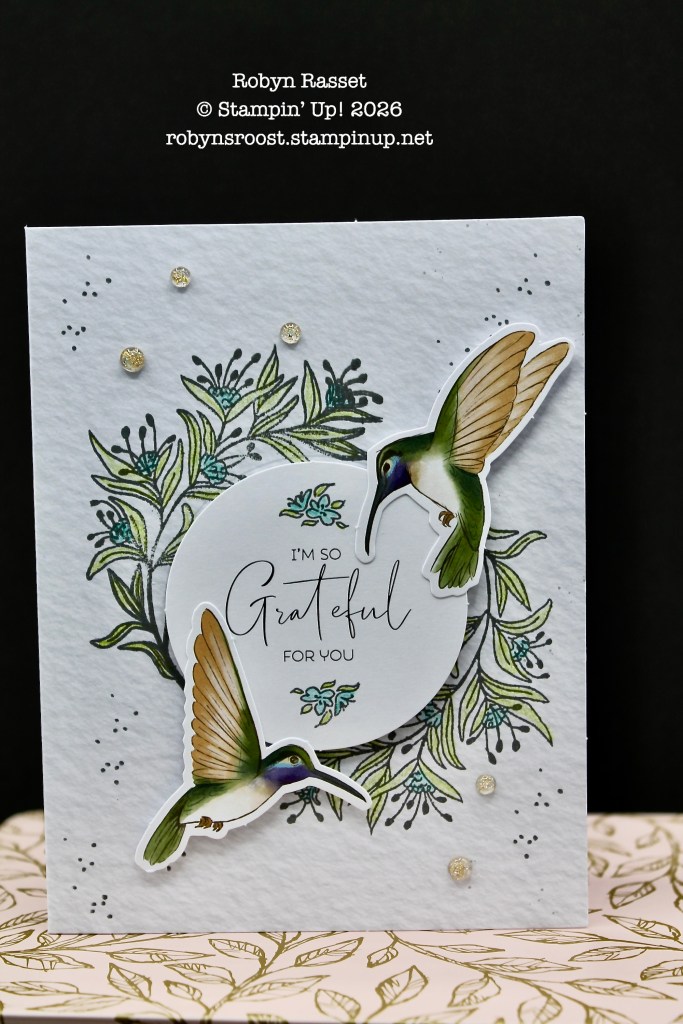
This greeting is the one show in the instructions for this card design.
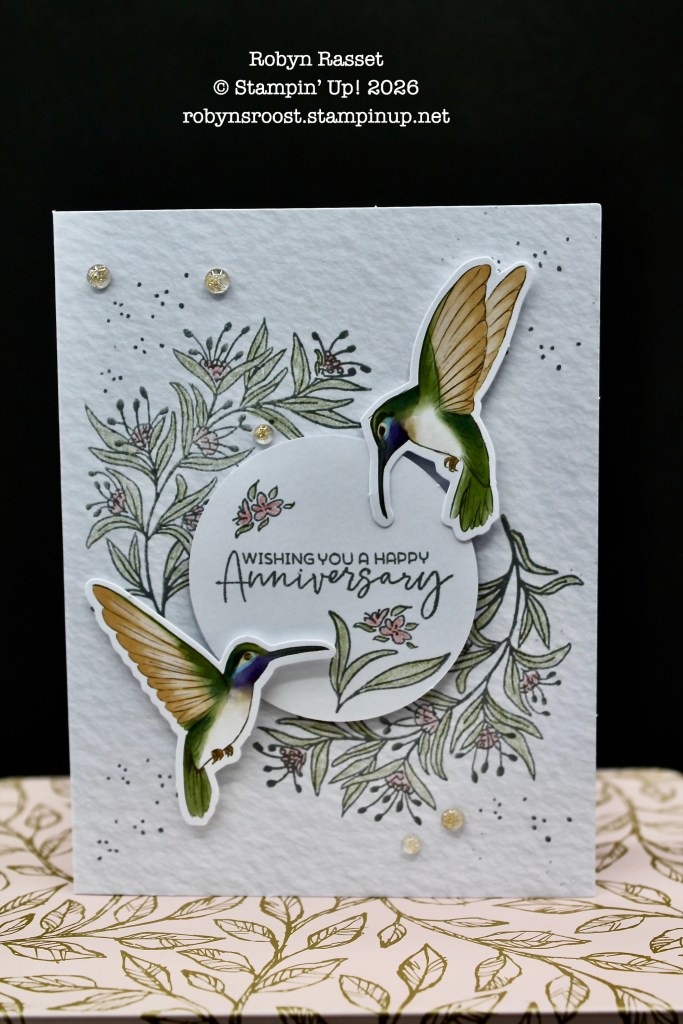
But, I wanted to use some of the other nice greetings that are included, like this anniversary one and,
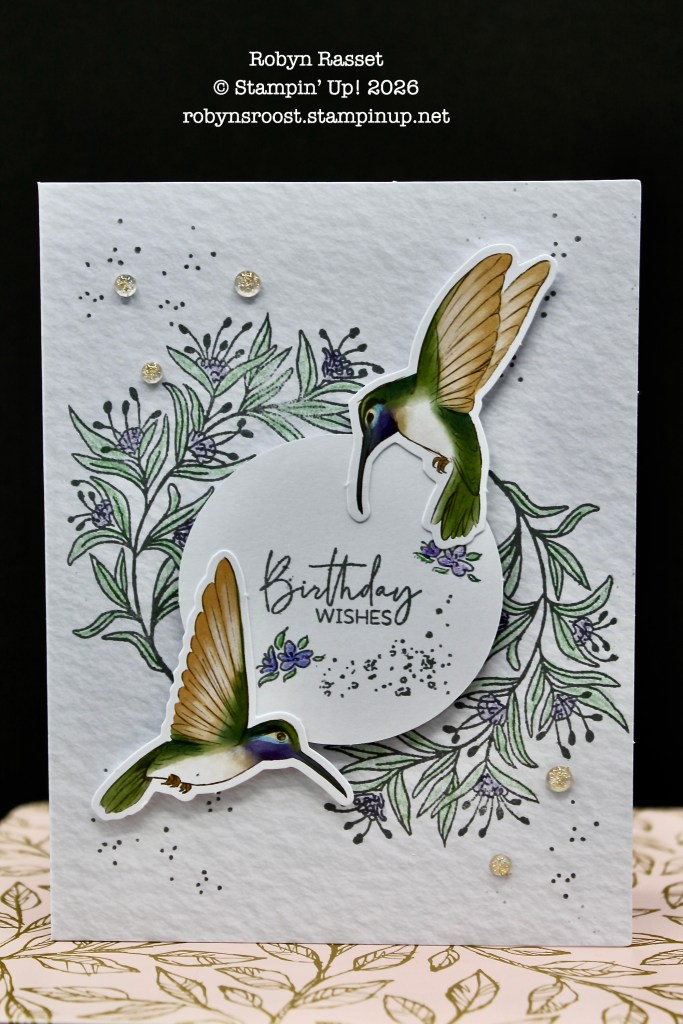
This birthday greeting.
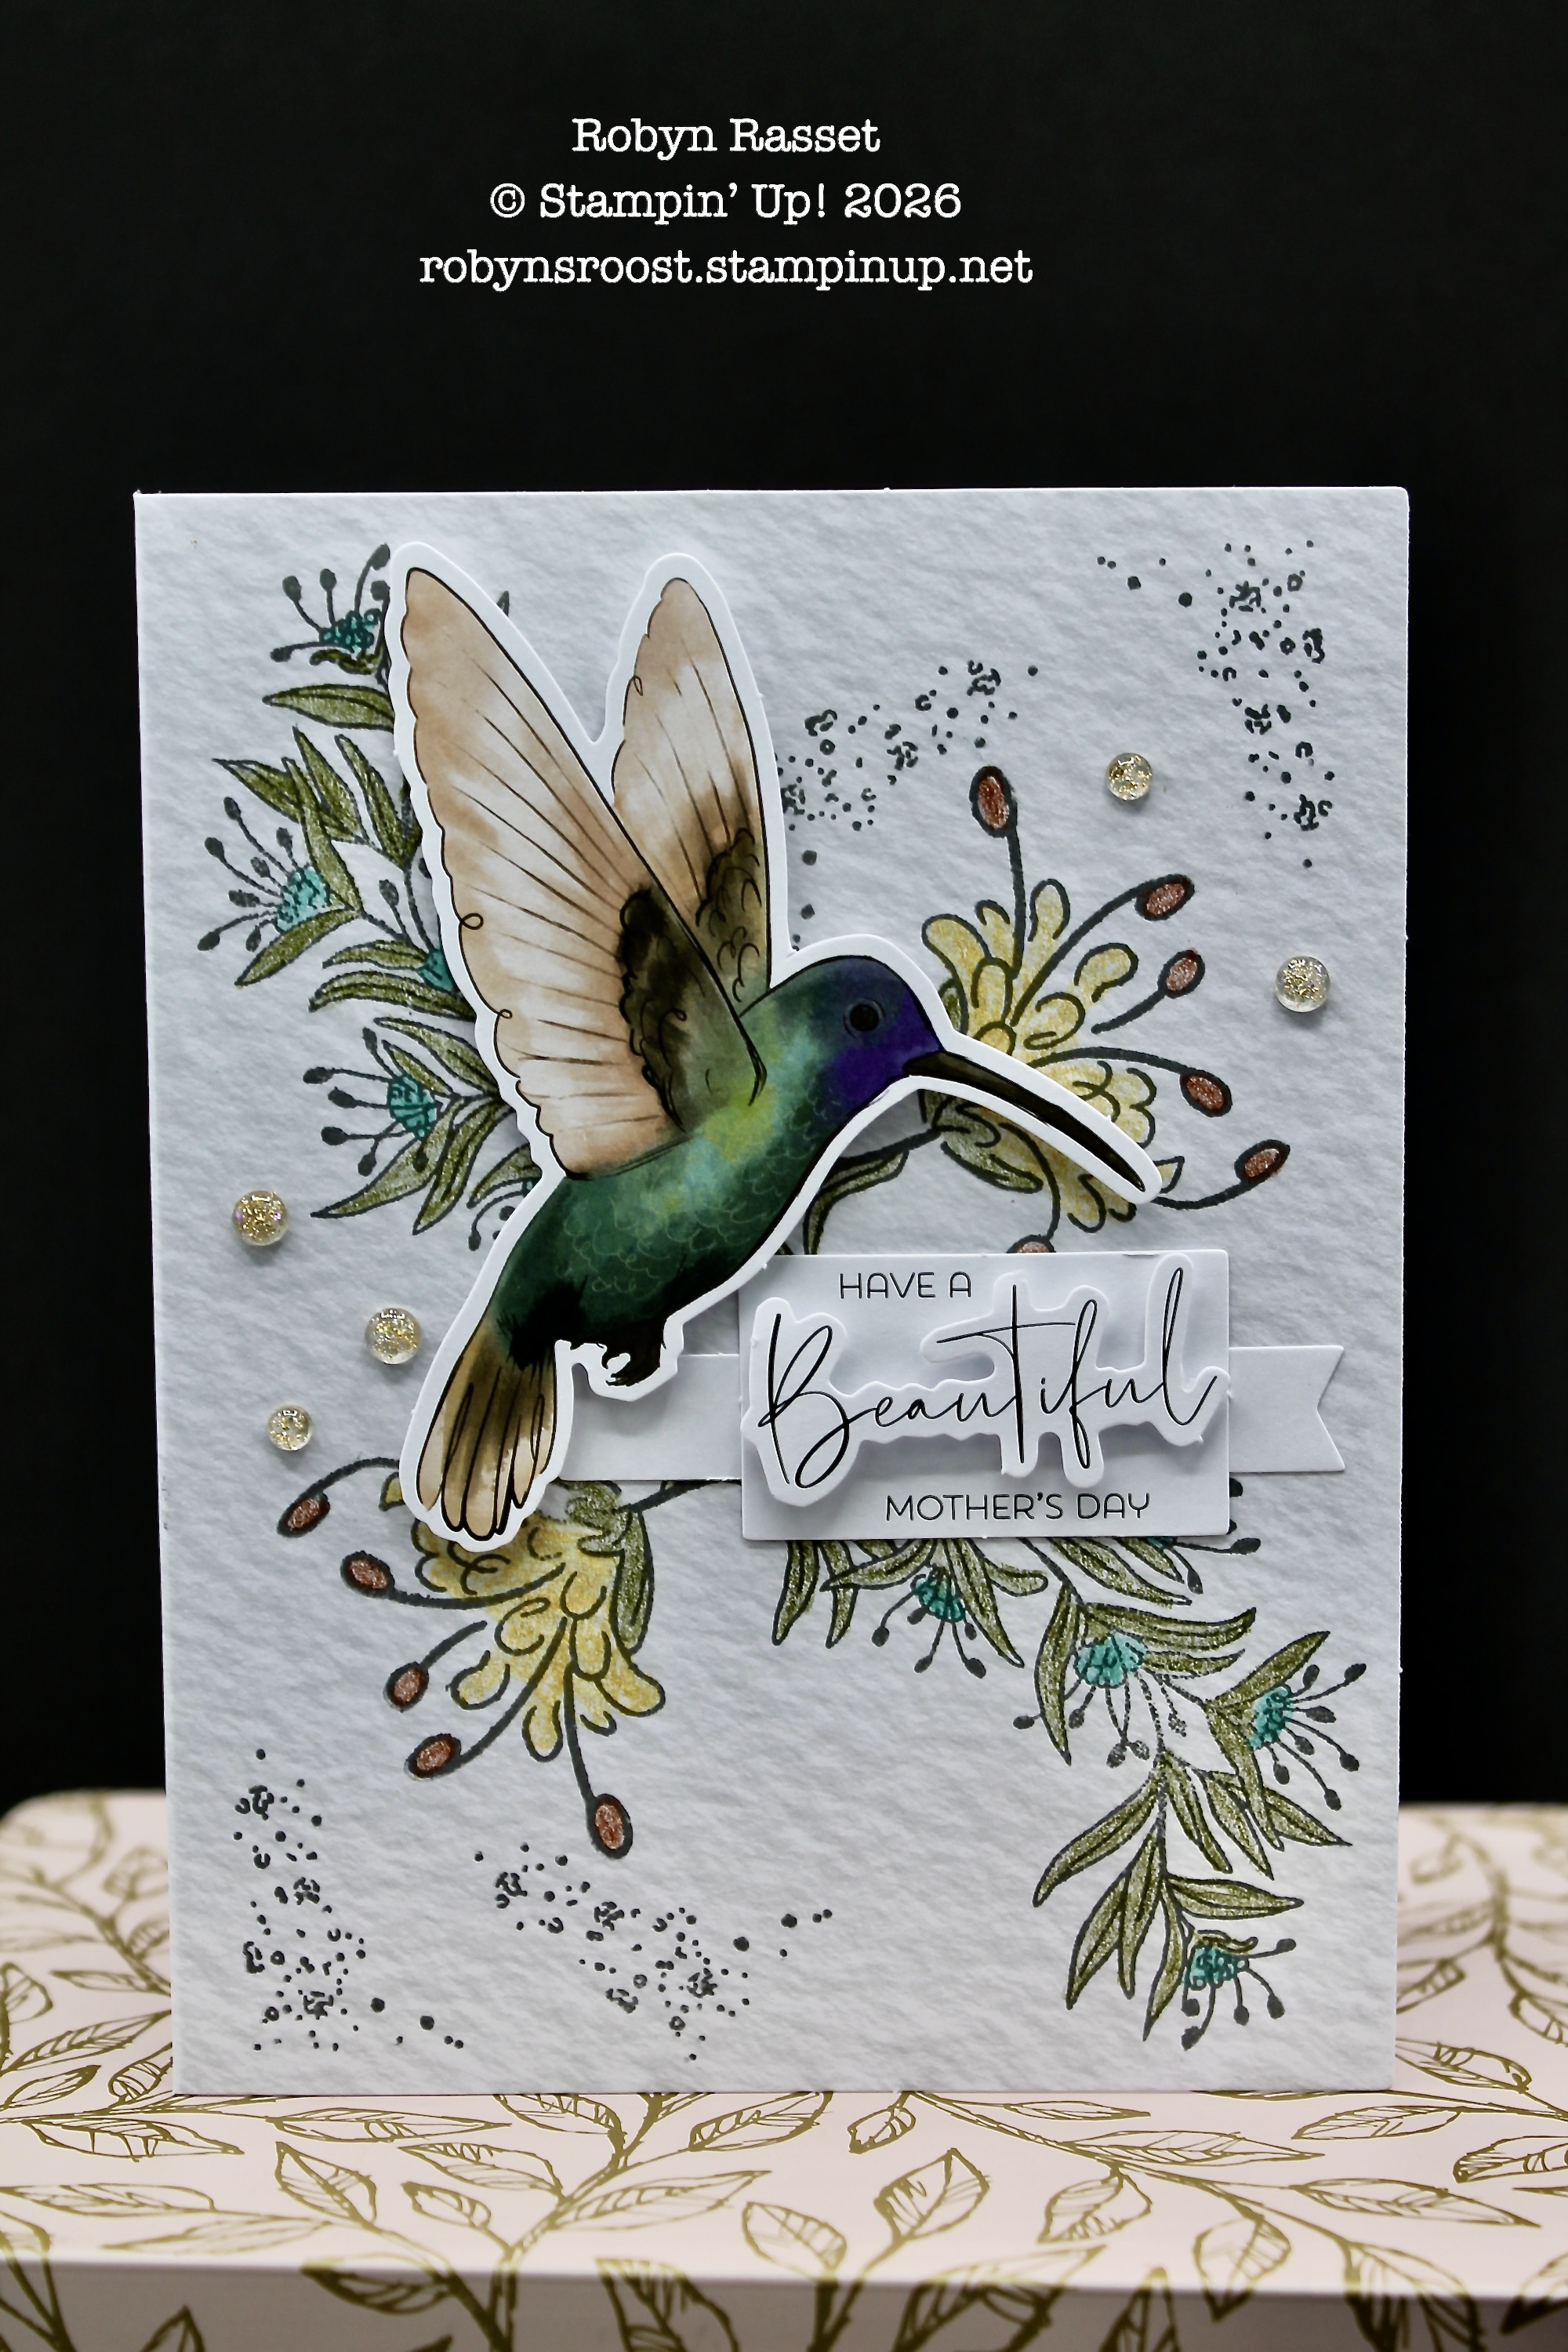
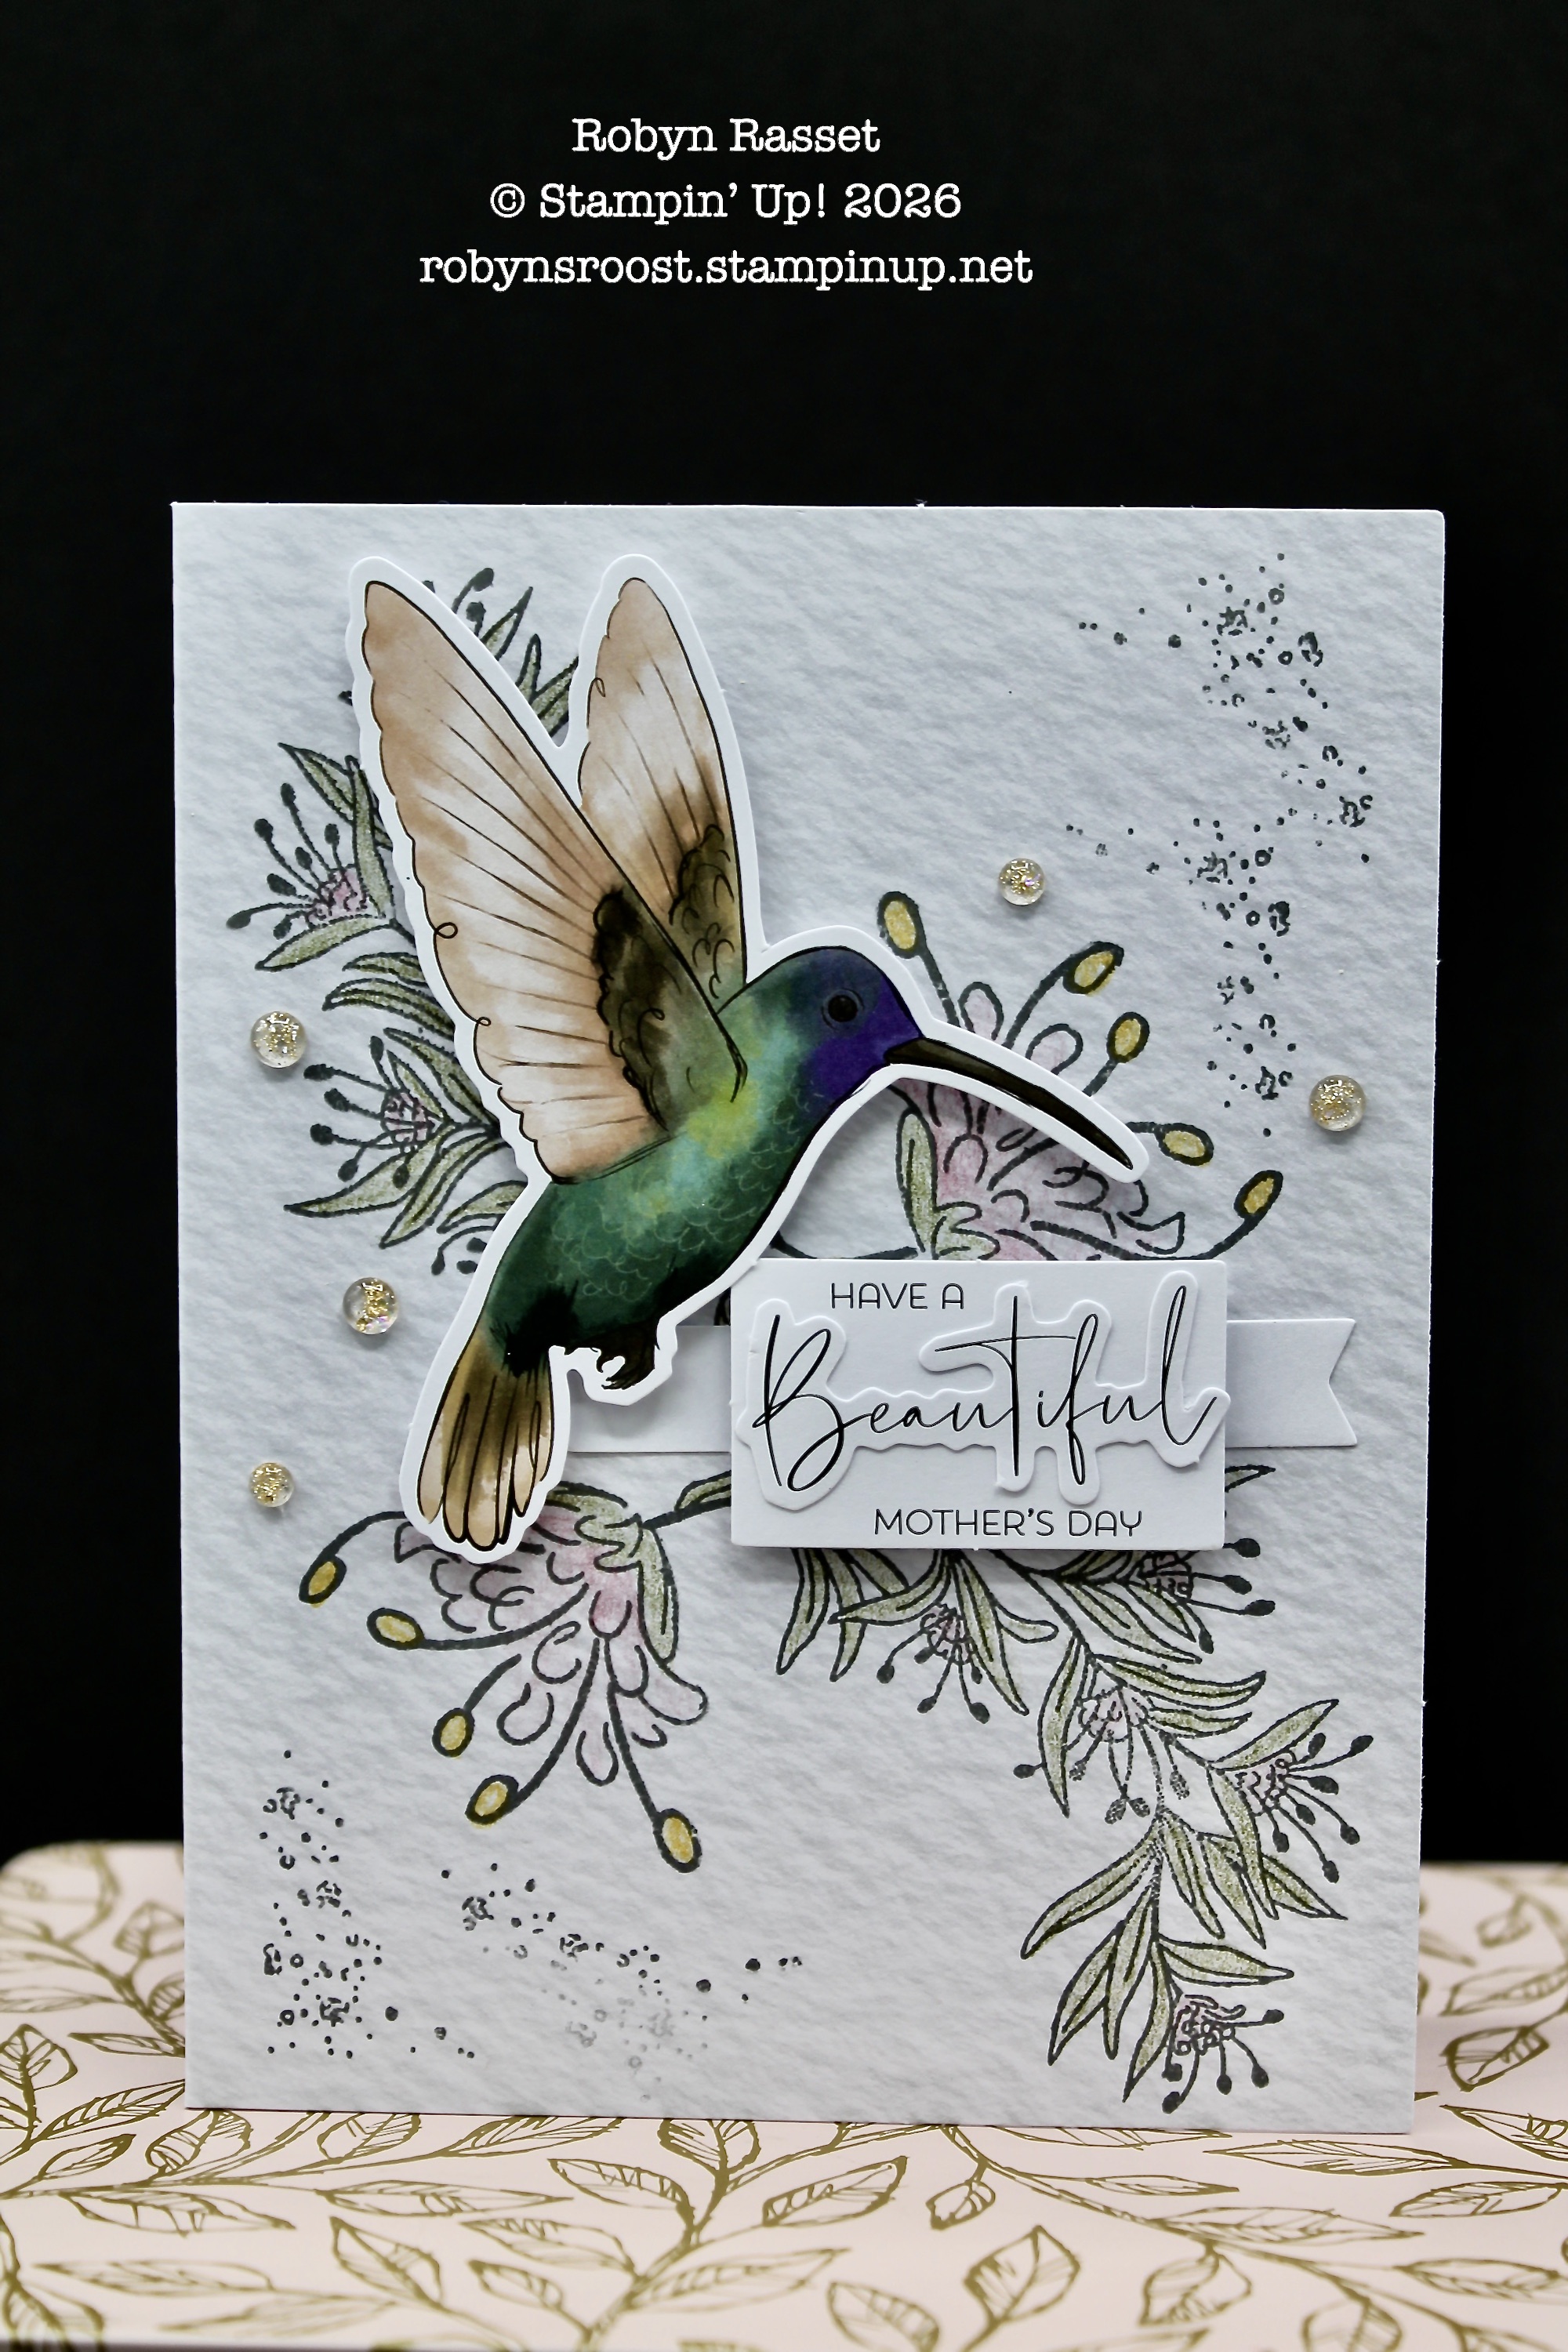
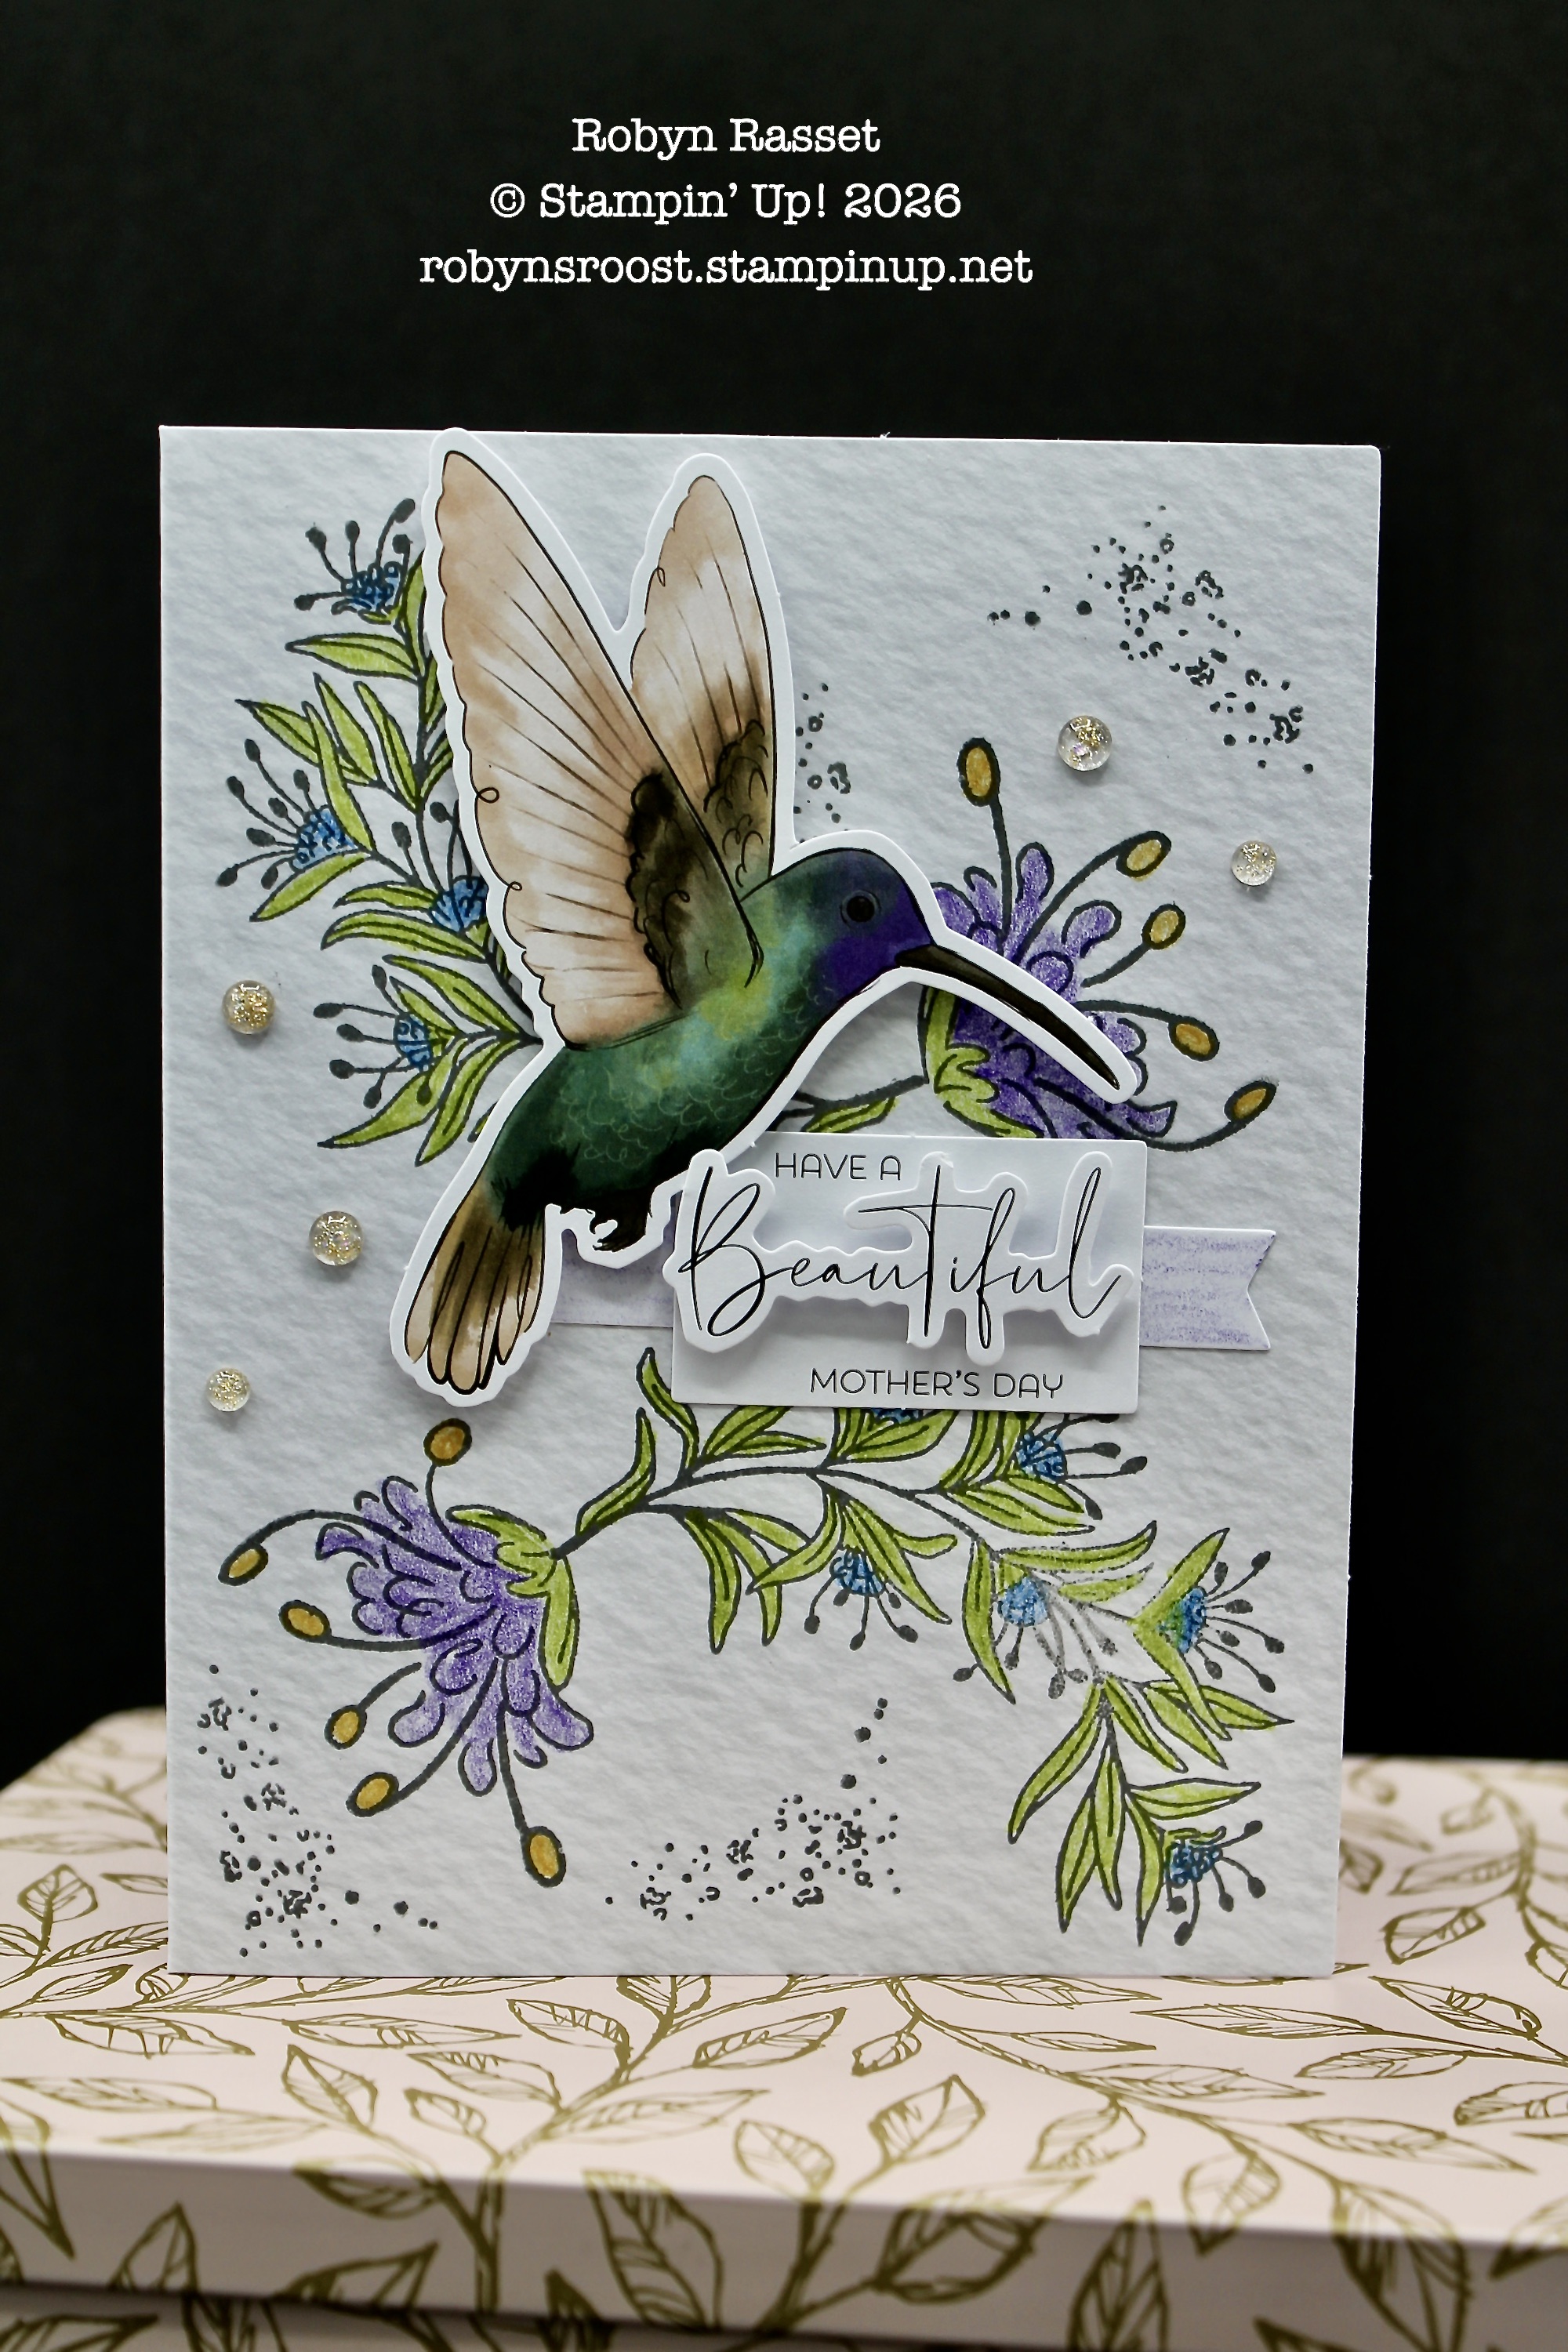
Although I no longer have a mom to give these beautiful Mother’s Day cards to, I couldn’t resist making them. They will go into my craft sales basket. I have a hard time making two cards alike, so I colored each of these differently.
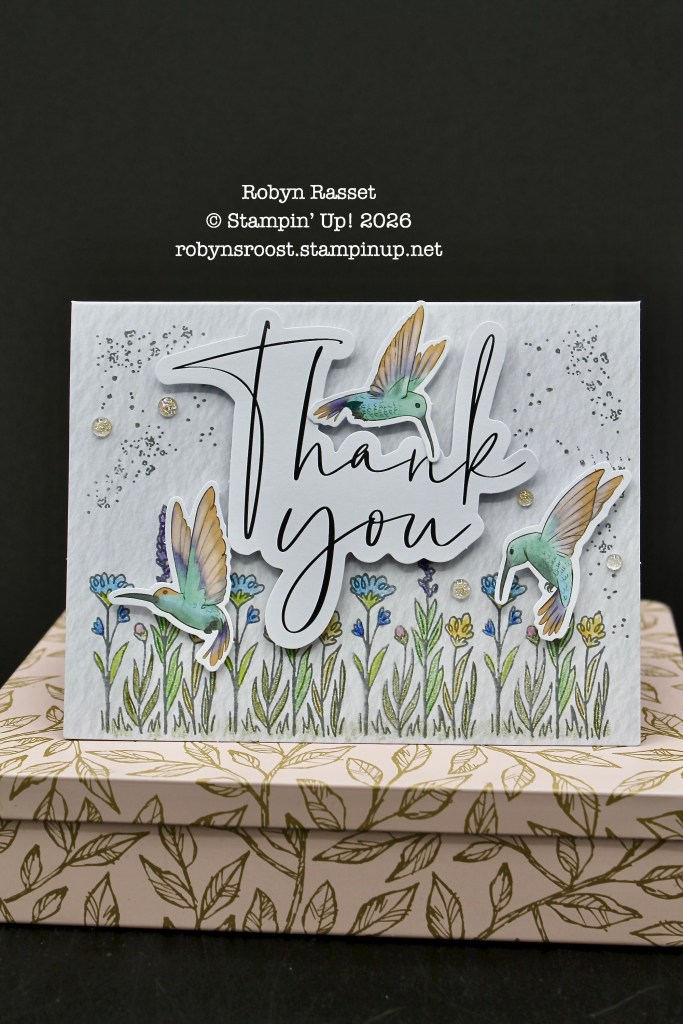
I have tons of thank you cards at the moment so I only used the large printed thank you greetings for one of these cards and saved the other two for later use.


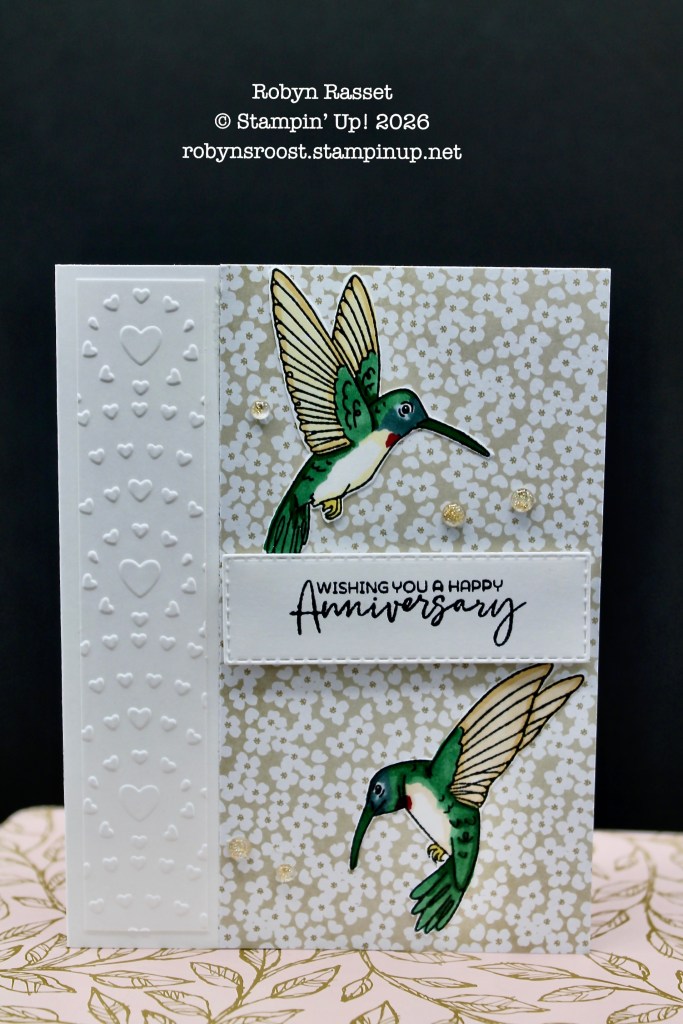
For the other two cards, I used the anniversary and hello greetings on die cut labels that I had in my stash.
There are two hummingbird stamps in the sets and I colored these and fussy cut them.
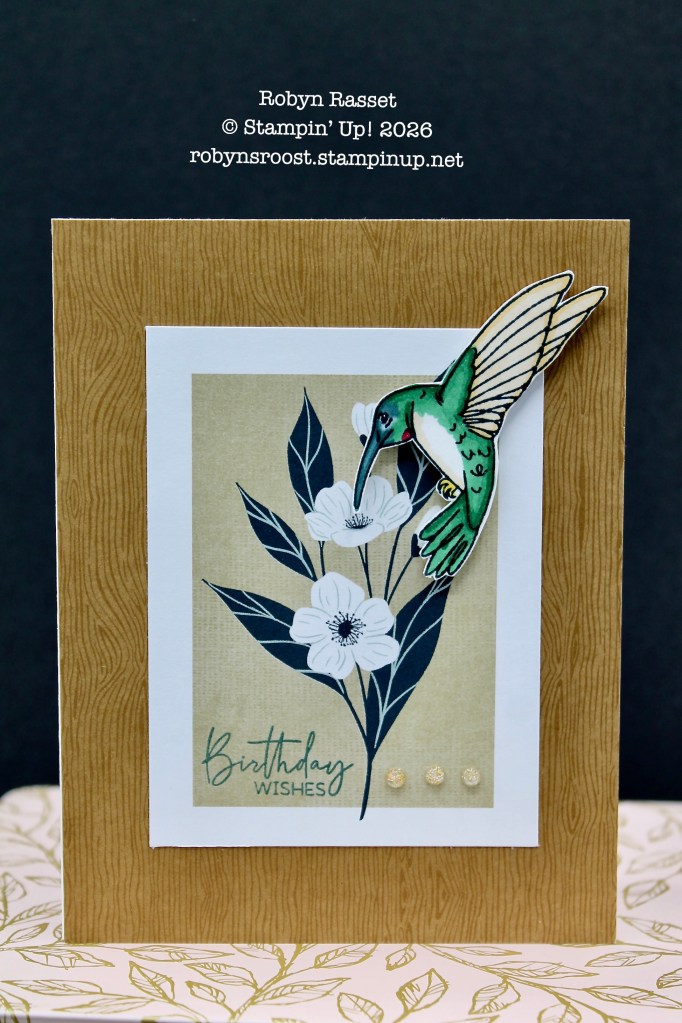
Here I use a piece of the Woodgrain Wonders paper on the front of a white cardbase. Then layered on one of the panels from the Lovely Blossoms paper. The greeting is stamped directly onto the patterned paper. The hummingbird is popped up with dimensionals. Perfect landing place for this little guy. The gems were some that were left over from the kit.
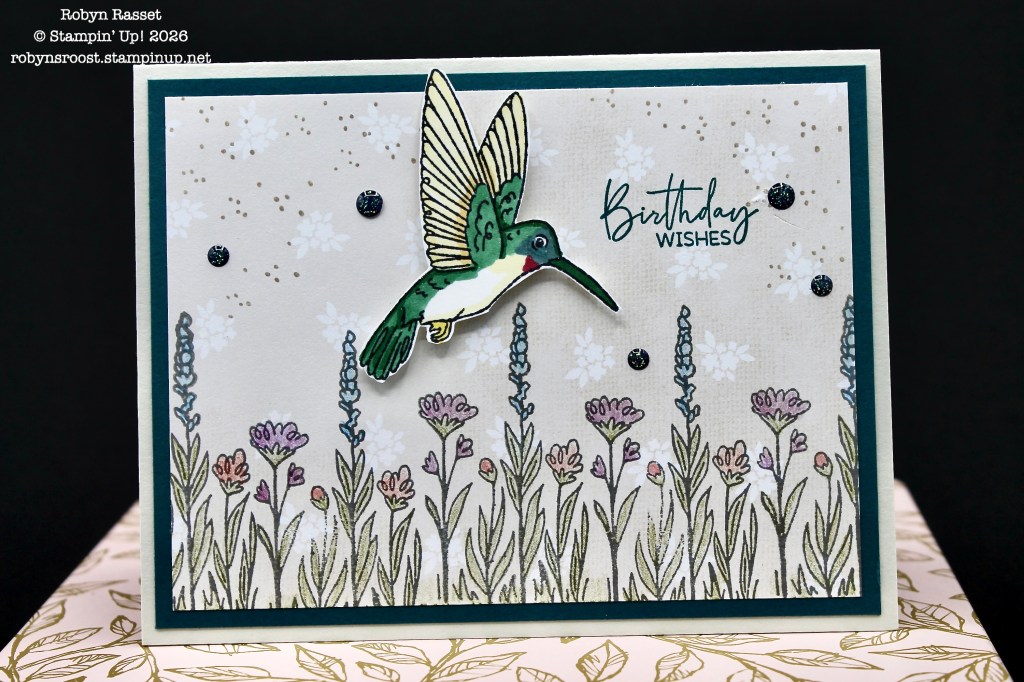
I had so much fun coloring the row of flowers that I did more of this layout from the kit. This one uses the backside of a piece of designer paper from the Square Snippets pack.
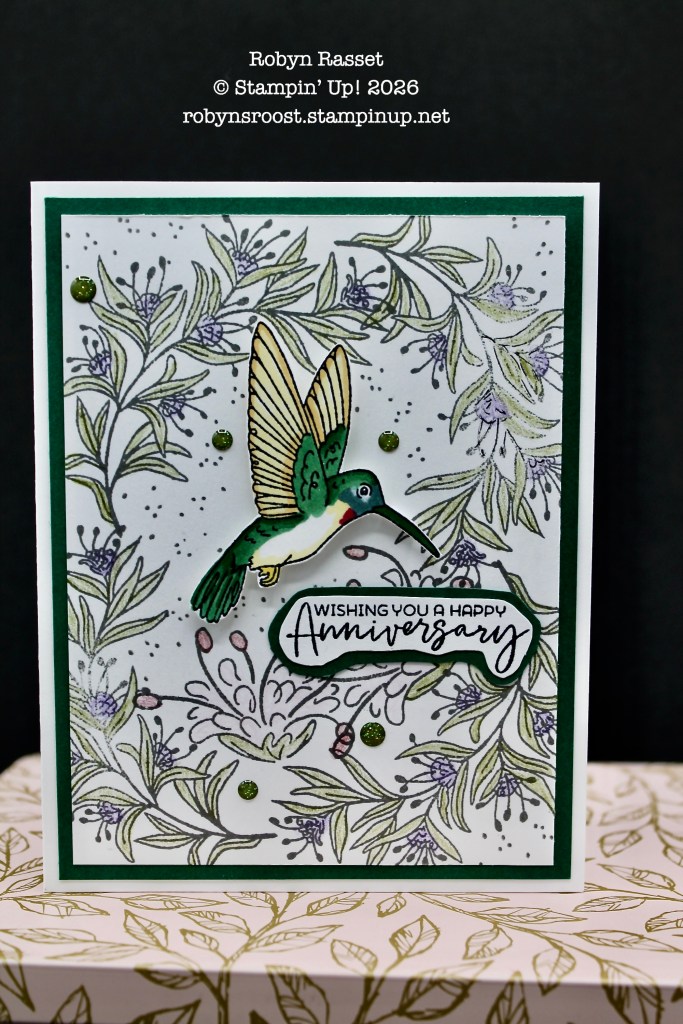
The large floral stamp can be used to make a wreath shaped oval perfect for a hummer to land in.

This hummer is flying across a square of blue from the Square Snippets paper. The greeting is on a label die cut with the Perennial Postage Dies.
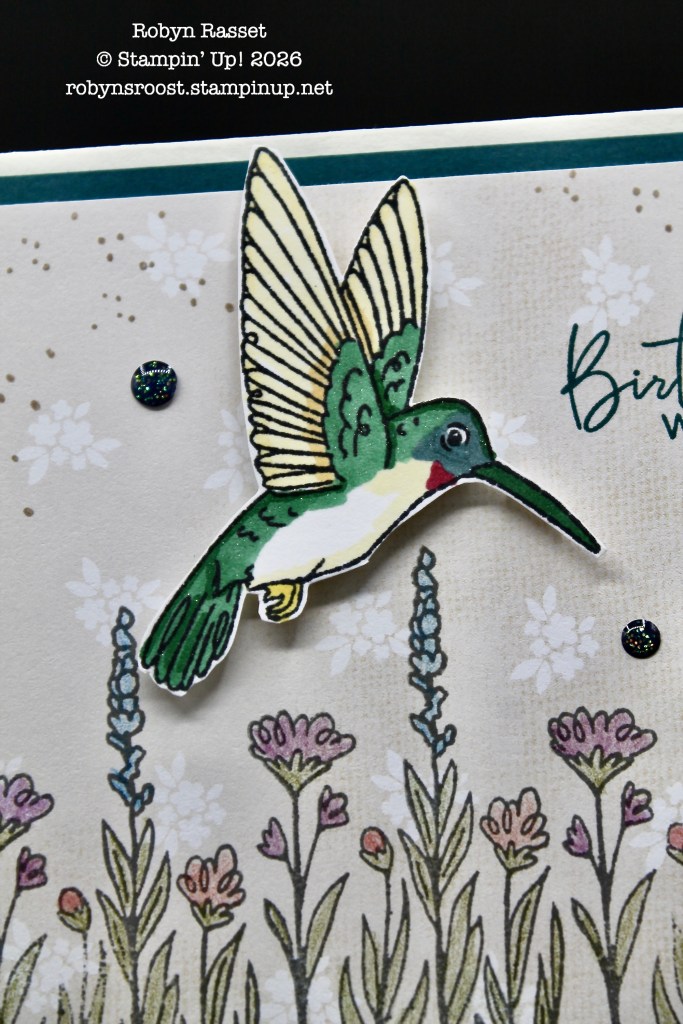
Here’s a close up of the coloring on the hummingbird.
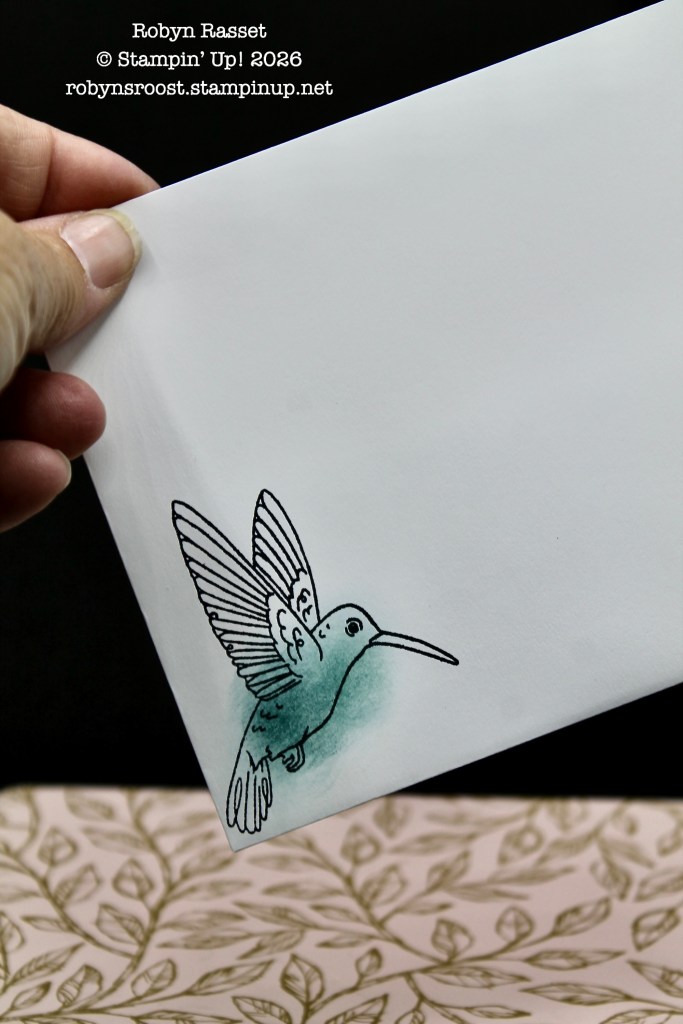
The Paper Pumpkin kit had pretty colored envelopes with white flowers along the bottom. For my extra cards I stamped a hummingbird in the corner and used a Blending Brush and Pretty Peacock ink to add a bit of color.
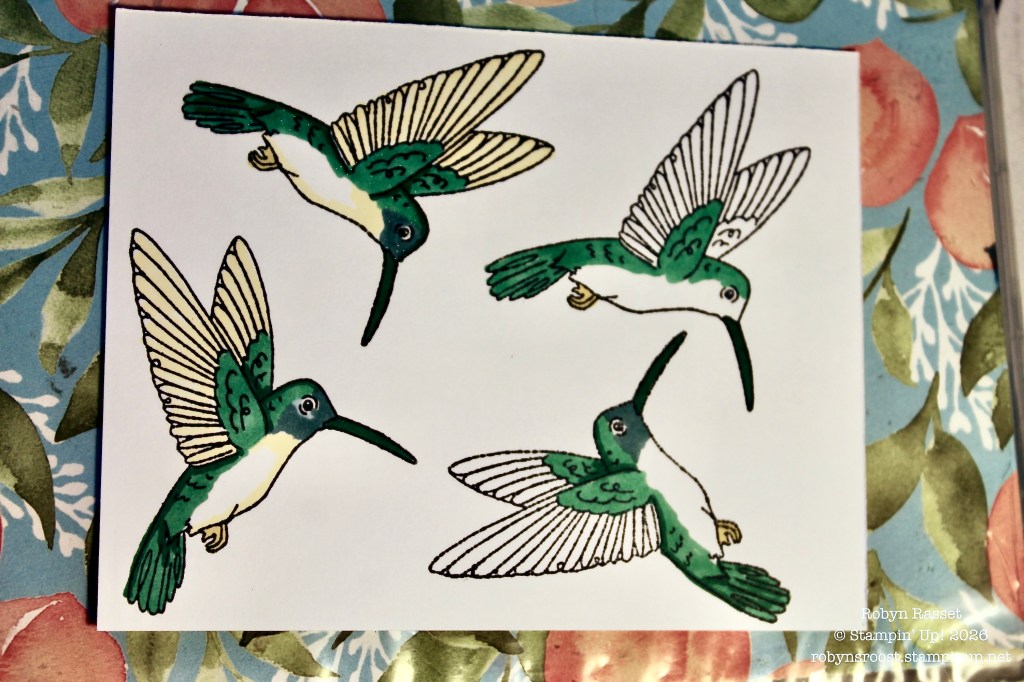
Here you can see my process for coloring the hummingbirds. Starting at the upper right and using Stampin’ Blend Markers:
1- Light Shaded Spruce was used to color along the birds back. Light Darling Duckling colored the feet. Light Pretty Peacock for the beak.
2- (Bottom Right) Dark Shaded Spruce was used to add shadows along the back and tail. Light Pretty Peacock was added to the lower face.
3- The Light Medium Light Combo (159463) was used to color the wings and shadow on the belly.
4- Wink of Stella was brushed over the Shaded Spruce back.
5- I added just a hint of Cherry Cobbler at the throat after I took this photo.
Also, a light strip of Balmy Blue was added under the eye on some of my birds.
Product List
![Watercolor Pencils Assortment 1 [ 161700 ]](https://assets1.tamsnetwork.com/images/EC042017NF/161700s.jpg "Watercolor Pencils Assortment 1 [ 161700 ]")
|
![Watercolor Pencils Assortment 2 [ 149014 ]](https://assets1.tamsnetwork.com/images/EC042017NF/149014s.jpg "Watercolor Pencils Assortment 2 [ 149014 ]")
|
||
![Clear Wink Of Stella Glitter Brush [ 141897 ]](https://assets1.tamsnetwork.com/images/EC042017NF/141897s.jpg "Clear Wink Of Stella Glitter Brush [ 141897 ]")
|
![Square Snippets 12" X 12" (30.5 X 30.5 Cm) Designer Series Paper [ 166993 ]](https://assets1.tamsnetwork.com/images/EC042017NF/166993s.jpg "Square Snippets 12\" X 12\" (30.5 X 30.5 Cm) Designer Series Paper [ 166993 ]")
![Lovely Blossoms 12" X 12" (30.5 X 30.5 Cm) Designer Series Paper [ 167168 ]](https://assets1.tamsnetwork.com/images/EC042017NF/167168s.jpg "Lovely Blossoms 12\" X 12\" (30.5 X 30.5 Cm) Designer Series Paper [ 167168 ]")
![Wood Grain Wonders 12" X 12" (30.5 X 30.5 Cm) Designer Series Paper [ 167428 ]](https://assets1.tamsnetwork.com/images/EC042017NF/167428s.jpg "Wood Grain Wonders 12\" X 12\" (30.5 X 30.5 Cm) Designer Series Paper [ 167428 ]")
![Shaded Spruce Stampin' Blends Combo Pack [ 154903 ]](https://assets1.tamsnetwork.com/images/EC042017NF/154903s.jpg "Shaded Spruce Stampin' Blends Combo Pack [ 154903 ]")
![Pretty Peacock Stampin’ Blends Combo Pack [ 161676 ]](https://assets1.tamsnetwork.com/images/EC042017NF/161676s.jpg "Pretty Peacock Stampin’ Blends Combo Pack [ 161676 ]")
![Stampin’ Blends Medium Light Combo Pack [ 159463 ]](https://assets1.tamsnetwork.com/images/EC042017NF/159463s.jpg "Stampin’ Blends Medium Light Combo Pack [ 159463 ]")
![Cherry Cobbler Stampin' Blends Combo Pack [ 154880 ]](https://assets1.tamsnetwork.com/images/EC042017NF/154880s.jpg "Cherry Cobbler Stampin' Blends Combo Pack [ 154880 ]")
![Balmy Blue Stampin' Blends Combo Pack [ 154830 ]](https://assets1.tamsnetwork.com/images/EC042017NF/154830s.jpg "Balmy Blue Stampin' Blends Combo Pack [ 154830 ]")
