
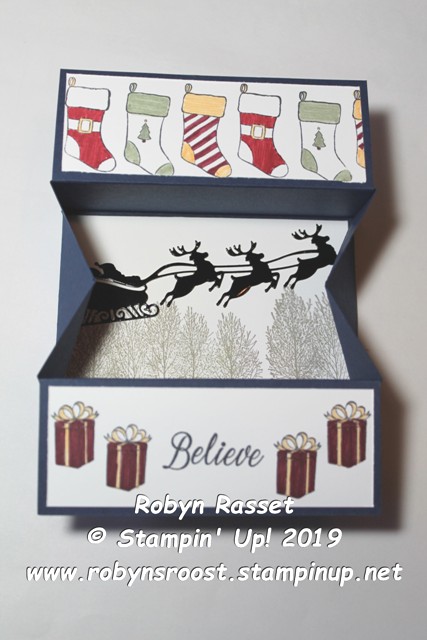
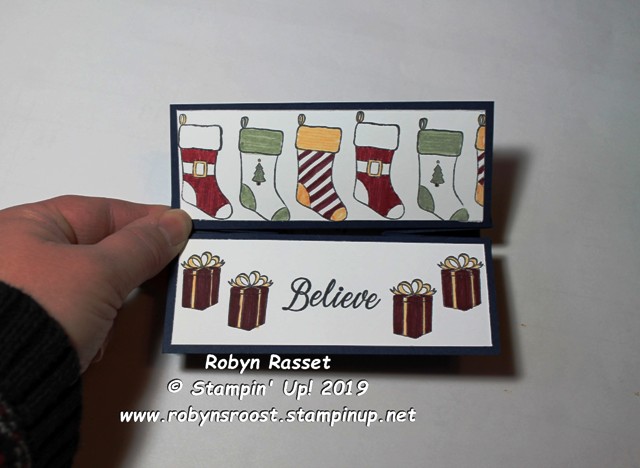
This cool Box Card Technique is a fun way to make a 3D greeting card. For inspiration to design this card, I thought back to my childhood and remember looking out the window hoping to catch a glimpse of Santa and his reindeer. I imagined the box flaps being the window frame so I hung stocking on the top and placed presents on the bottom.
If you would like to give this card a try, here are my directions.
1. Score a piece of 8 1/2″ x 11″ Night of Navy cardstock as shown below:

On the 11 inch long edge,
score at 2″, 3 3/4″, 7
1/4″ and 9″
.
Flip the paper and on the short side
score at 1 3/4″ and 6 3/4″.
2. Measure and mark the center (5 1/2″) on the long side. Score from center to corner score as shown on the diagrom.
3. Remove the areas shaded in gray. Remove a sliver from the tabs to make gluing easier.
4. Fold on all of the score lines to create a box. The angled score lines will fold into the box. Do all of the stamping and decorating before putting the box together.
5. Cut the inside whisper white cardstock 5″ x 3 1/2″. Stamp with trees from Winter Woods with Granite Gray ink. Use the Santa and Sleigh die from the Holly Jolly Dies and cut out Santa from either Black Foil or Black cardstock and adhere flying over trees. Adhere to inside panel of box.
5. Outside flaps cut 2 pieces of whisper white cardstock 4 3/4″ x 1 3/4″. Stamp stockings and presents from the Holly Jolly Christmas stamp set. Color using Stampin’ Write Markers
6. Cut a 3 1/4″ x 4 3/4″ piece of whisper white to adhere to the back of the card to add a personal greeting and signature.
7. Add Tear n Tape to the flaps and adhere to the outside of the box.
Product List
")
|

|

|
|

|

|


