
Hello,
Are you all ready for Thanksgiving? I’ve got the turkey but have to pick up the fixins’ yet. I hosted a Christmas Card Chaos class last night and the attendees each got one of these star tree ornaments as a gift. I wanted to glitz them up a bit more but I had to finish up the 16 cards for the class first, so time was a little tight to get the ornaments done.

The Stars Hop is on today but some of the posts might not be up until this afternoon, so stop back later to check out the other Stars creations.
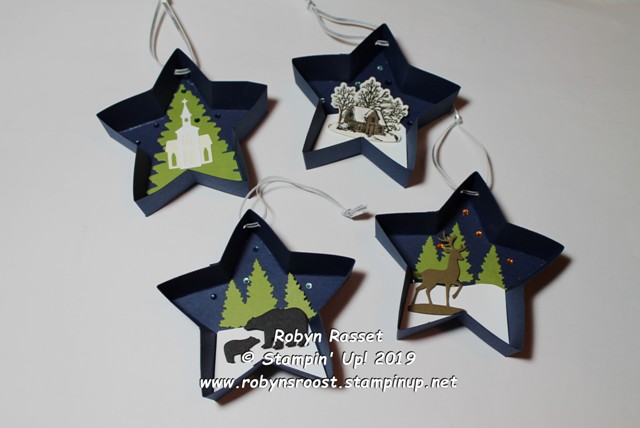
To recreate these ornaments use the Stitched Stars Dies to create the base. Cut a 1 1/4″ strip of paper (I needed 2 to reach all the way around these stars) and score along the long side at 1/4″. This will be the tape tabs. You need to score the short direction for the star tips and bends. This star spacing was 1 3/8″ but you will need to measure from the bend to the tip on the star that you choose.
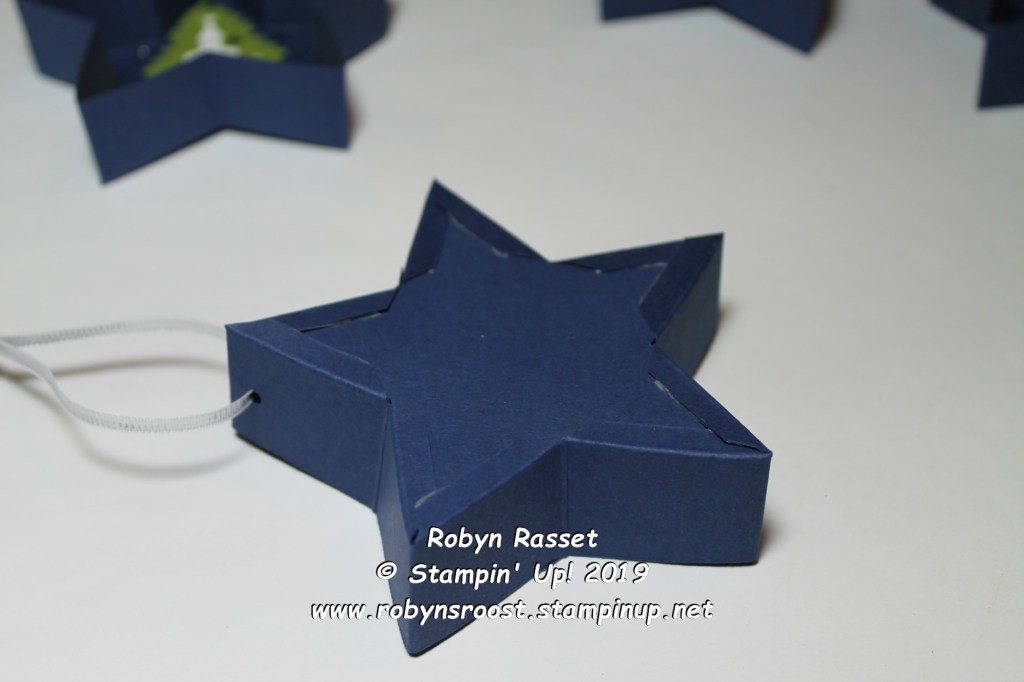
Snip between each score line, creating the tape tabs. Cut away a piece to create an angle so that the paper won’t overlap when glued to the star tip . I used Tear and Tape to adhere. If you don’t like the look of the raw glued edges on the back of the ornament, cut out a second star and adhere to the back to cover the edges. This could give you a nice place to add a sentiment or greeting.
I punched a small hole before adding the edge strips so that I could put a string through the ornament to hang it. For these ornaments, I used the Still Scenes Stamp set but any Christmas stamp set with matching dies would work.
I hope you have a great Thanksgiving, filled will friends, family, food and time to stamp!
Click on the blue frog below to view the links to the other Stars creations.

Product List – Click on the links below to purchase supplies to make this project.


 Circle Punch")

Love them! So beautiful!
LikeLike
Awesome ornaments Robyn! Thanks for Stamping with the STARS #DOswts327!
LikeLike