
I’m so excited and feel so honored to have been asked to do a tutorial for the Splitcoast Stampers! You can see the tutorial HERE.


Corner Flip cards are a bit complicated to make but if you follow the cutting directions that I have included, it’s doable and creates a fun, unique card. Any image that fits in the 3″ flipped square will work, but isn’t little Prince Charming cute? He is from the Prince & Princess Hostess set and is just too darn cute. The Designer Paper Layer in the flipped square is 2 3/4″x 2 3/4″.
Directions:
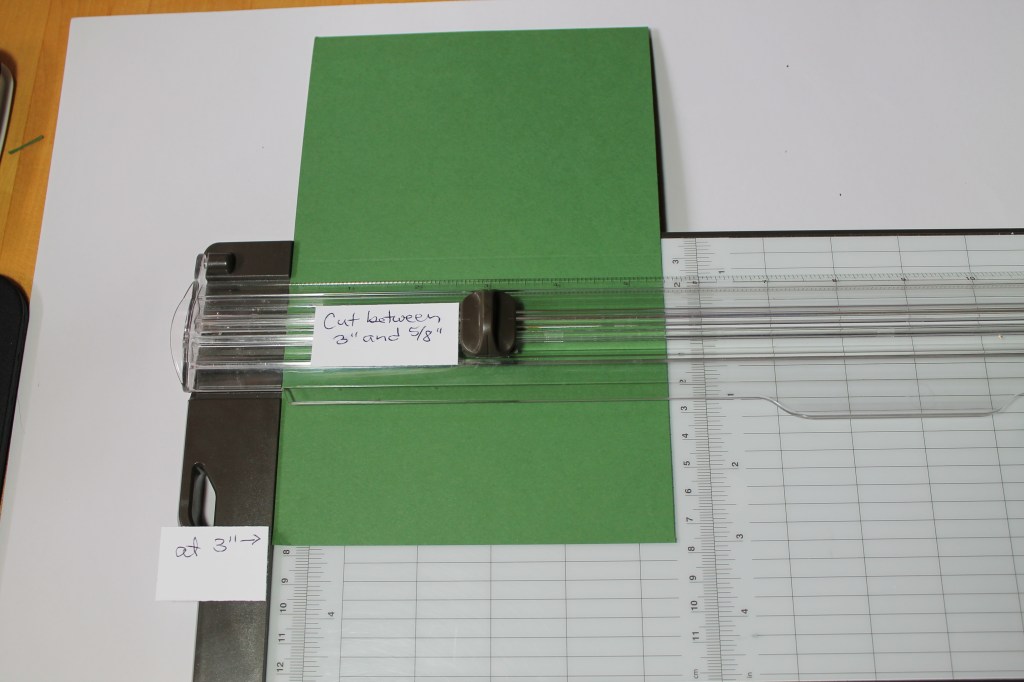
1. Place corner of card base on trimmer at 3” with long edge along ruler. Make a cut inside the card base from 3” to 5/8”.
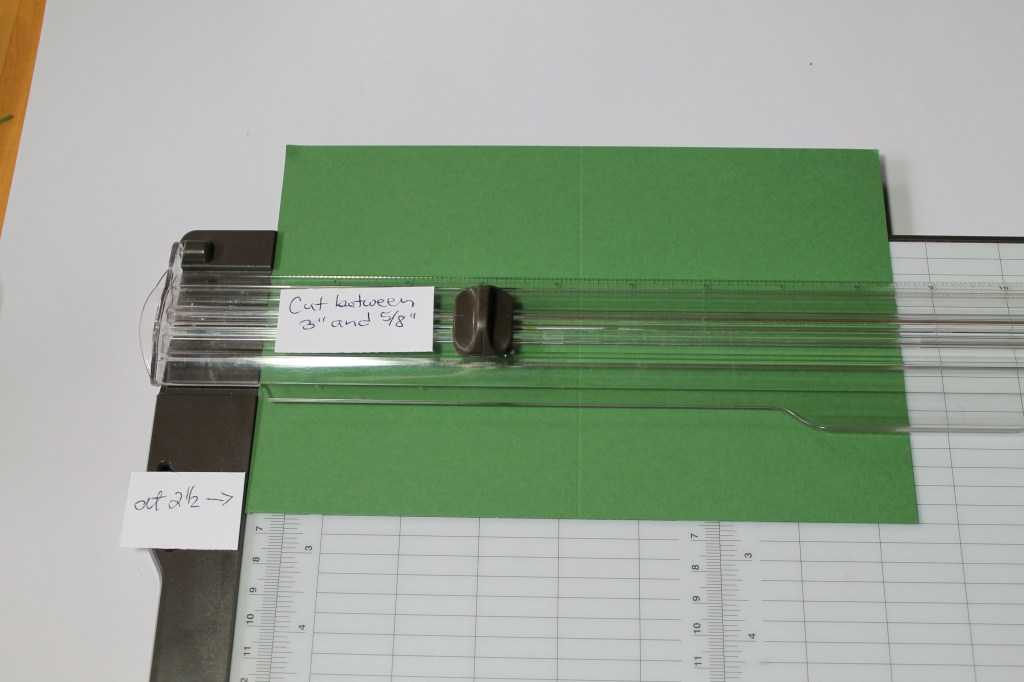
2. Flip the card base clockwise and place corner at 2 ½”. Make a cut from 3” to 5/8” meeting the first cut.
3. Measure in 5/8” from card base fold and mark with pencil. Measure up from bottom right corner 1 7/8” and mark with pencil. Score between the cut lines and the marks as shown.

4. Stamp the un-flipped card front if desired.

5. Add tear and tape to corners.
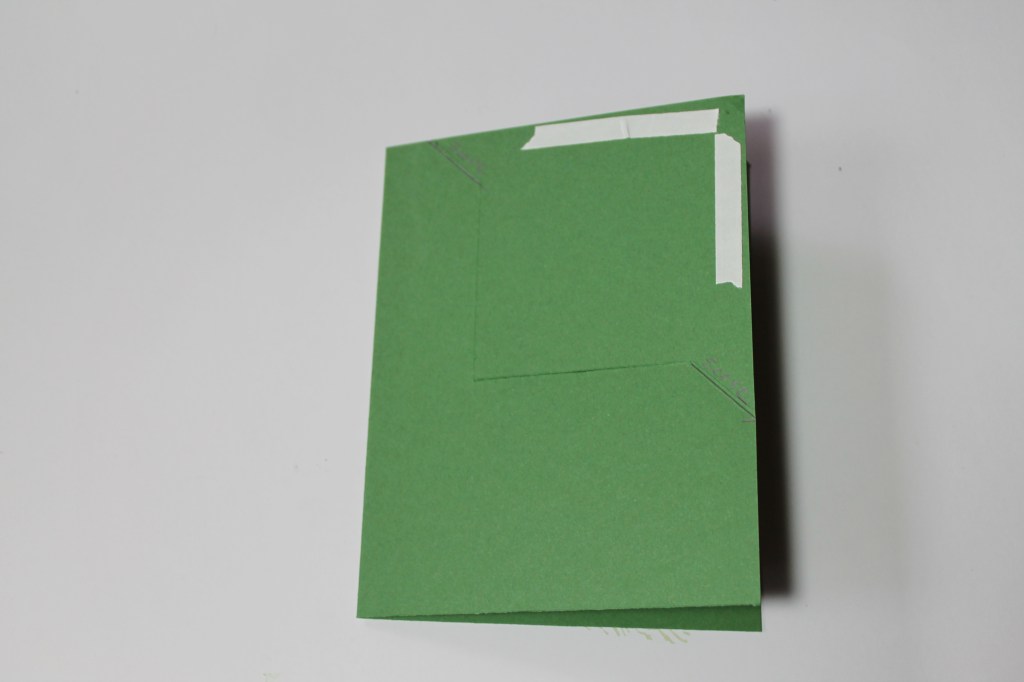
6. Fold on score lines, flipping down the corner.

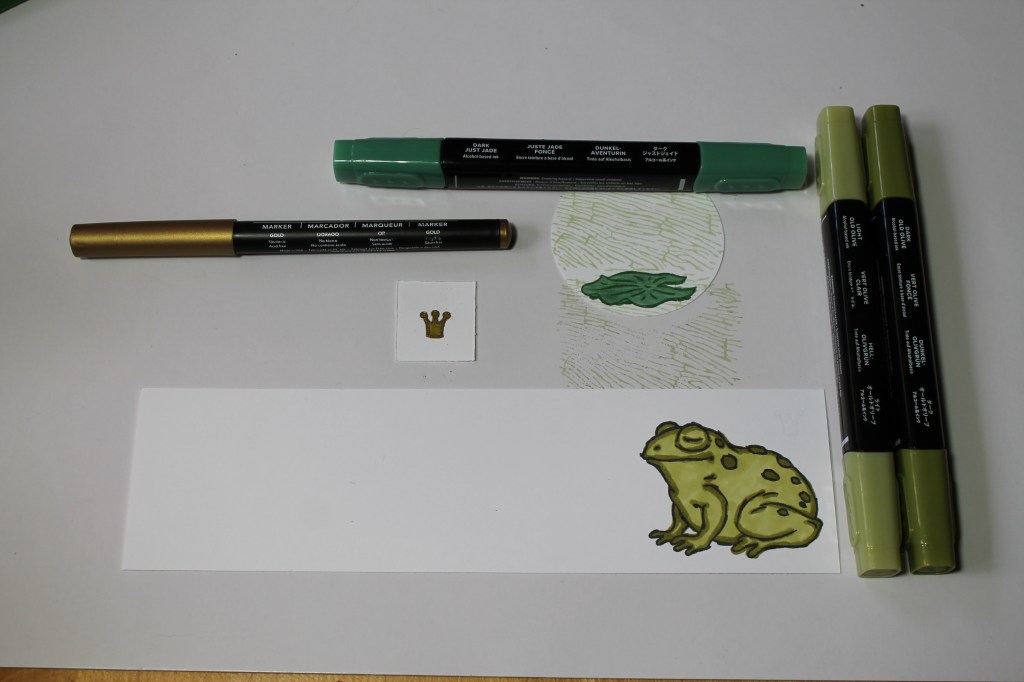
7. Stamp images. Heat emboss crown if desired.
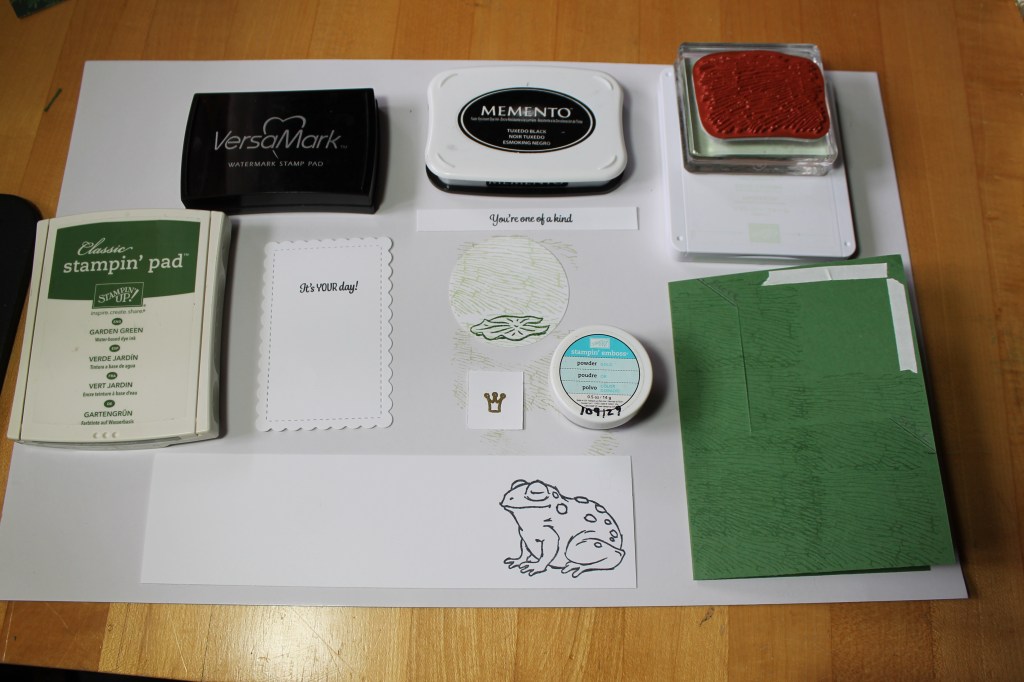
8. Color images
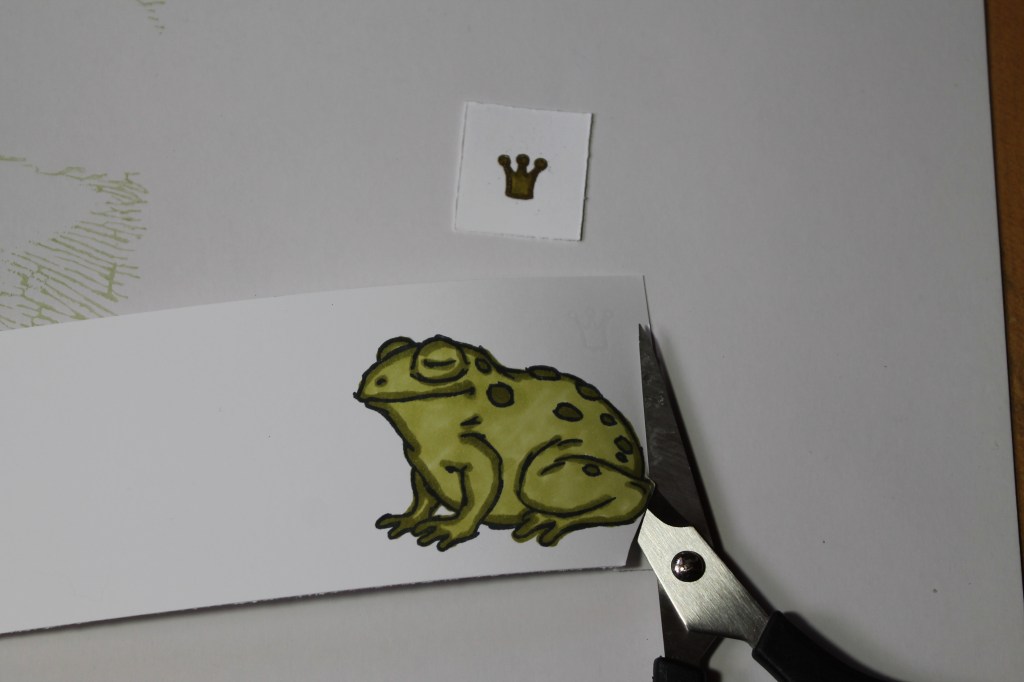
9. Fussy cut images.
10. Add dimensionals.

11. Assemble and adhere all pieces.


Product List

2-1/2″ Circle Punch
[120906]
$18.00
|
|


 Designer Series Paper")


")
 Circle Punch")


Congrats on being the guest tutorial author this week! You’re kind of a big deal!
LikeLike
Thanks Dawn
LikeLike