

Today I’m switching back to a fall card, but still using the Giving Gifts Dies. This time I’m using the Pumpkin Die instead of the Santa & Sleigh. I’ve paired it up with the Stitched Rectangles Dies to create a peek through window on the front of the card and also to create a frame for the window.
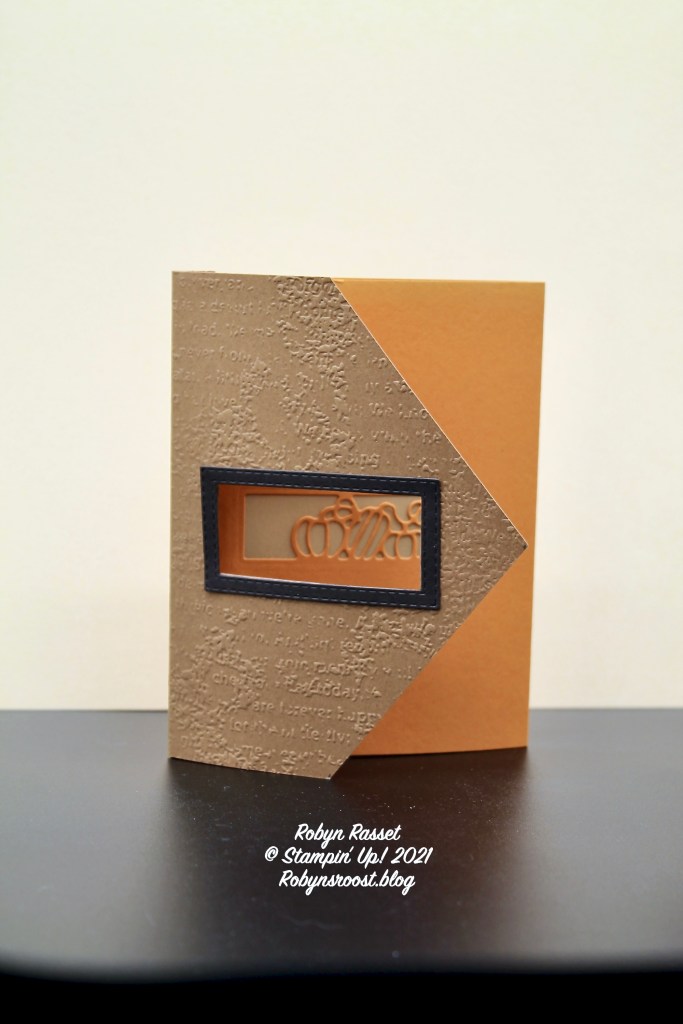
Be sure to do the die cutting before embossing on the front section, or pretty much any time that you are doing both processes on the same piece of paper. If you emboss first and then die cut the rollers will flatten the embossing when doing the die cutting. The other tricky step in creating this card is making sure that pumpkins are in the correct orientation on the card. It’s easy to forget that the fold is on the right hand side of the card layer that the pumpkins are cut from!
Paper Dimensions:
Pumpkin Pie 8 1/2″ x 5 1/2″ Scored at 4 1/4″
Cinnamon Cider 4 3/4″ x 5 1/2″ Scored at 4 1/4″
Early Espresso 3″ x 1 1/2″
Basic White Liner for inside 4″ x 5 1/4″ (Garden Impressions DSP was used on this card, but it is retired)
Shimmer Vellum 2 1/2″ x 1 1/4″
- To create the angle cut front, measure 2″ from the score line on the Cinnamon Cider layer on both edges and mark lightly with a pencil. Mare the non-scored edge in the center at 2 3/4″. Use a trimmer to cut off both corners, using your marks as guides.
- Die cut the Cinnamon Cider paper using the smallest Stitched Rectangle Die, centering it on the front. Next, emboss the piece using the Timeworn Type 3D Embossing Folder.
- Fold the scored edge on the Cinnamon Cider piece and adhere it with Liquid Glue to the back of the Pumpkin Pie card base. The folded edge of the Pumpkin Pie base will be on the right side and the open edges on the left. Be sure to adhere to the BACK open edge.
- Close the card and use a pencil to lightly outline where the window hits the Pumpkin Pie layer. Center the Pumpkin Die from the Giving Gifts Dies in this pencil drawn rectangle and die cut. Remember not to run the embossed layer through the die cut machine rollers.
- Use a gum eraser to remove the pencil lines.
- Die cut an Early Espresso frame using the smallest Stitched Rectangle Die and the next larger one. Add to the window on the front.
- Stamp the inside greetings.
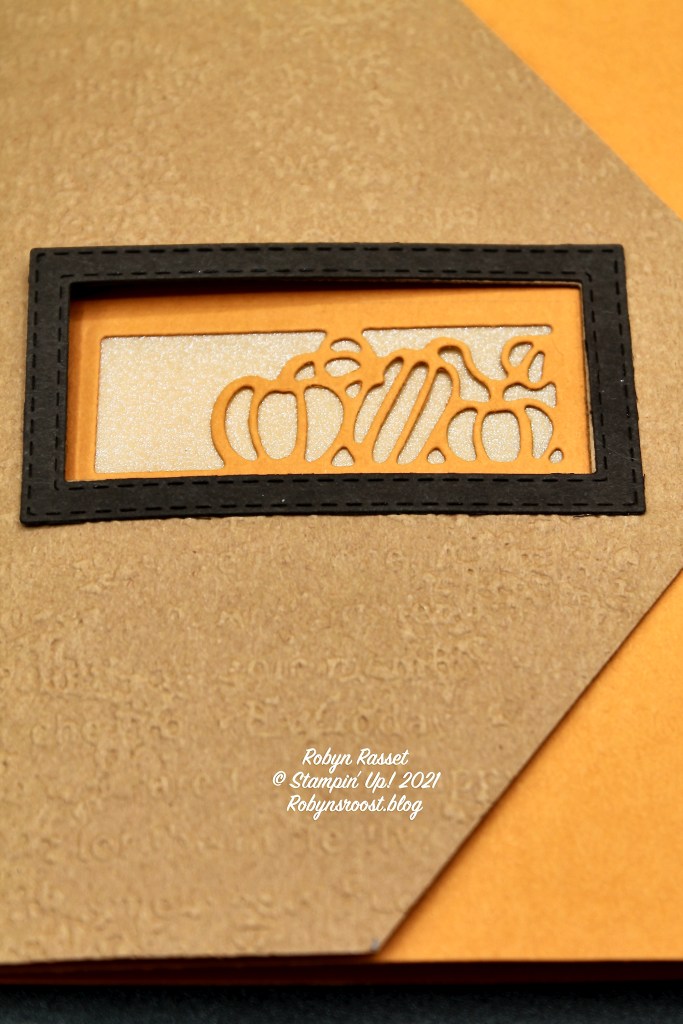
Use a VERY SMALL amount of Liquid Glue to add the Shimmer Vellum to the back of the Pumpkin Die cut. If desired, die cut some of the pretty leaves from the Giving Gifts Dies and add to the front of the card.
Watch my Tri-Fold Halloween Card Tutorial to see a similar card.
Product List
")
|

|
 Designer Series Paper")
Garden Impressions 6″ X 6″ (15.2 X 15.2 Cm) Designer Series Paper
[146289]
$11.00
|

|


Very cute! Great ideas.
LikeLike