
Hello, happy day before Thanksgiving Day! I spent yesterday working on making Christmas cards. I have no idea how close I am to done. If you aren’t done with your Christmas cards yet, here is a fun design to try.
This fun Open Slider Card is so easy to create! No tricky slots to cut!
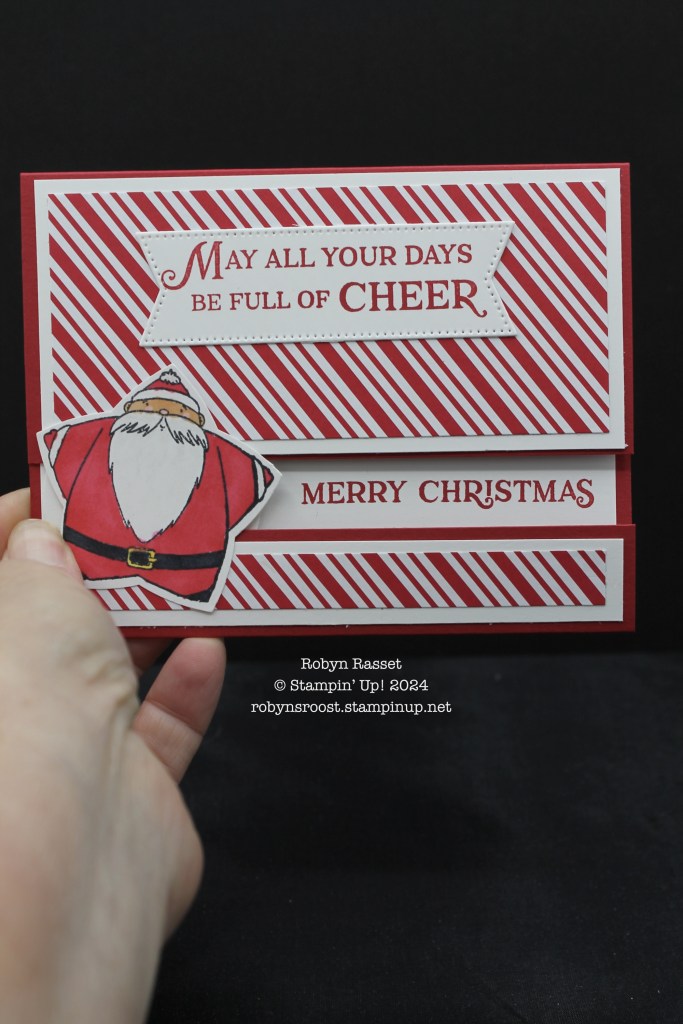
Start with a 7 7/8″ x 5 1/2″ base and score at 1″ and 5 1/2″. This will leave a gap for the slider piece to move across. Here are the decorative piece measurements:
- DSP 2 1/4″ x 5″ and another 1/2″ x 5″
- Matte Layers 2 1/2″ x 5 1/4″ and another 3/4″ x 5 1/4″
- Basic White inside 4″ x 5 1/4″
I used a 2″ circle punch to create a backer for the slider and the Santa was adhered to the circle with two stampin’ dimensionals. The Santa is created with the Sweetest Star stamp set and punch bundle.
Watch my Open Slider Card video tutorial to see the card created.
Tip 1. Adhere the inside Basic White piece before stamping and close the card to get the placement right for the greeting to show through the slider.
Tip 2.Place the circle under the slot where it should ride, then add the 2 dimensionals to the circle, remove the adhesive covers and place the Santa onto the dimensionals.
Here is the version that we made at my Creative Cards Class.
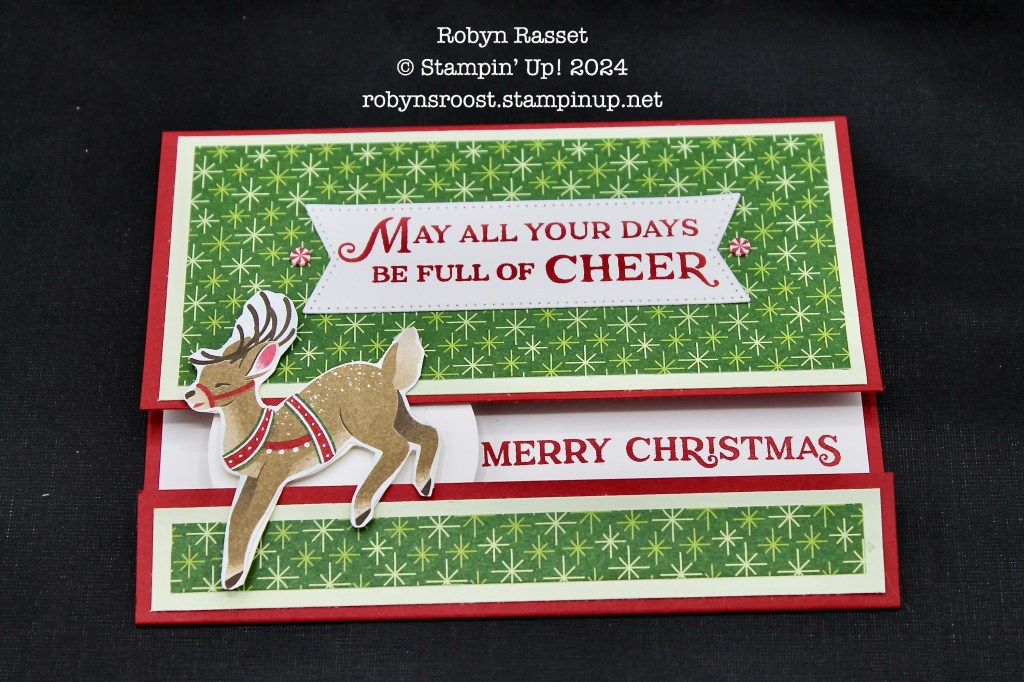
This card uses a reindeer from the Reindeer Days Designer Series Paper. The designer paper wasn’t thick enough so I cut a second deer from the thick basic white paper and glued the two together before adhering to the circle.
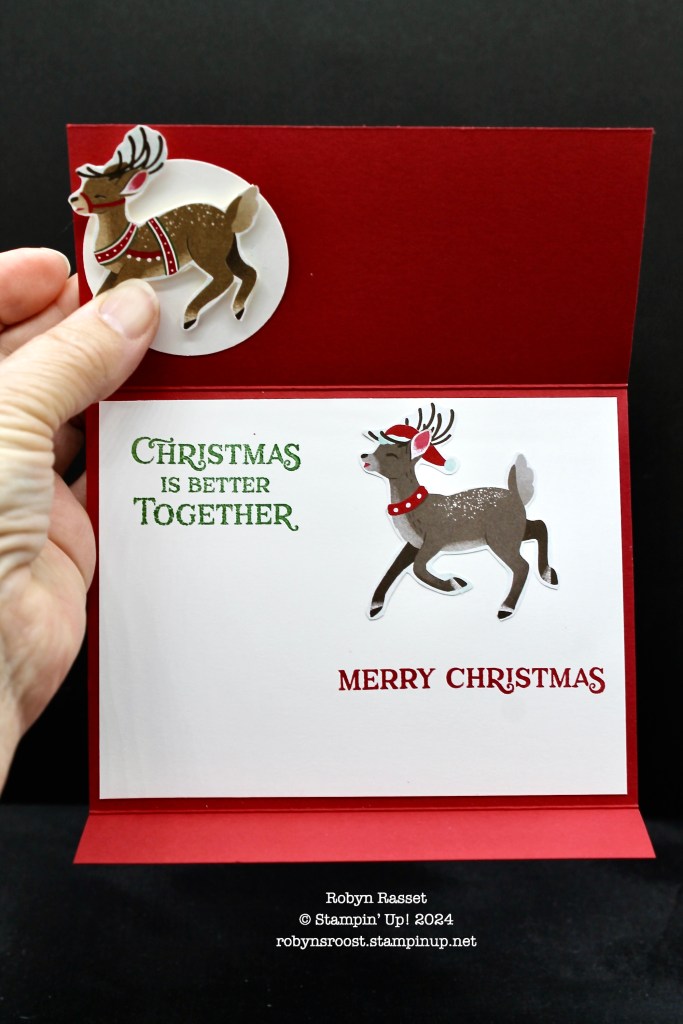
The slider comes completely off to open the card.
Thanks for stopping by the Roost! Have a wonderful Thanksgiving filled with family, friends, food, and good times.
")
|
")
|

|

|
||

|

|

|

|
||
 Circle Punch")
|

 Designer Series Paper")
 Designer Series Paper & Sticker Sheet (English)")


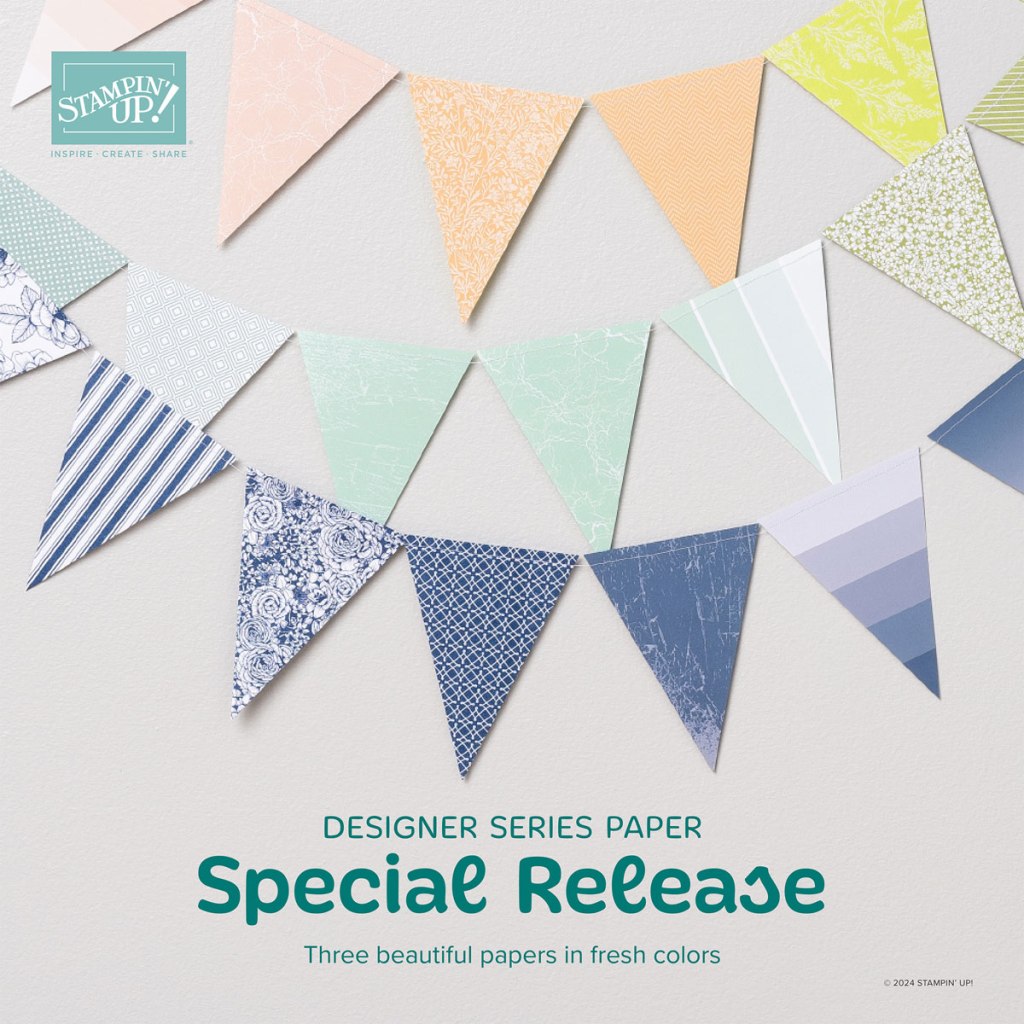
Watch for three recolored designer series papers available December 3 while supplies last.

Also on December 3 the items that will be retiring will be listed. Some may have sales pricing.

They are so cute
Sent from my Verizon, Samsung Galaxy smartphone
Get Outlook for Androidhttps://aka.ms/AAb9ysg
LikeLike