Hello, welcome to the Roost! Although the temperature says summer yet, the daylight is fading earlier and earlier signaling it’s time for fall.
Today I’m working on a fun Side Step card layout. Step cards are a bit tricky to master but once you get the hang of it, they are super fun to decorate. I suggest making a few of them to get the hang of it.
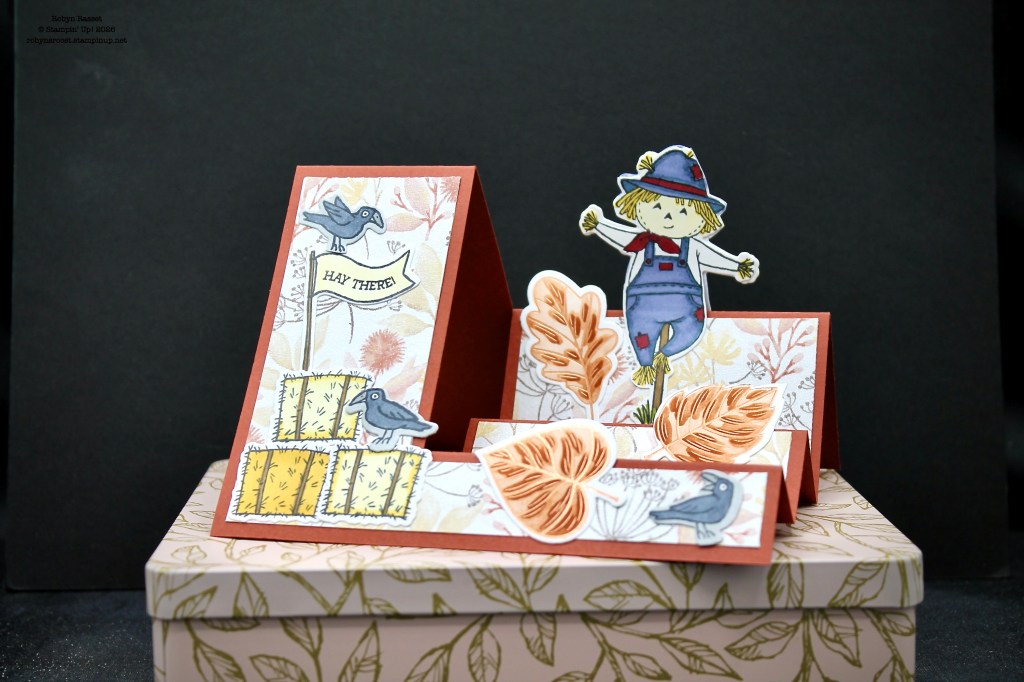
Watch my Side Step Fun For Fall Video Tutorial to see this card created. It features the Fun For Fall Bundle with the cute scarecrow and crows.
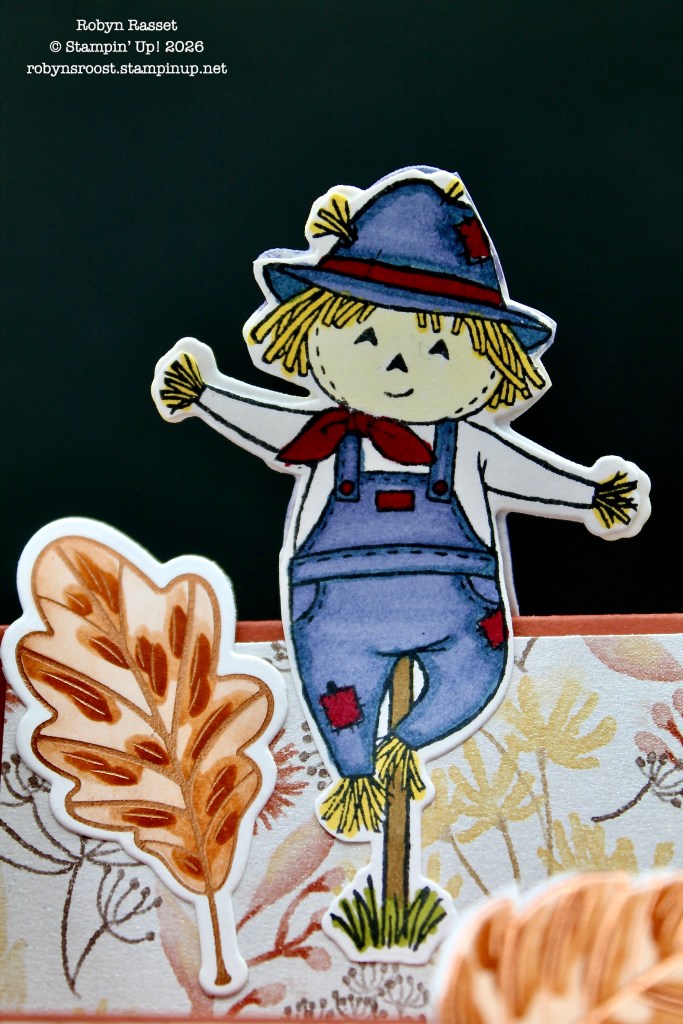
The Fun For Fall die cuts were colored with Stampin’ Blend Markers.
The large leaves were created with the Lustrous Leaves Hot Foil Dies & Masks Bundle. The new Copper Foil pairs great with the fall colors.
The Glow of Harvest Designer Series Paper in the background was the Product of the Month for August. It has a beautiful sheen which pairs well with the copper foiled leaves.
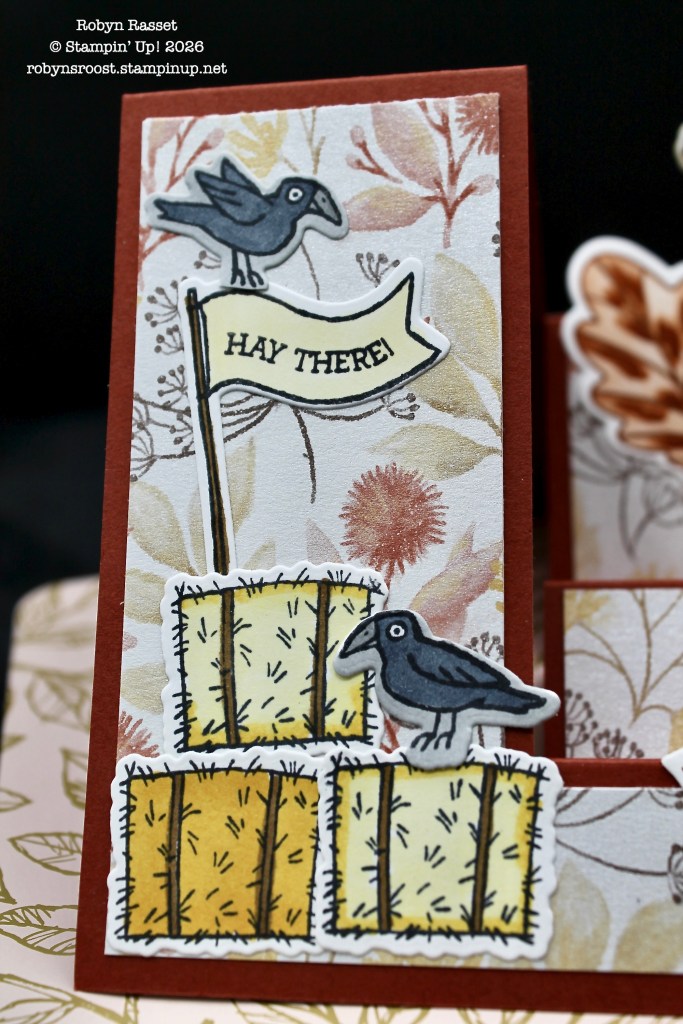
A trio of crows are hanging out on the card, maybe my scarecrow isn’t too scary?
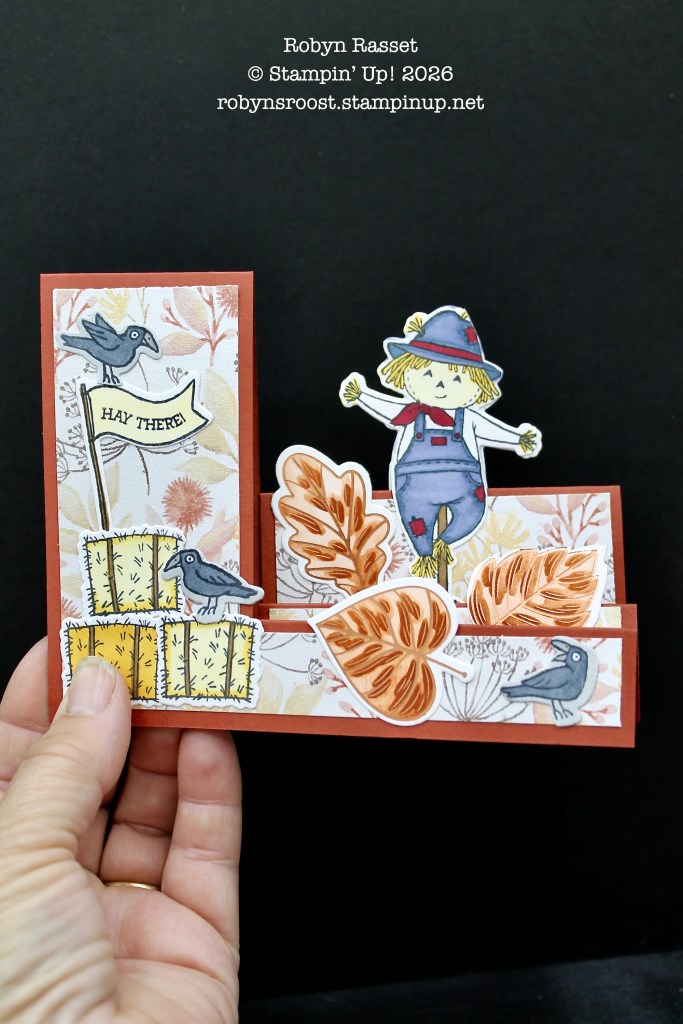
The card folds flat to fit in an envelope. Below are the cutting and scoring dimensions for the base:
- Start with a standard card base – 8 1/2″ x 5 1/2″
- Cut a slit along the long side of the card by placing the paper at the 2″ mark and using the ruler on the cutting bar to cut the slit from 2 1/8″ mark to 7 1/2″.
- Turn the paper to make score lines for the steps. Place the paper so that the wide are is against the trimmer with the slit towards the top. Start scoring at 2 1/8″ meeting the end of the slit but not scoring past it.
- Make the next score line at 4 1/4″ and go all the way across the slit, scoring the entire piece. This will be the center fold.
- Now score at 5 3/8″ only to the slit.
- Score at 6 1/2″ to the slit.
- Score at 7 1/2″ to the slit. This will meet the end of the cut on the slit.
Carefully pinch the score lines to form the base.
Cutting the Designer Paper Layer
- Remove the right top corner of a 5 1/4″ x 4″ piece by cutting down 3 1/4″ at 3 1/2″.
- Turn the paper and cut at 3/4″ to meet the first cut and remove the corner.
- Use the removed corner to create 2 layers. One 2″ x 3 1/4″ and another 1″ x 3 1/4″
To Create a white layer for the back of the card start with a 5 1/4″ x 4″ piece of Basic White cardstock and remove the upper left corner.
- Cut down 2 1/8″ at 3 1/2″
- Turn the paper and cut at 2 1/8″ to meet the first cut line
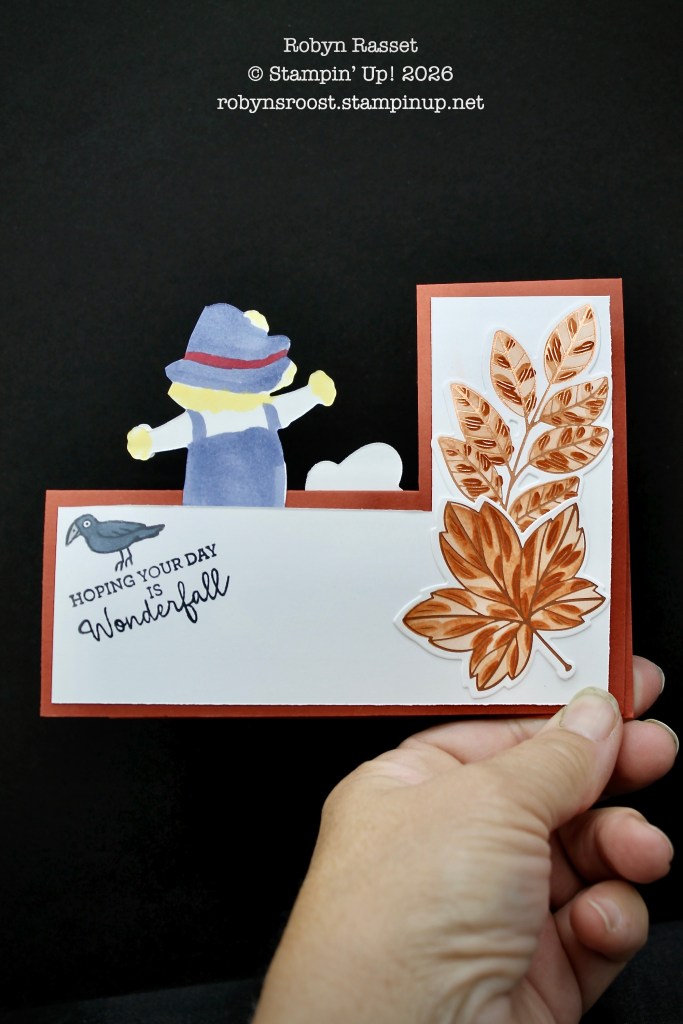
I didn’t like seeing the bleed through from the markers on the back of the scarecrow, so I cut a second scarecrow without stamping and colored the backside.
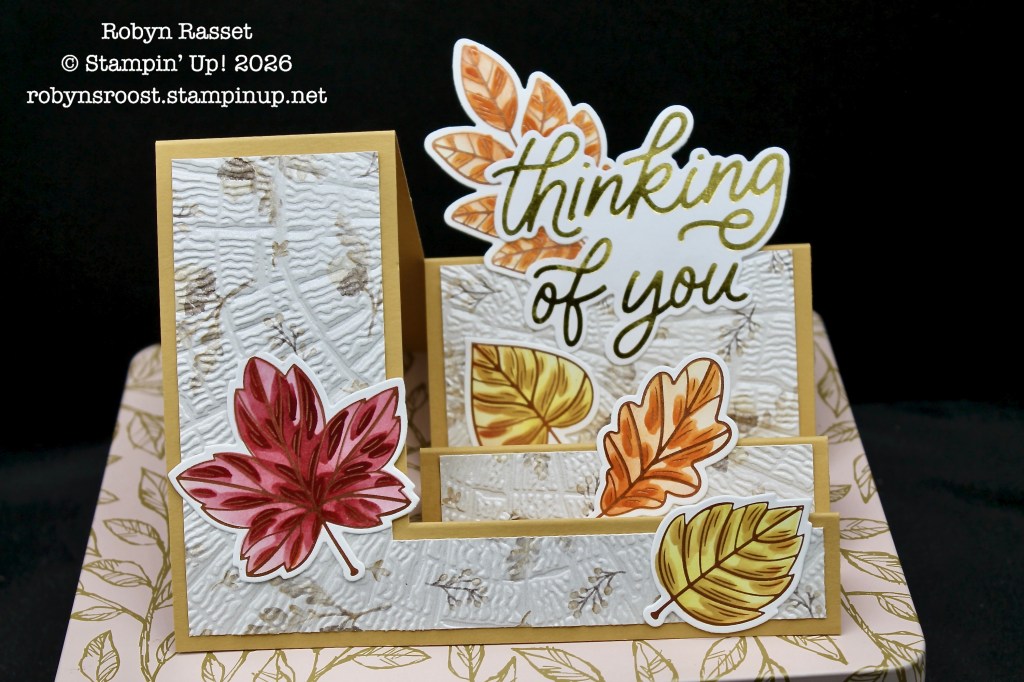
Here’s another example. This card has a foiled greeting created with the Classic Greetings Hot Foil Bundle.
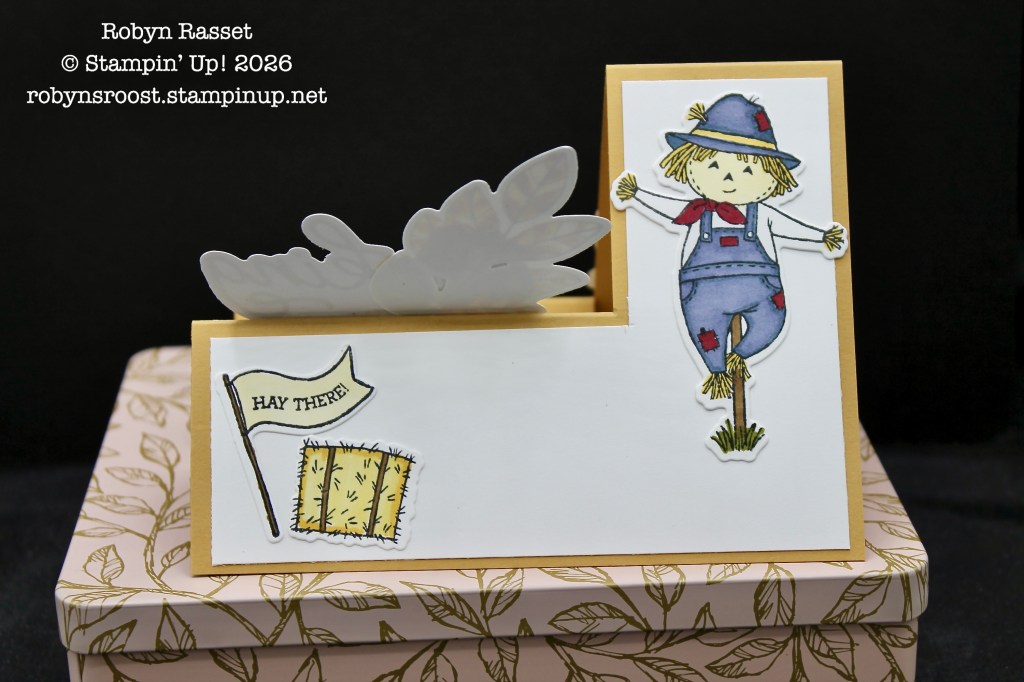
I just had to get a scarecrow on this card as well, hehehe.
Be sure to check out all the new items in my online store.
- New September to December Catalog
- New Online Exclusives
- Two new Kits
- A Virtual Card Retreat
- New Hot Foil items
- A Class to create an Advent Calendar with the cute Advent Boxes
- Super cool Advent Calendar filled with fun crafting products
![Fun For Fall Bundle (English) [ 168139 ]](https://assets1.tamsnetwork.com/images/EC042017NF/168139s.jpg "Fun For Fall Bundle (English) [ 168139 ]")
![Lustrous Leaves Bundle [ 170559 ]](https://assets1.tamsnetwork.com/images/EC042017NF/170559s.jpg "Lustrous Leaves Bundle [ 170559 ]")
![Glow Of Harvest 12" X 12" (30.5 X 30.5 Cm) Specialty Designer Series Paper [ 168598 ]](https://assets1.tamsnetwork.com/images/EC042017NF/168598s.jpg "Glow Of Harvest 12\" X 12\" (30.5 X 30.5 Cm) Specialty Designer Series Paper [ 168598 ]")
![Copper Stampin' Hot Foil Rolls [ 170553 ]](https://assets1.tamsnetwork.com/images/EC042017NF/170553s.jpg "Copper Stampin' Hot Foil Rolls [ 170553 ]")

