Hello, welcome to the Roost. Do you save the little left over pieces of patterned papers? Do you wonder what to do with them? Here are three card designs that use smaller pieces of designer papers.
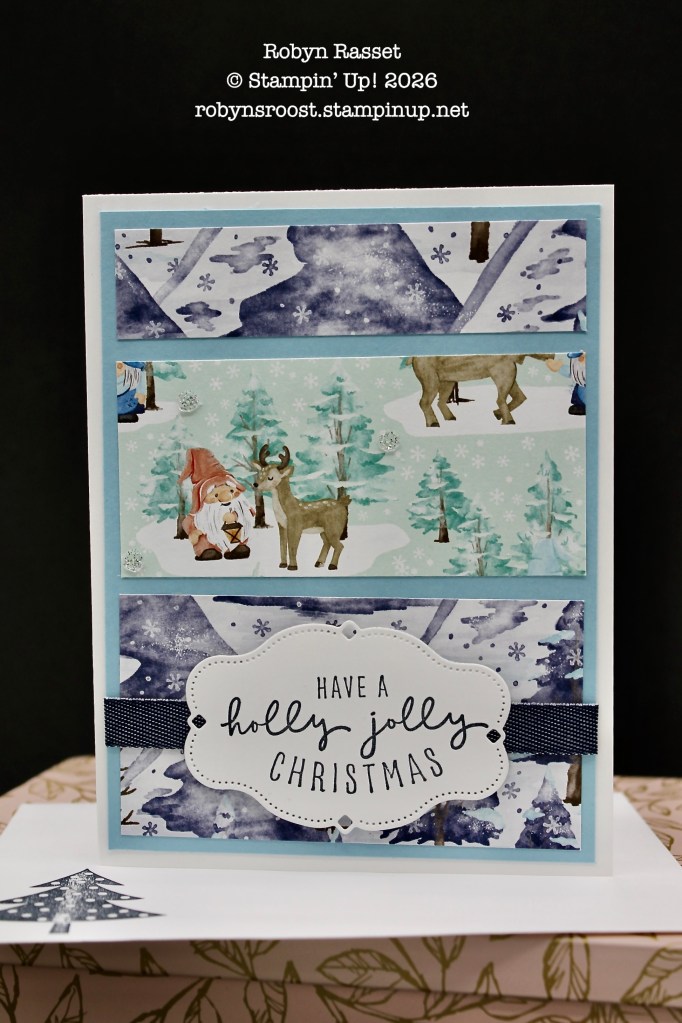
This layout uses some of the larger pieces. The pieces need to be 3 3/4″ wide for this layout. I like to use two different patterns, with either the center piece or the bottom piece having a cute image.
Here are the paper dimensions for this card:
- Base 8 1/2″ x 5 1/2″ scored at 4 1/4″
- Matte layer 4″ x 5 1/4″
- Top strip 1″ x 3 3/4″
- Middle strip 1 3/4″ x 3 3/4″
- Bottom strip 2″ x 3 3/4″
Choose a label die that is 2 1/2″ to 3″ long and less than 2″ tall. Wrap a coordinating color ribbon around the panel and adhere on the back. Finish up with some gems to add interest and sparkle.
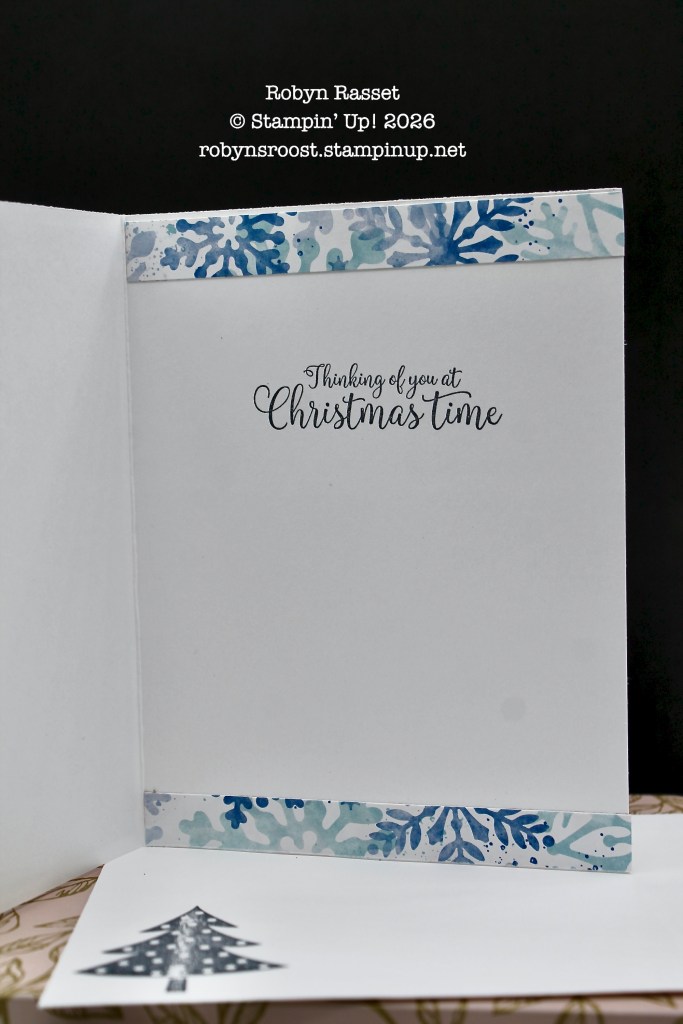
Choose some 1/2″ x 4 1/4″ strips of the same designer paper to decorate the inside, add a greeting, and decorate the envelope with small image.
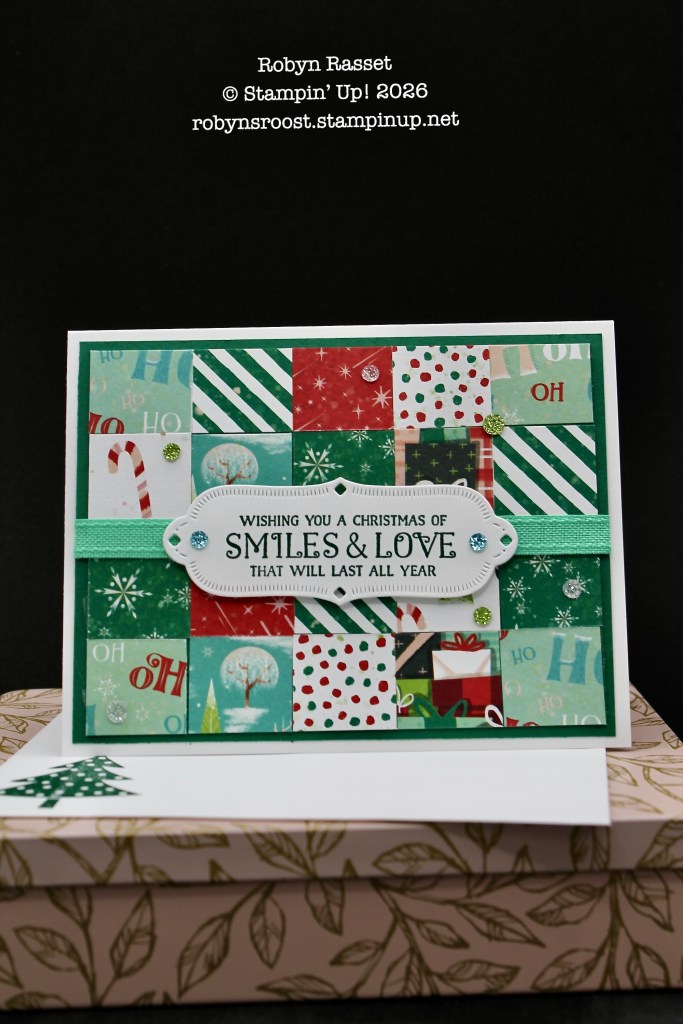
This layout uses tiny 1″ squares. It works best with papers that have small images or basic patterns.
Paper Dimensions:
- Base 5 1/2″ x 8 1/2″ scored at 4 1/4″
- Matte layer 5 1/4″ x 4″
- Gluing layer 5 1/2″ x 4 1/4″
- 20 small 1″ squares of designer paper
Lay the square out on the gluing layer and move around until the desired pattern is achieved. Then carefully move one row at a time, add adhesive and glue them down. Start in the upper left corner and work right and then down for each row. When finished adhering the squares, trim the edges so that the layer is 5″ x 3 3/4″. Trim both the top and the bottom rows so that one row doesn’t get too narrow.
Add ribbon around the panel and find a label die that fits the desired greeting.
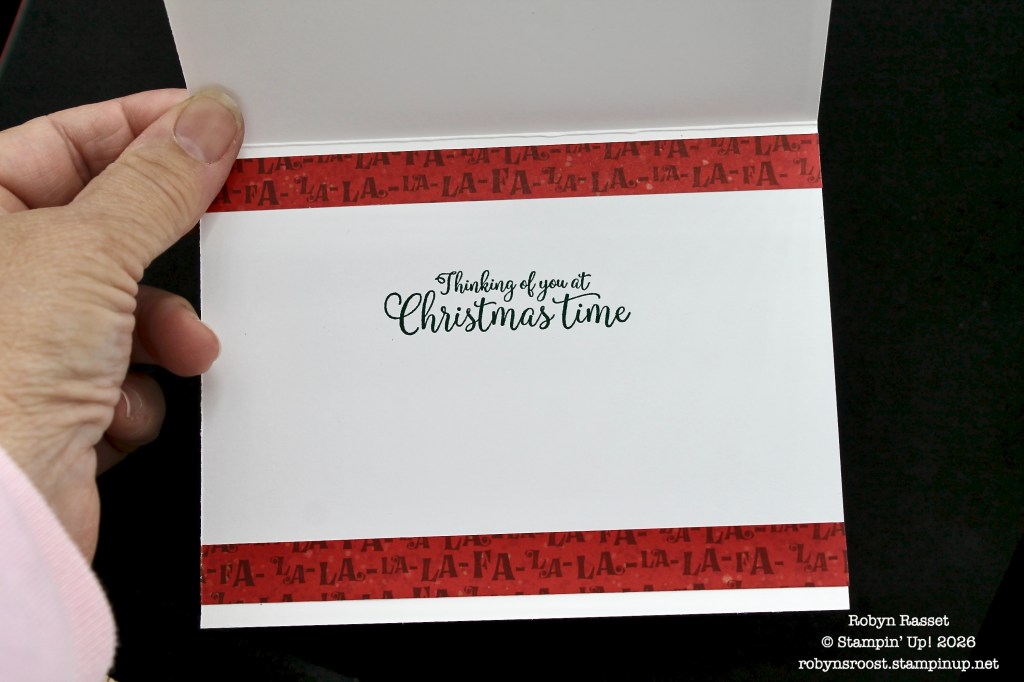
For this card I added 1/2″ x 5 1/2″ strips but it also looks good using 4 of the 1″ squares, one in each corner.
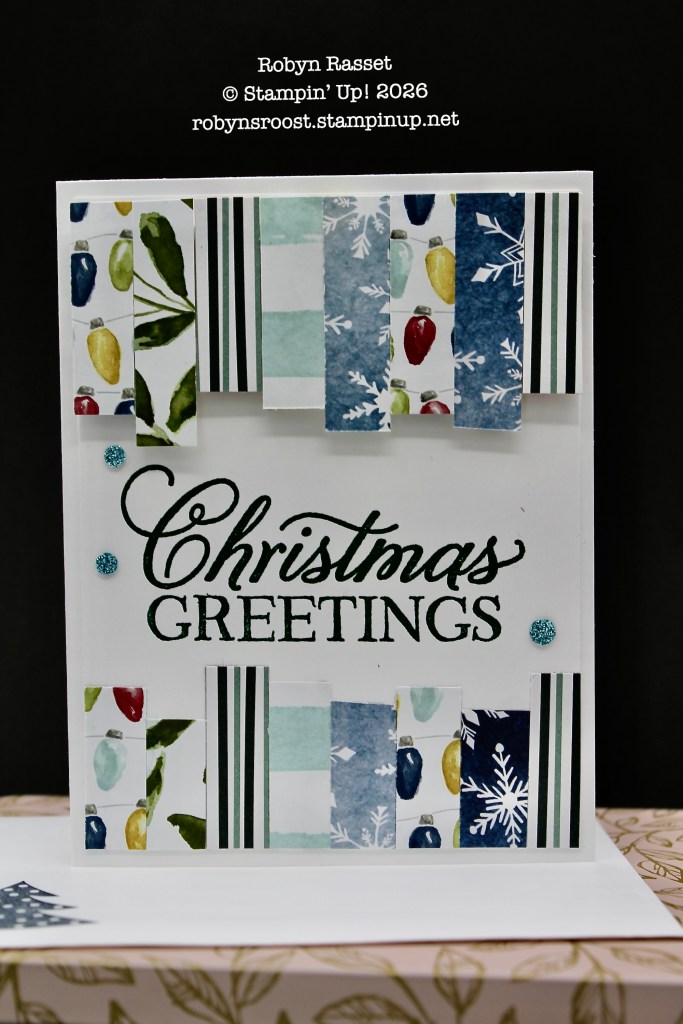
This design uses skinny strips. It takes 8 of them 1/2″ x 3″.
Paper Dimensions:
- Base 8 1/2″ x 5 1/2″ scored at 4 1/4″
- Matte Layer (same color as base) 4″ x 5 1/4″
- 8 Designer Paper strips 1/2″ x 3″
To assemble add a strip of adhesive to the bottom of the matte layer. Add the strips starting lined up at the left side. Leave a bit more than half of the strip dangle off the bottom of the matte. I like to add a small spot of glue at the top of the strip so it doesn’t curl up when being handled.
Continue adding strips, butting up tight against its neighbor, varying the length so the top of the row is uneven on the card.
Flip the panel over and on the back side of the strips place Foam Adhesive strips across the small strips to hold them together. I like to do two rows, placing one as close to the loose edges as I can. Next, use a scissors to cut off.
Then remove the Foam Adhesive backer and add this layer to the top of the matte layer.
Stamp a greeting in the center of the strips and add to the card base.
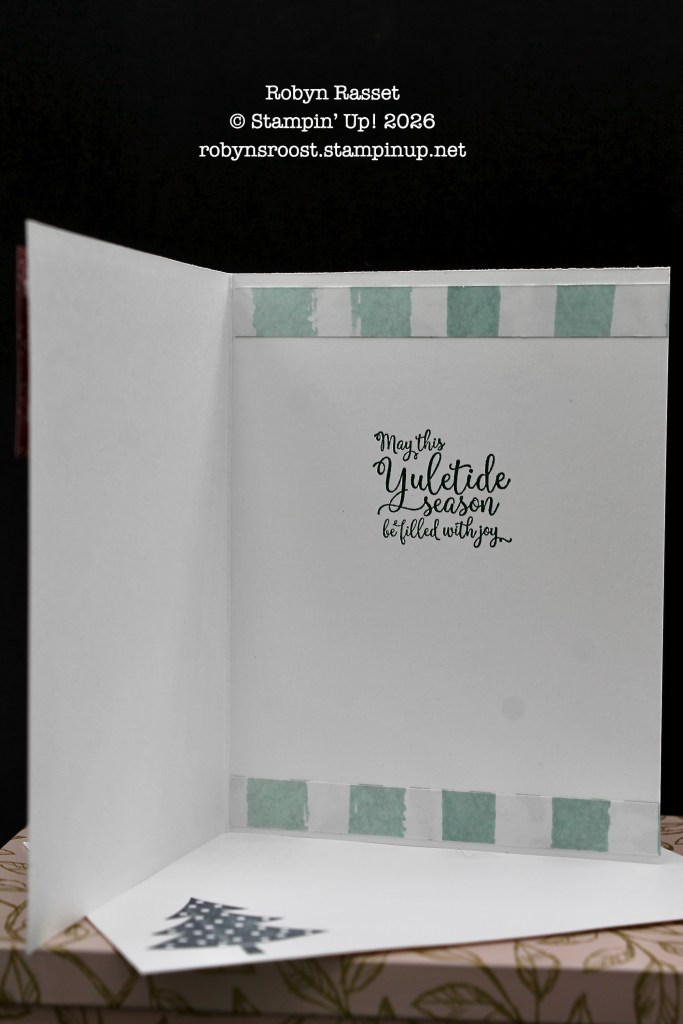
Again choose another two strips to decorate the inside of the card.
All of these cards use retired designer series papers. My purpose was to USE UP some of my stash of pretty paper. The gems are retired as are the stamp sets that I used for the greetings. These projects are for inspiration to use the items that you have on hand!
The labels were all cut using the current Sweet Words & Labels Dies which is part of the Silly Old Bear Suite.
Watch my Creating Cards with Scraps Video Tutorial to see these cards being created. It did get a bit long but you can see my process for choosing papers and putting the cards together.
Hope you have a great day!
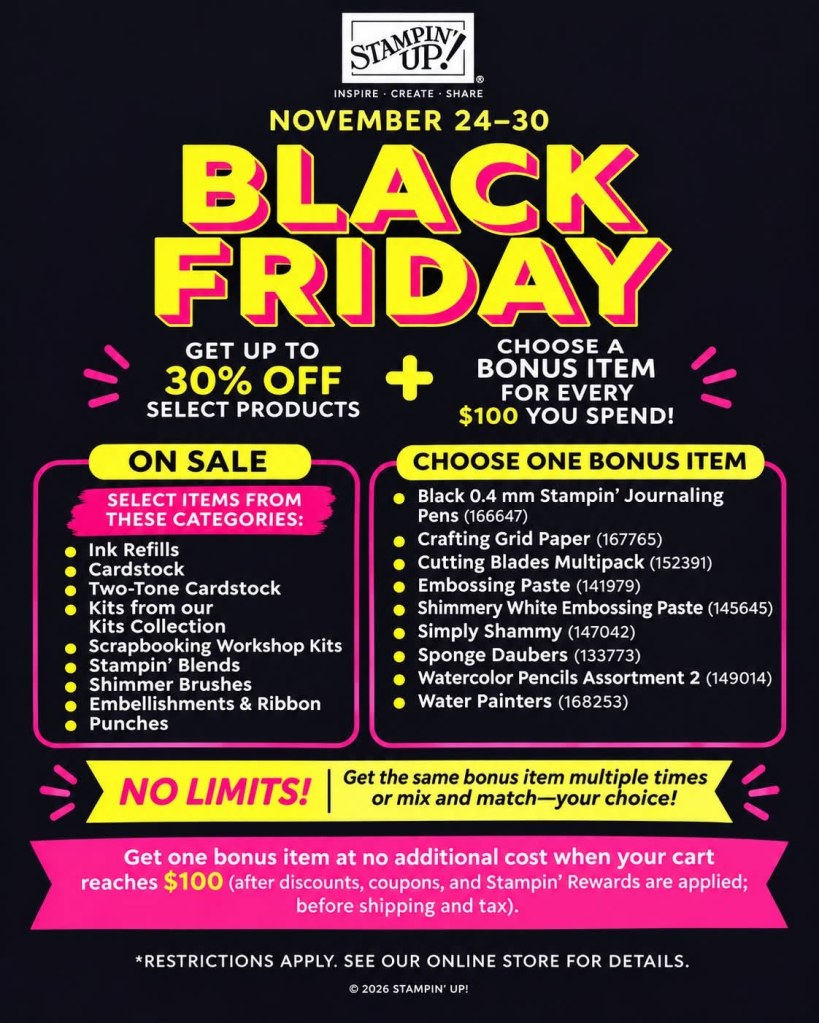
P.S. get ready for a great Black Friday Sale starting on November 24!