
By using masks, images can be layered to appear on top of each other. Create masks by stamping the image onto a post it note and cutting out. It’s best to cut on the line or slightly inside the line to get the closest coverage. Simply stick the mask on the image that you want to be the top layer and stamp over it for the bottom layer. Remove the mask and the original image is on top of the second image.
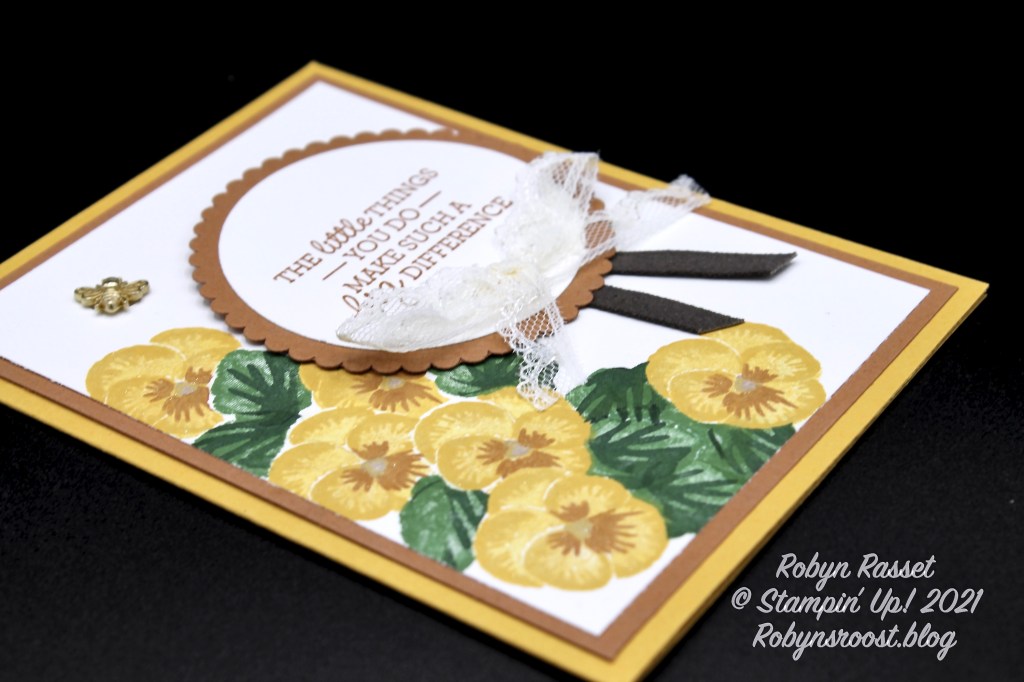
This patch of pansies was created using three flower masks and two leaf masks. Start with the image that is going to be on the top (lower left corner on this card) and work up and across from there, masking where needed.
Paper Dimensions:
Bumblebee card base 8 1/2″ x 5 1/2″ scored at 4 1/4″
Cinnamon Cider 4″ x 5 1/4″
Cinnamon Cider die cut scalloped circle 2 7/8″
Basic White 3 3/4″ x 5″
Basic White die cut circle 2 3/8″
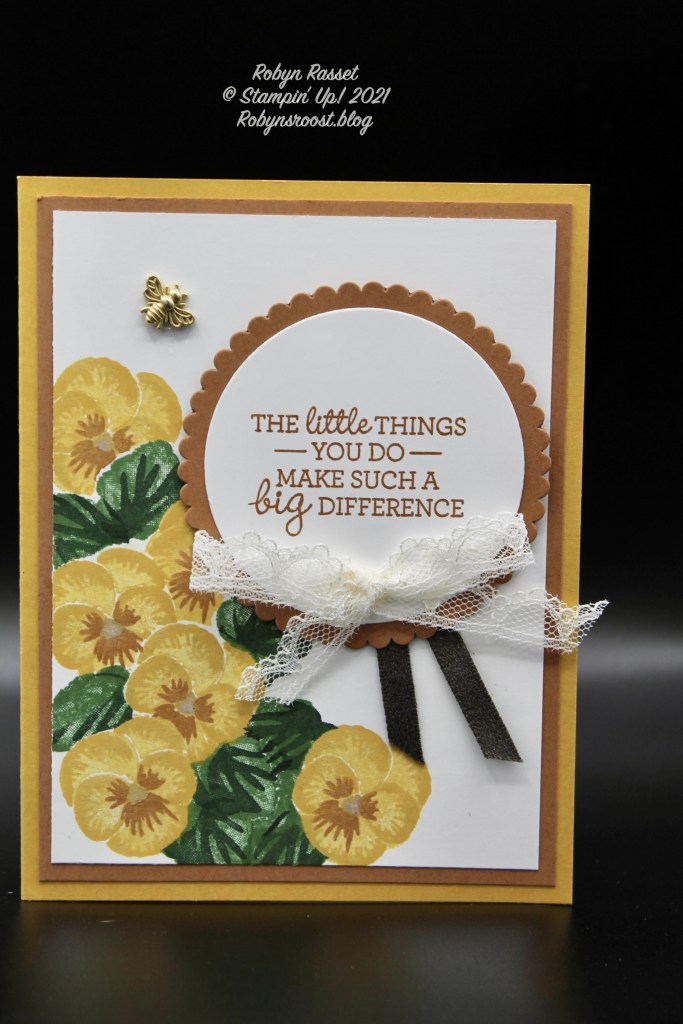
It isn’t showing up on the photos but Wink of Stella was brushed over the flower blossoms giving the flowers a bit of sparkle when the light hits them.
A little tail of Early Espresso Suede Trim was added behind the greeting which is popped up with dimensionals and a lace bow was added on top.
Finally, a little Bumblebee Trinket was caught buzzing around the flowers.
Remember to take time to smell the roses today, or at least to enjoy the pansies!
Upcoming Creative Cards Class August 11 at 6:30 pm or August 12 at 9:30 am
Product List

|
|

|
|

|
|

|
")


 Scalloped Lace Trim")
 Faux Suede Trim")


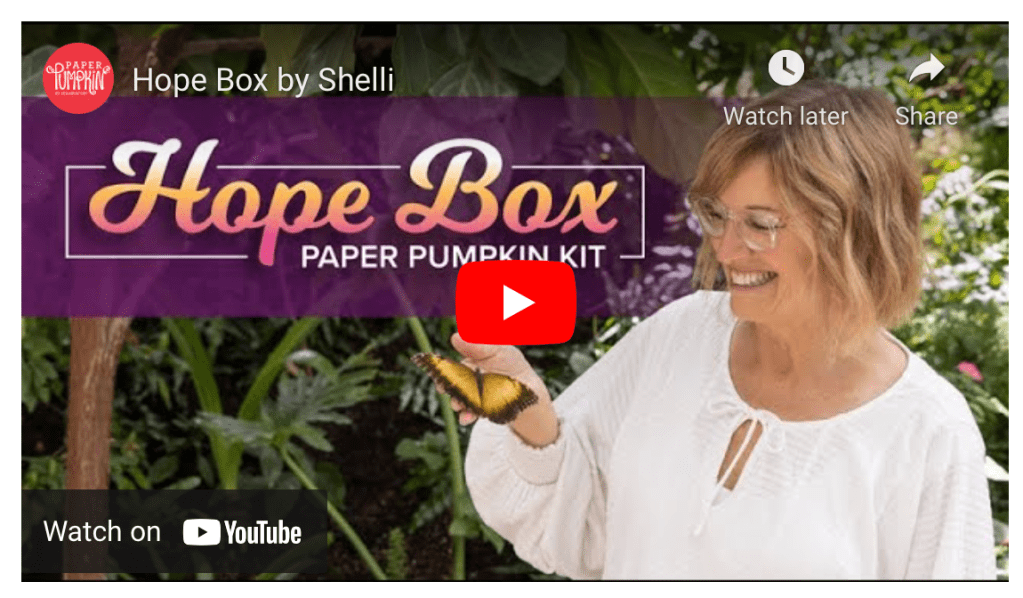
Subscribe NOW to get your Hope Box kit and come to Kit Club on August 25 for a fun evening of sharing and crafting.

Beautiful card Robyn! I love the yellow pansies, and masking makes such pretty images.
LikeLike