
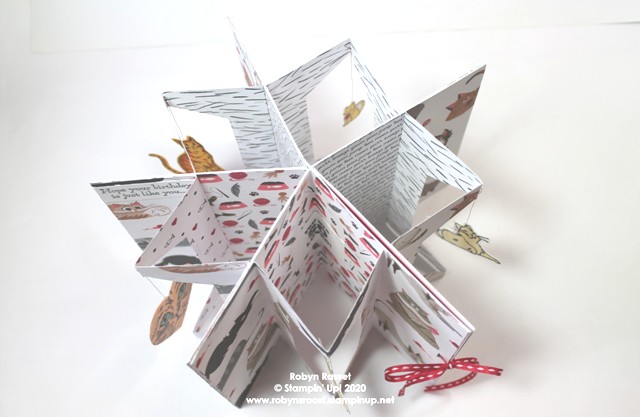
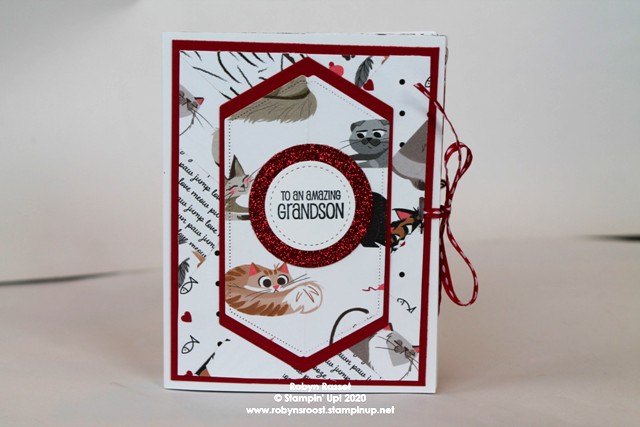
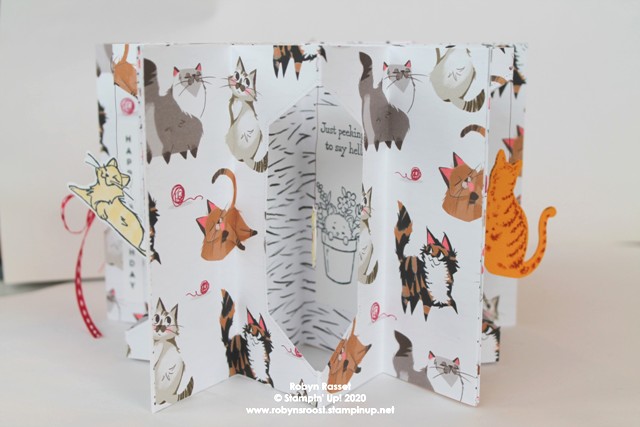
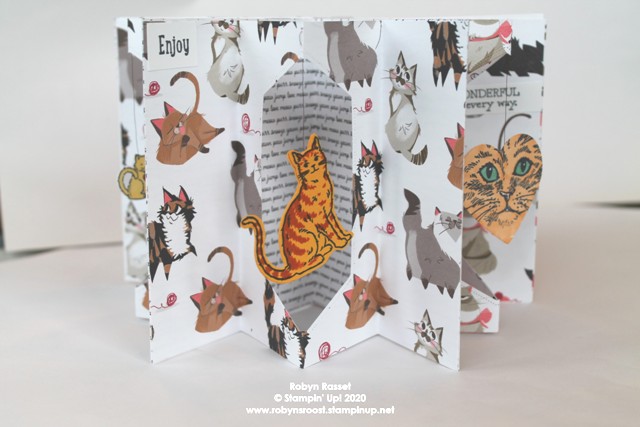
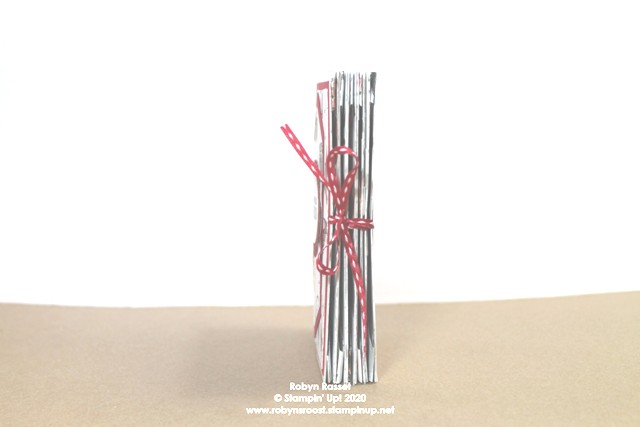
This is a Wow! card that I made for my oldest grandson’s 9th birthday. It was fun to make but did take several hours. The basic card is a fun fold card, multiply it times 5 and then glue the cards all together.

Basic Directions for each card section:
- Start with a Whisper White 8 1/2″ x 4 1/4″ base scored at 4 1/4″. Use the regular weight paper, not the thick.
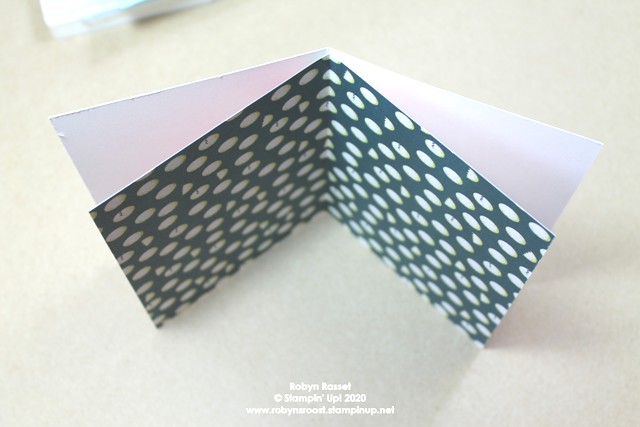
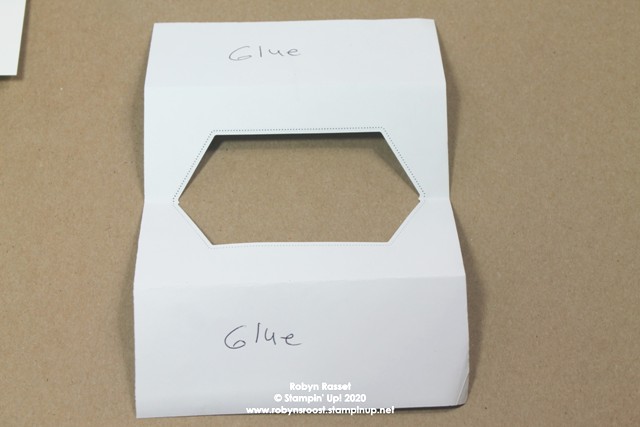
- Cut 2 pieces of coordinating designer paper 8 1/2″ x 4 1/4″. Fold one in half and glue it to the card base. I like to use Tombo Liquid Glue to adhere these large layers together. Make sure that everything lines up and will fold and lay open without ripples. (See photo A)
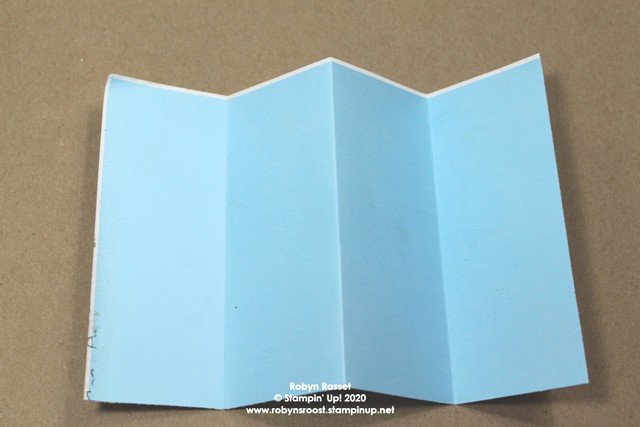
- Fold the second piece in half, then fold both sides to meet middle fold. There will be 4 equal sections. (See photo B)
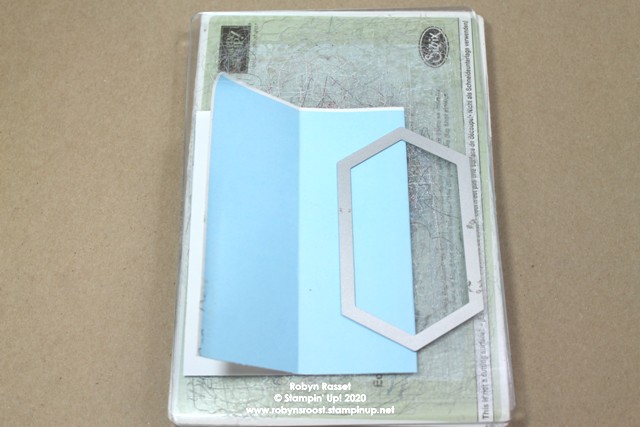
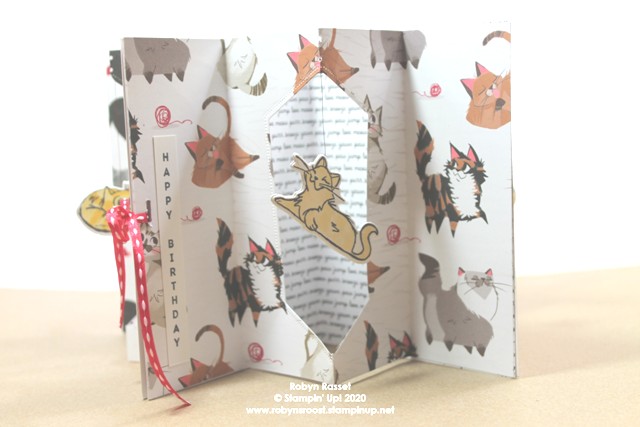
- To die cut the centers, place the designer paper onto the cutter plate folded in half. Position the die with the center lined up on the fold and run through the cutter twice to make sure that both layers cut through. (See photo C)
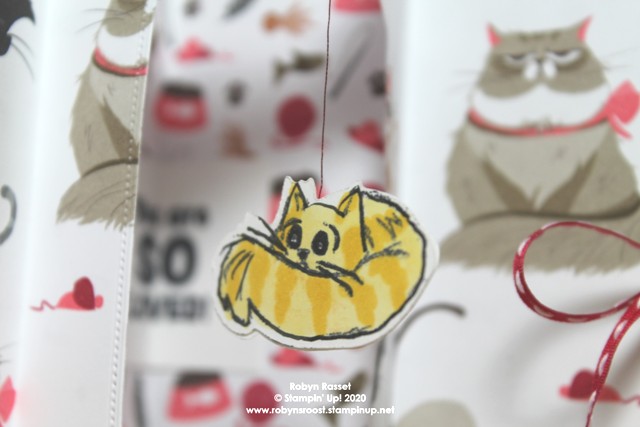
- Use a 1/8″ hole punch and punch 2 holes in the top area above the die cut. This will be used to tie the dangly image.
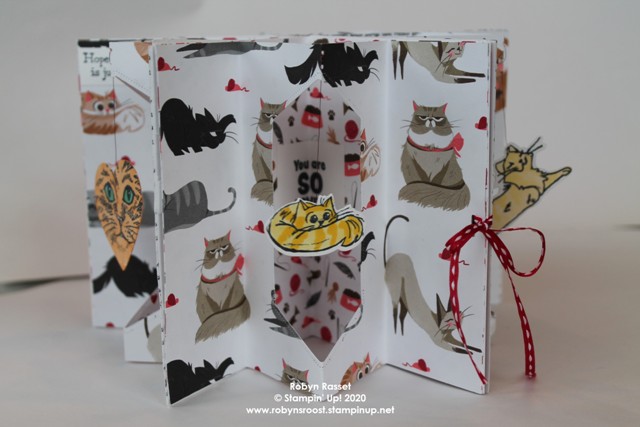
- Stamp and die cut an image to dangle. To create a mirror image for the back side, stamp the image onto a clear block, then press a piece of cardstock onto the ink on the block. Be patient and willing to try a few times to get an image that looks good. I sometimes use the journaling pen to carefully darken outlines on the mirror image if needed. Color if desired, then glue the two images back to back with a piece of metallic thread between them. Tie to the holes that were created. Leave the thread long enough that the image hangs in the center of the die cut.
- Glue the 2 outside pieces to the designer paper on the cardbase. Line up the edges. Be sure to play with it as the glue dries so that it fits properly. (See photo D)
- Add any greetings or additional images.
Assembly:
- Make a total of 5 cards as described above.
- Choose 1 to be the front and decorate as desired. Don’t make anything too thick.
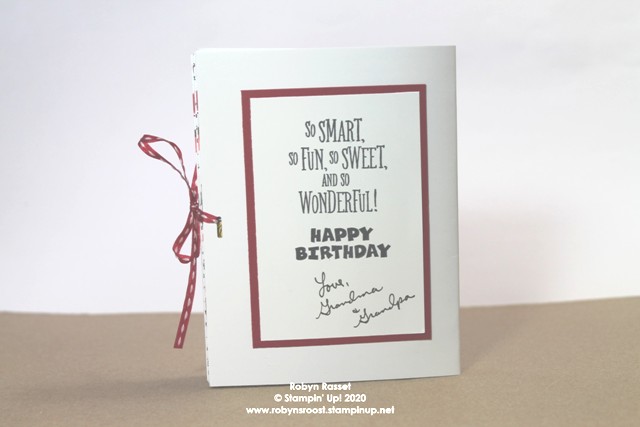
- Choose another card to be the back and make a signature/greeting area on the back of this card.
- Punch a slot in edge of the front. Mark the same location on the back of the back card and punch a slot there as well. When complete a ribbon will slide through these holes to hold the card either open or closed.
- Glue the cards together with liquid glue. Be sure to leave the “front” not glued on the beginning and the “back” should end up on the back page.


I had a lot of fun making this card and hope that you enjoyed sharing it with me. I did use a few items for the dangly cats that are no longer available but most of the items are available to purchase to recreate this card. If you have any questions, please feel free to email me.
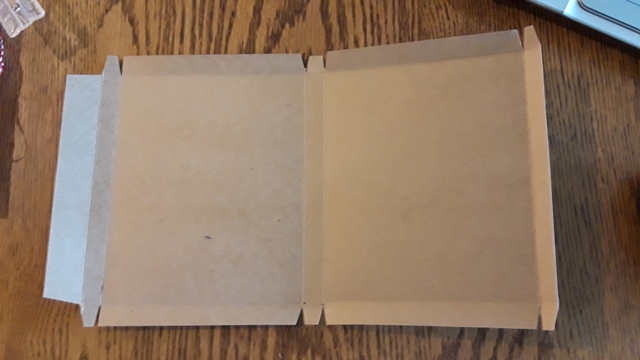
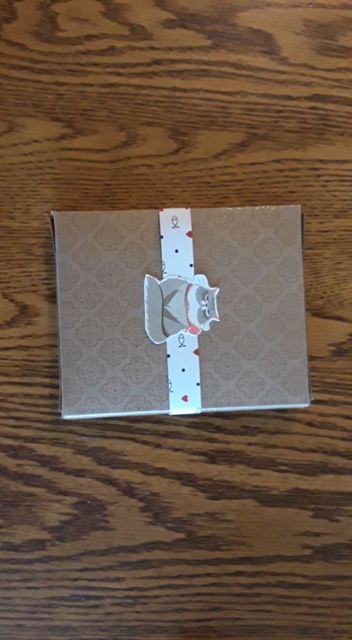
AFTER THOUGHT – As I was making the box to give this card to my grandson, I thought that you might like the directions for the box also. Here is what I came up with in the half hour that I had. Hope the dimensions are clear enough for you to use. I used a scrap of kraft cardstock that I had.
Start with a piece that is 11 5/8″ x 6 3/4″.
On the long side score at 3/4″, 1 1/4″, 6″, 6 1/2″, 11 1/4″.
On the short side score at 1/2″ and 6 1/4″.
“PLEASE CLICK THE BLUE BOX FOR A POP UP LIST OF PARTICIPATING BLOGS”

Product List

|
|

|

|

|
|

|

|
")


