
I’ve been seeing a lot of cards on Pinterest using this Twisted Circles Technique and thought I would give it a try. It’s pretty easy but I do have to warn you that it is sort of addicting. Once I started punching out circles I found that I kept having more ideas about using different colors or different stamp sets. All I can say is to have fun experimenting with this technique. I also made a Twisted Circles Technique How-To Video if you would like to see the technique demonstrated.
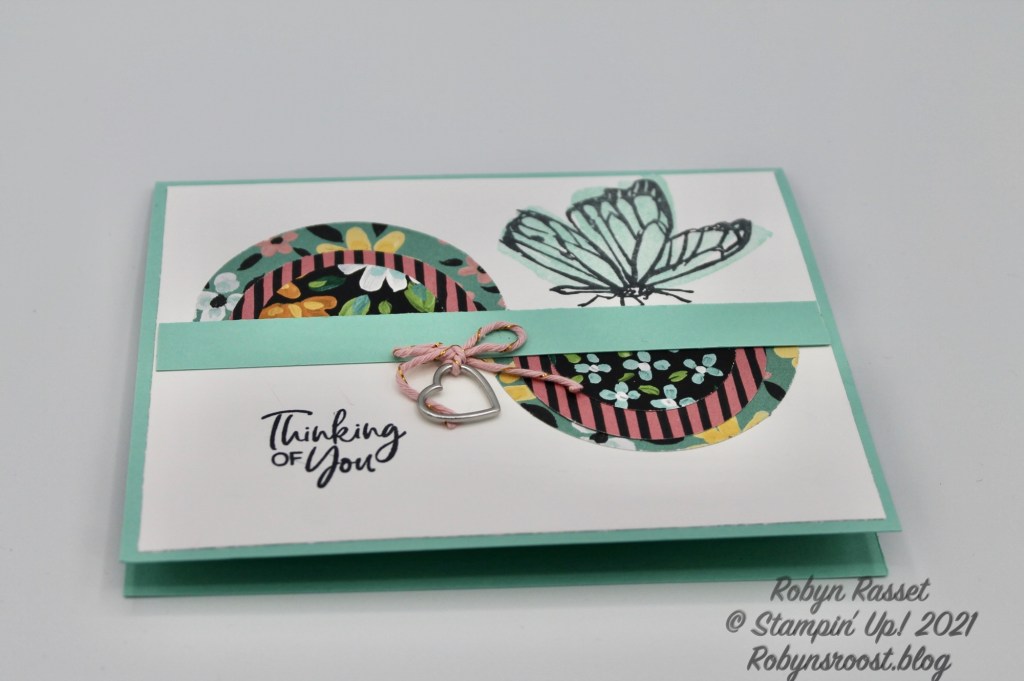
This was my favorite out of the half dozen designs that I created. To make the circles simply punch or die cut 3 circles. I used punches for mine in 2 1/2″, 2″ and 1 1/2″ sizes. Then cut them in half on a trimmer. I found that I preferred cutting the circles first and then layering them, but you could layer the circles and then cut them. My trimmer doesn’t seem to like adhesives and tends to gum up when I cut things so I shy away from cutting adhered items whenever possible.
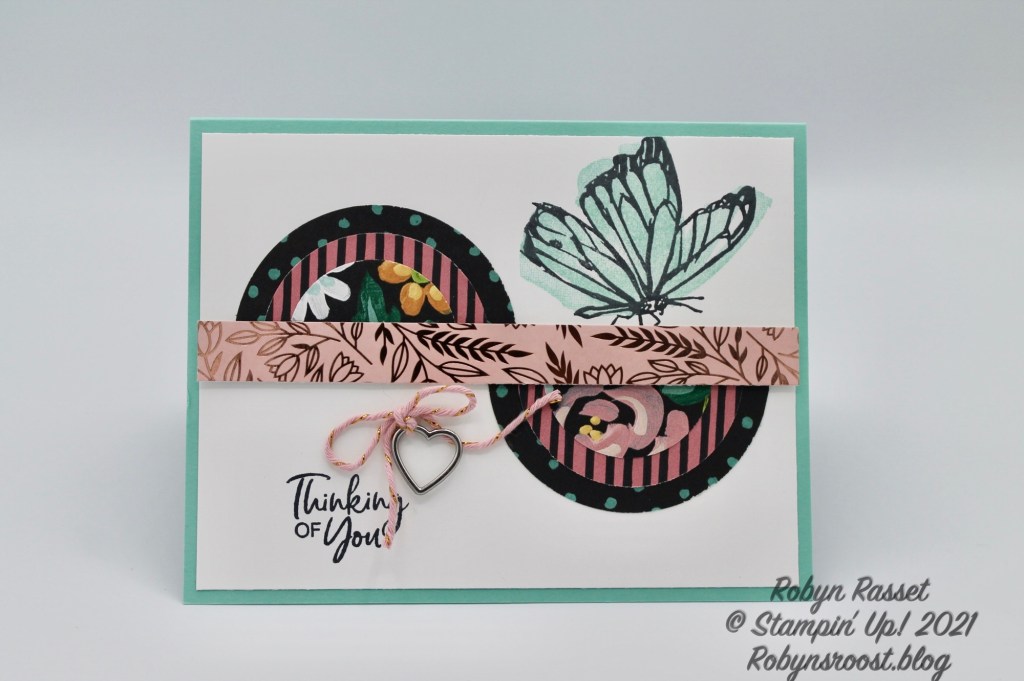
This card is the same, except that I have used the opposite side of one of the papers (Flower & Field), which by the way you can get for Free during Sale-a-bration (January 5 thru February). And I have added a strip of the gorgeous Love You Always Specialty Paper from the New January to June Mini Catalog. The cute Heart Charm is also part of this Love You Always Suite. The stamp set used on this card is also a Free Sale-a-bration item called A Touch of Ink. I’m a sucker for butterfly stamps and this one includes a hummingbird too!

For this card I decided to add a greeting die cut from the Word Wishes Dies. I cut the words twice, once in black paper and once in white and then glued them together a bit off set. I just got the Word Wishes Dies and they are awesome!

These words are also cut using the Word Wishes Dies but from another one of the papers in the Love You Always Suite, called Love You Always Foil Sheets. You get 6 12″ x 12″ sheets in three colors. The black and white paper is also from the Love You Always Suite and is called True Love. I wanted a ribbon in the Rococo Rose color but alas, didn’t have one, so I chose this Purple Posy ribbon. I think it might have looked better with a strip of Rococo Rose paper?
Paper Dimension:
Card Base: 8 1/2″ x 5 1/2″ scored at 4 1/4″
Next Layer: 4″ x 5 1/4″
Paper Strip: 1/2″ x 5 1/4″
Circles: 2 1/2″, 2″, and 1 1/2″
Remember that you have a couple more days to get those items from the July to December Mini Catalog that are still on your wish list. There are still some items left at half off prices. Also, check out the Clearance Rack before sending off your order.
Virtual Open House Facebook Live January 5 at 11 a.m. at Robyn’s Roost
