
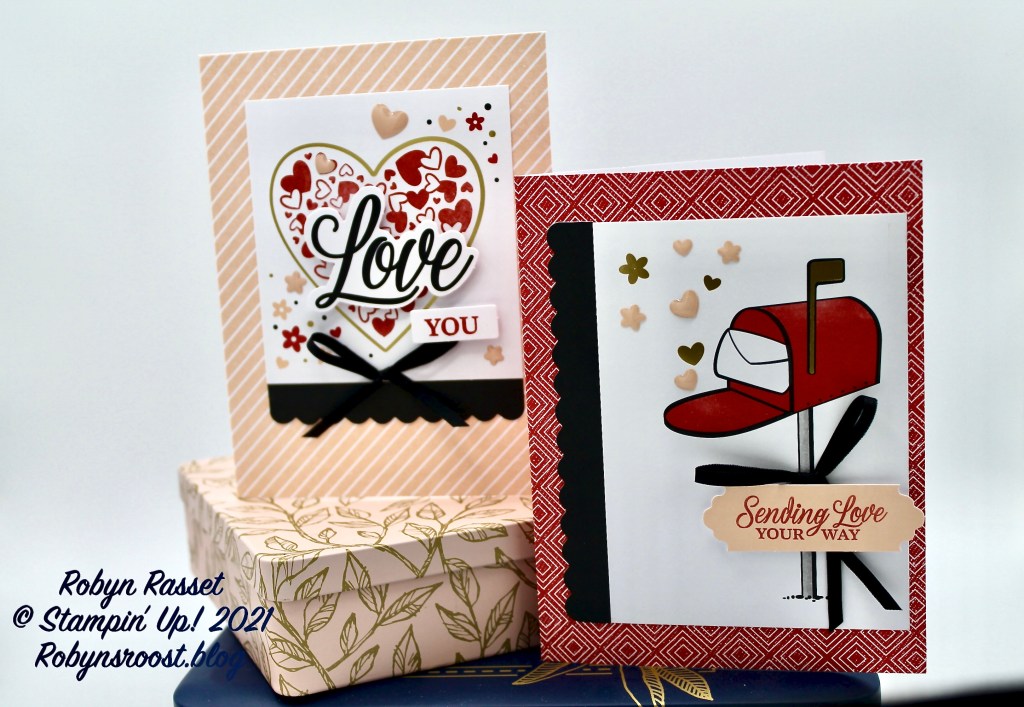
The January Sending Hearts Paper Pumpkin Kit is awesome. I didn’t feel the need to change the cards up at all, so made them just as planned.
I actually get my mail from a mailbox just like the one on the card except mine is painted black. I think I like the red but it would probably be like a red flag to the crazies who like to beat in mailboxes with a pipe, lol. I love the pink epoxy hearts and flowers and the narrow black ribbon.
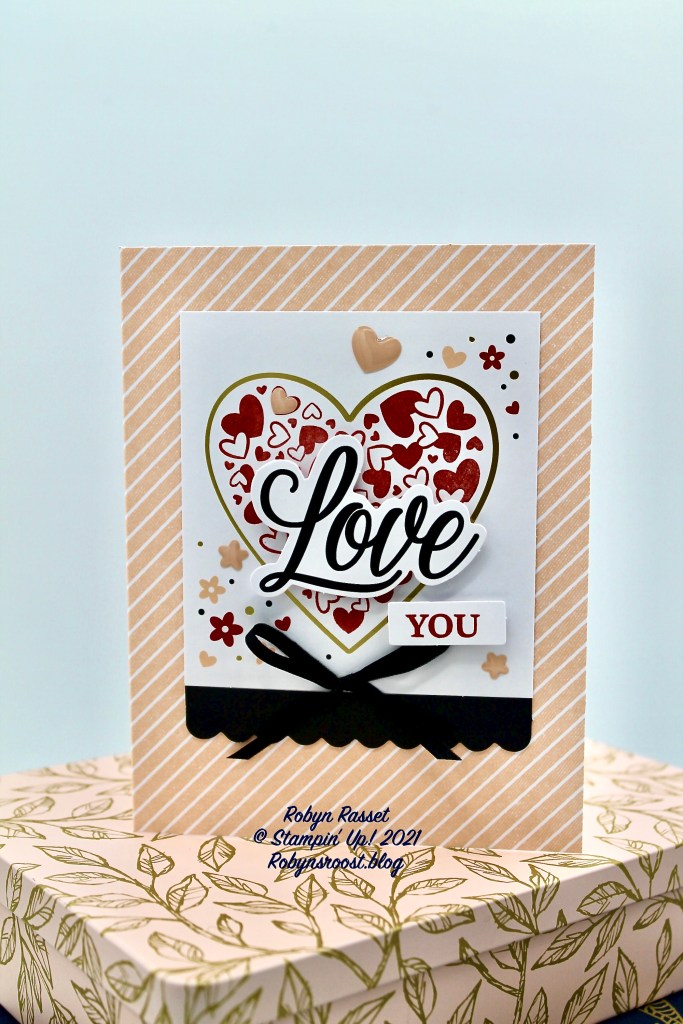
I often find that I need to tweak the designs a bit to fit my personality but not this time.
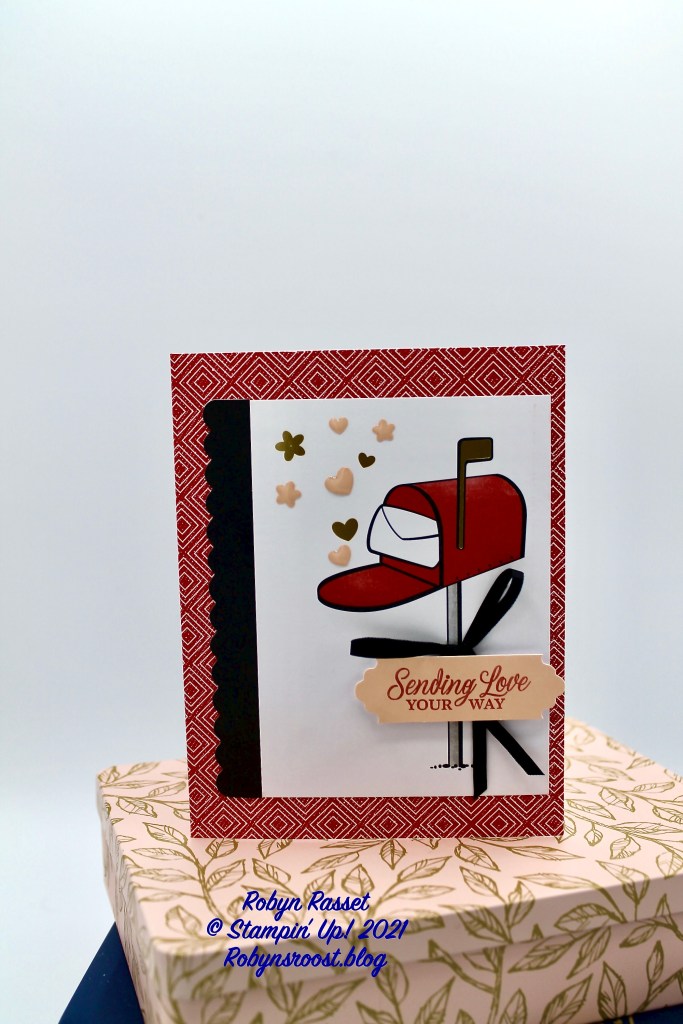
There was just a bit of stamping to do to complete these cards. They would have been perfect to work on during a lunch break at work or while waiting for a child to be done with an activity.
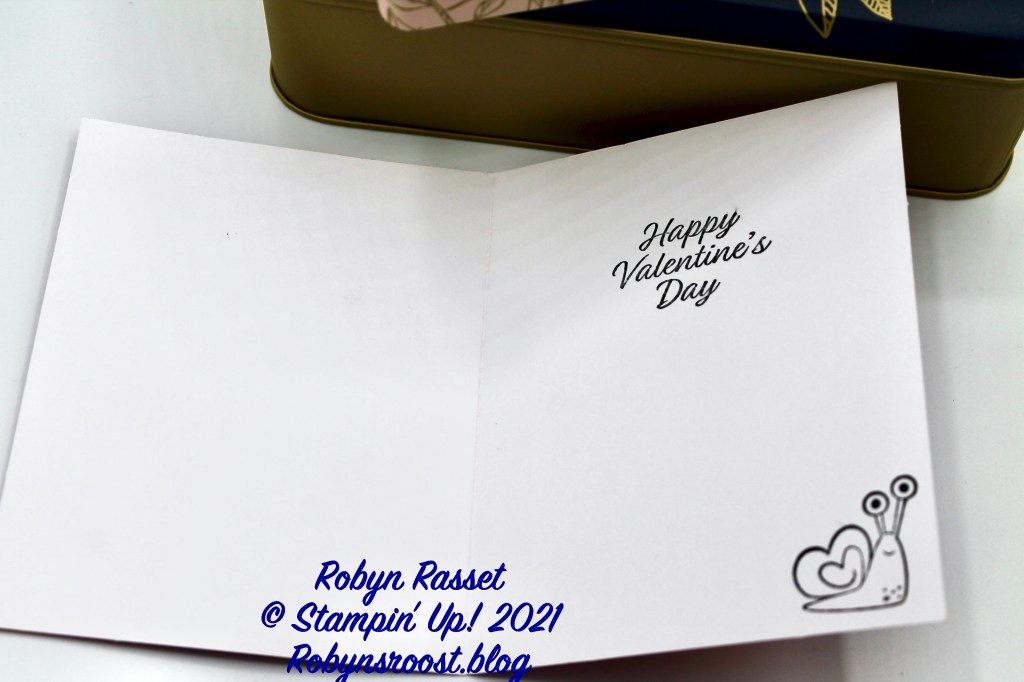
I did pull out my Meant to Be stamp set and used the Happy Valentine’s Day greeting from that set for the inside and I just had to stamp the little snail on the cards somewhere.
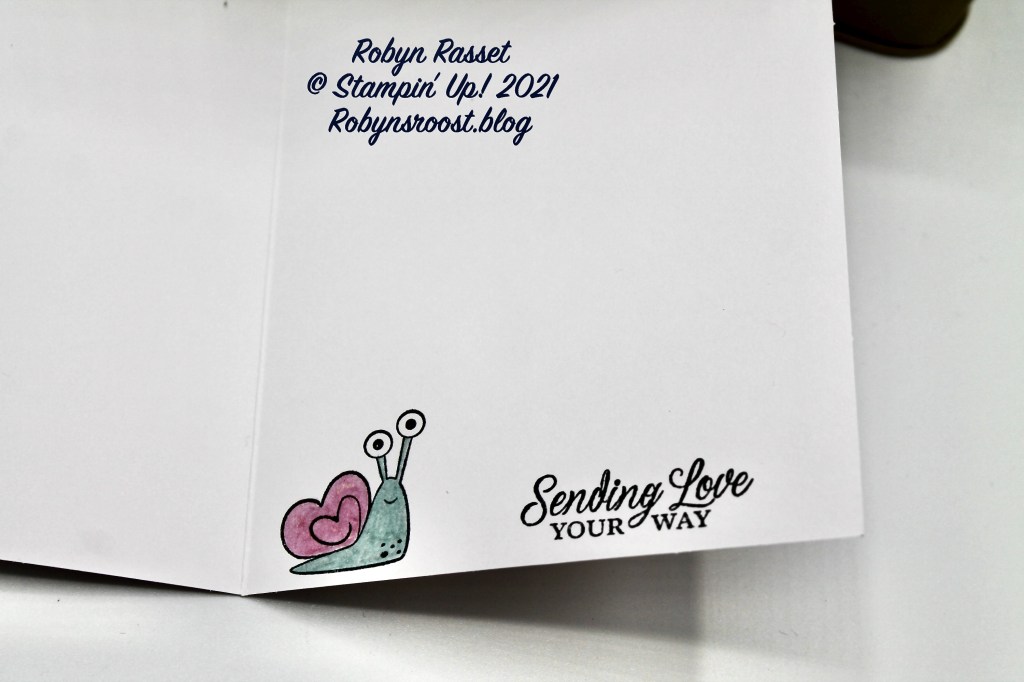
I colored the snail on the inside of the Heart Card using water color pencils and a blender pen.
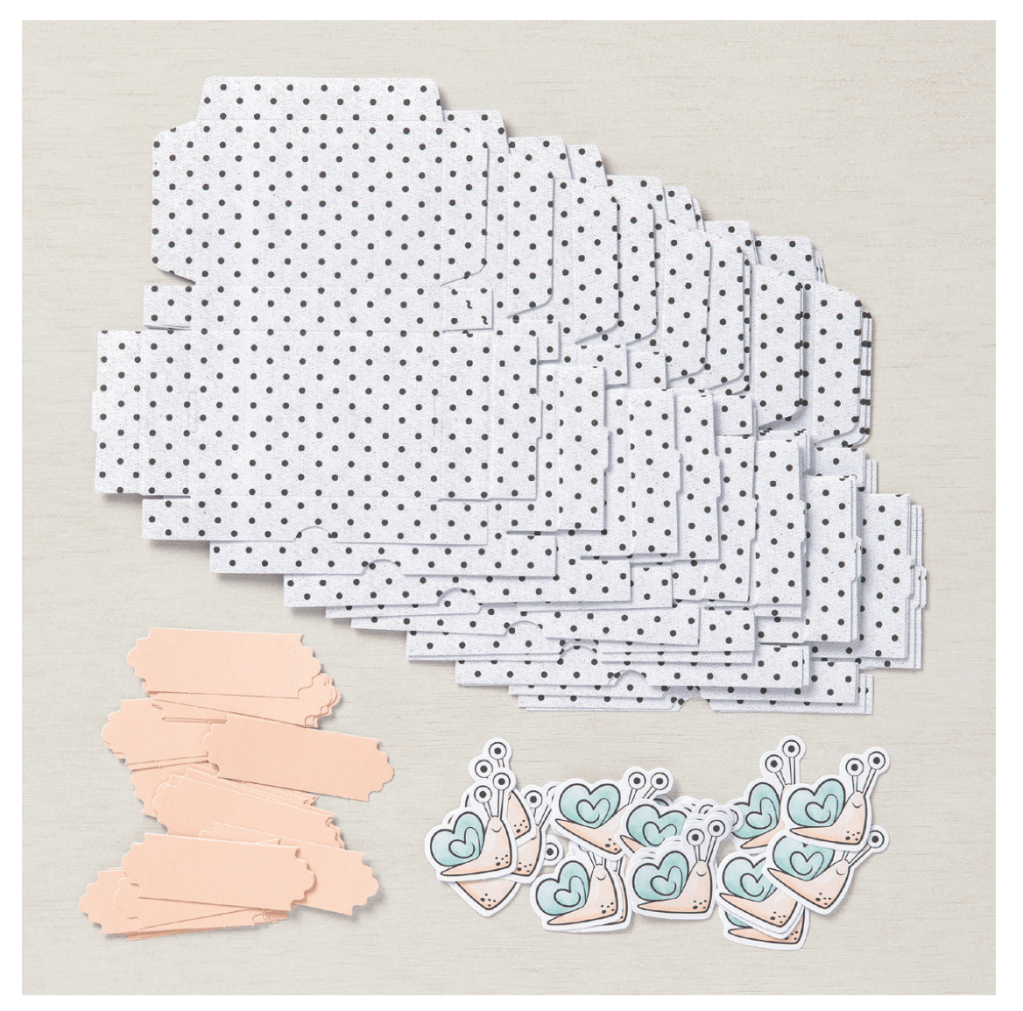
The Little Love Boxes can be purchased for $8 to make 20 cute little treat boxes to coordinate with the Sending Hearts PP Kit. Aren’t the snails cute?
Click Here to Start your Paper Pumpkin Subscription OR if you would like to purchase a Prepaid Subscription Click Here
What is the difference between the two ways to Subscribe to Paper Pumpkin you ask?
Month to month Subscriptions are charged to a credit card each month when the kit ships. A kit will ship each month unless the subscription is cancelled or suspended.
Prepaid Subscriptions are purchased on a regular Stampin’ Up! order for 1, 3, 6, or 12 months. Once the order is received, Stampin’ Up! emails a code to the subscriber and it can be entered on the Paper Pumpkin website. Prepaid orders qualify for FREE Sale-a-bration items which makes for an awesome BARGAIN!
Here are a few alternate ideas that I create using the stamps from the Sending Hearts Kit. Remember that the fun doesn’t end once the kit supplies are used up. The stamp set and ink pad can be added to your collection for lots more creativity over the years.
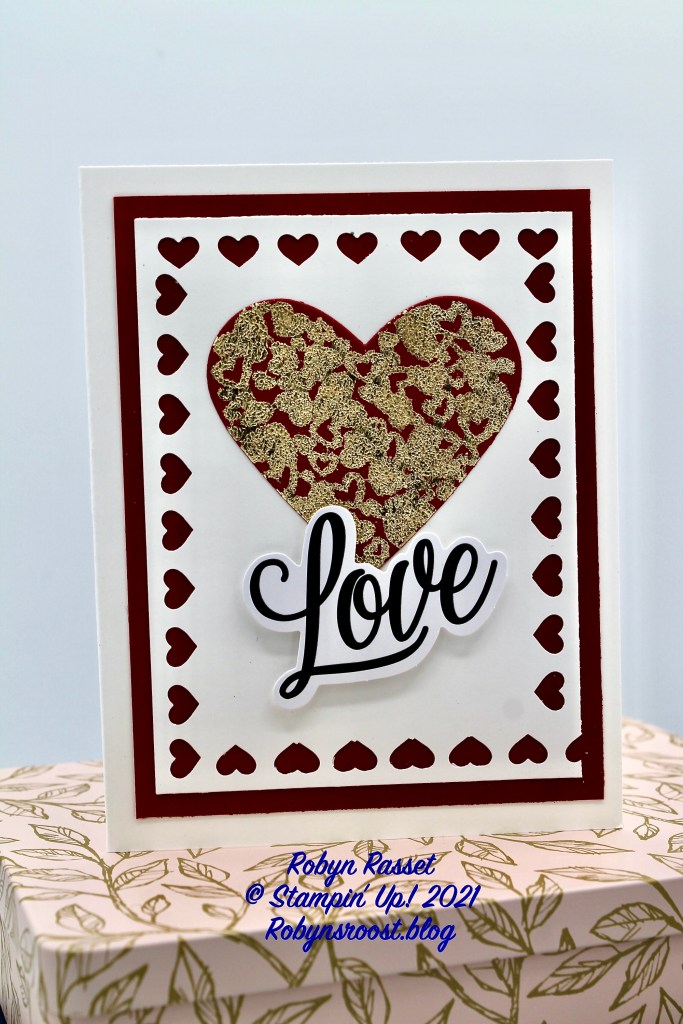
For this design I used a Hearts Border Punch to add a border of mini hearts around the edge of a basic white layer. The Heart stamp from the Sending Hearts set was stamped with VersaMark ink and sprinkled with Heat & Stick Embossing Powder then heated with a Heat Tool. The Gold Gilding was placed onto the heart and rubbed in. Then the heart was die cut with one of the dies from the retired Sweet and Sassy die set. I did steal the Love cut out from the kit for this card.
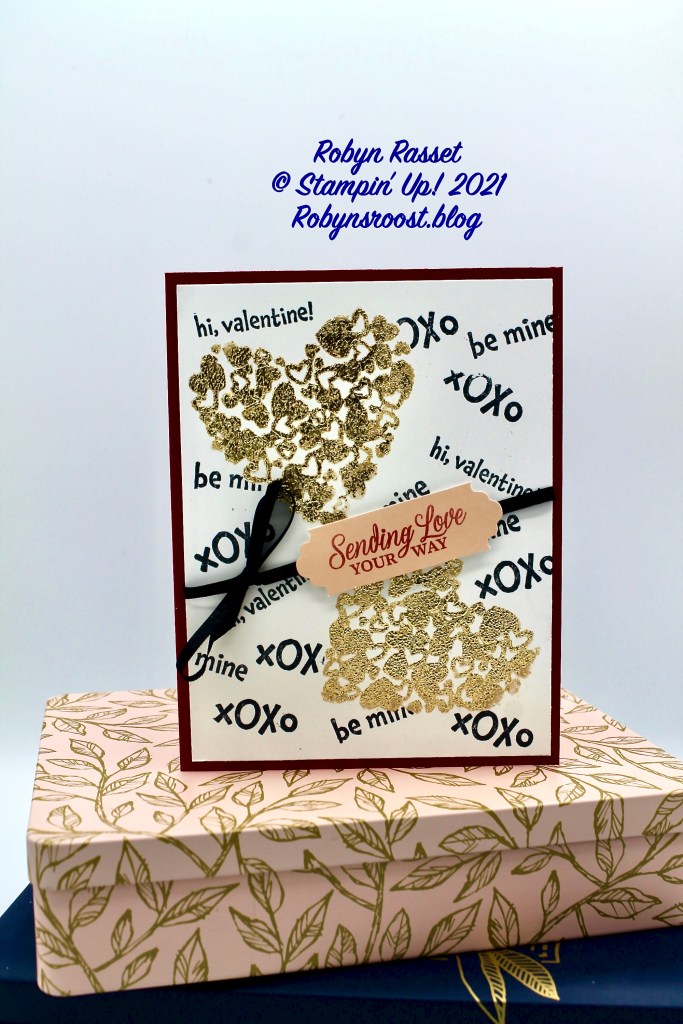
For this card I also used the Gold Gilding, then I masked off the hearts and stamped the cute greetings all over the card. The black ribbon and label are from the kit.
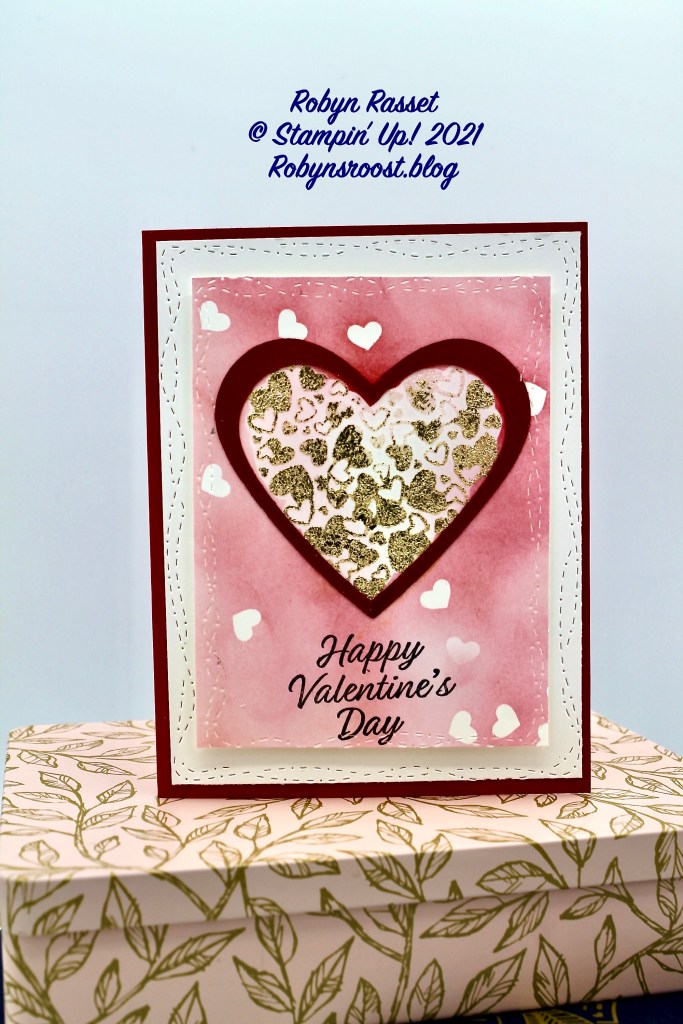
This card starts with a Gold Gilded Heart then I punched some of the border hearts from a sticky note and used them as a mask and sponged the background with a Blender Brush and Poppy Parade ink. The Heart frame is created using the Sweet and Sassy Dies. The stitching on the edges of both layers is done with the Stitched with Whimsy dies from the January to June Mini catalog. This dies are almost hidden toward the end of the catalog with the Hot Dog stamp set. They don’t ‘cut out’ and image but do cut a fun meandering pattern along the edge.
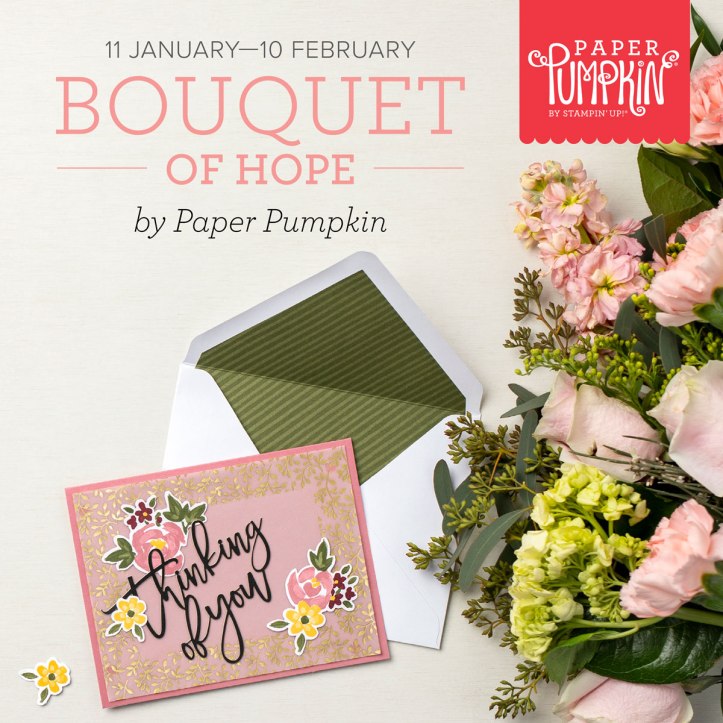
Subscribe by February 10 to get the Bouquet of Hope kit. Remember to enter your code by February 10 if you purchase a prepaid subscription.
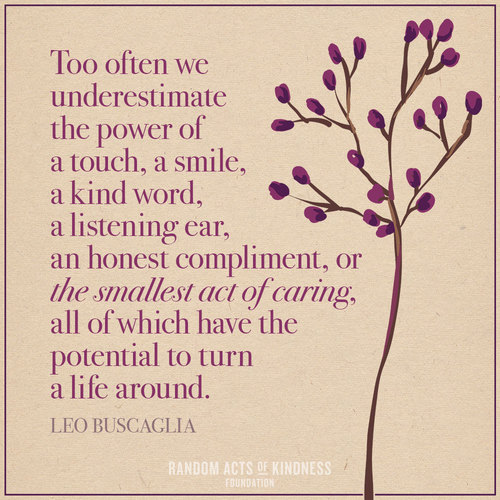
I found this quote about kindness that I wanted to share with you and I would like to challenge you to send a card today to someone who needs it. God will tell you who to send it to, if you only listen.
Robyn
