My Hollywood Stamping Chicks team belongs to a larger group called the DOStamperSTARS and the STARS hold monthly Facebook meetings filled with fun activities, crafting tips, business tips, plain old socializing (our fearless leader, Dawn O has a hard time keeping us on topic sometimes!) and of course, STAMPING. We do a Mystery Card Challenge, which is an activity where you are given a list of supplies to have on hand. The list includes paper measurements and suggested stamp sizes but doesn’t specify any certain colors or stamp sets. If this sounds like a group that you would like to be part of you can JOIN HERE, but, wait until May 4 because there is a special offer that will get you some EXTRA stuff!
So here is the list of items to bring for this Crisscross Mystery Card:
PAPER:
___Card base: half sheet of cardstock
___Designer Series Paper (DSP): 4” x 5 1/4”, and coordinating pieces: (1) of 3/4” x 5 1/4”, (2) of 1/2” x 6”
___Basic White (or vanilla): approximately 3” x 2 1/2” for sentiment &/or stamped images (this can be smaller if desired)
STAMPS – choose set(s) with images and/or sentiment to fit white layer
INKS – to match DSP
PUNCH/DIE – to cut white stamped piece (optional)
OTHER – Ribbon/Trim, Embellishment jewels/dots – optional
TOOLS – bone folder, scissors and adhesive
Of course, I started to put my card together before Connie gave instructions, so I adhered my widest strip on the edge instead of the middle.
- Don’t adhere the DSP to the card front until the strips are all in place and glued down.
- Adhere the widest strip in the center of the large DSP.
- Adhere the 2 narrow strips crisscrossed over the wide strip.
- Cut off the excess tails that may be hanging over the edge of the DSP.
- Adhere to the card front.
- Add a greeting and image.
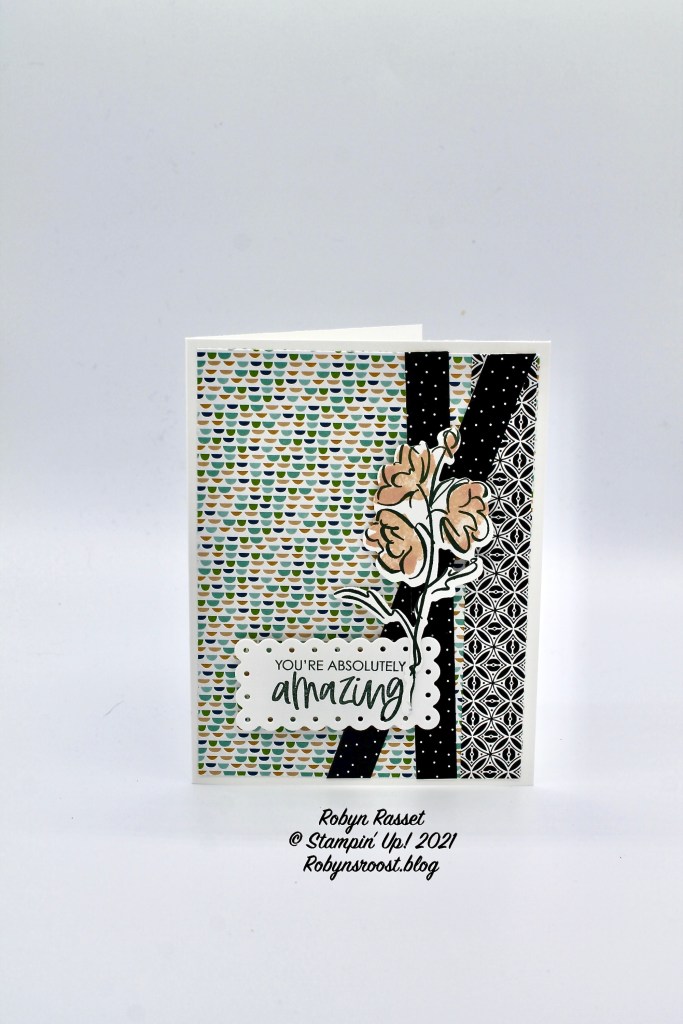
So here is my first attempt. I used the Color & Contour Bundle. It looked ok, but it didn’t have the cool dimensional look of everyone else’s card, so I decided to make another.
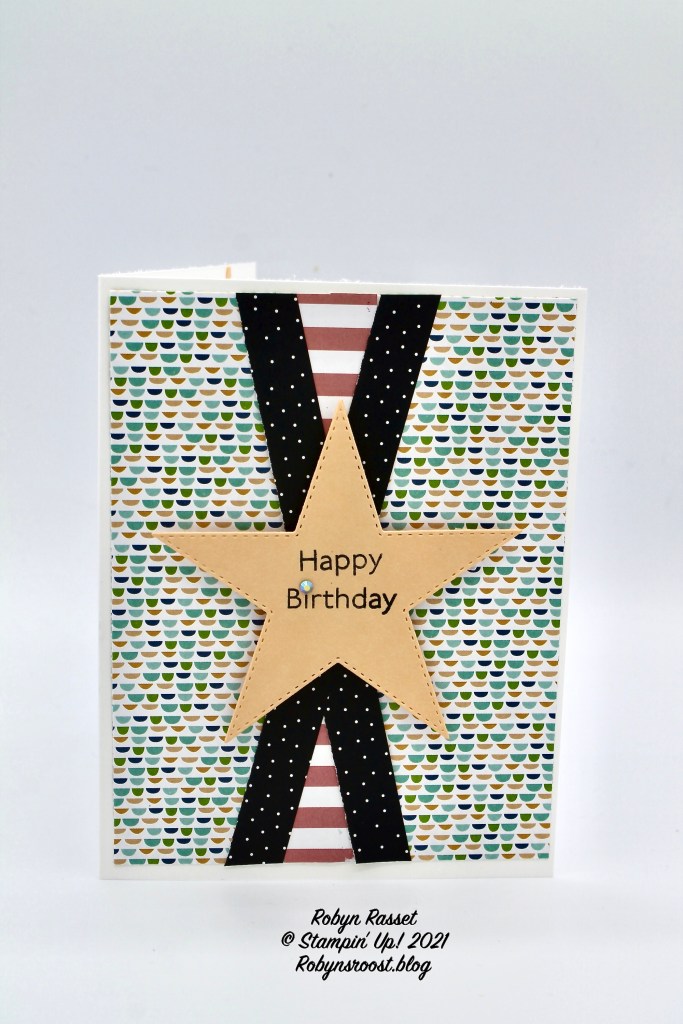
So for my retry, I used the same Pattern Play paper, which is a Hostess Reward in the new 2021-2022 Annual Stampin’ Up! Catalog. I pulled out the Stitched Stars Dies and then had to search my stamp library to find a happy birthday greeting to fit inside of the star. I finally found one in the Art Gallery set but did end up masking off the words so that I could put them on two lines instead of one. I added one of the small gems from the In-Color Jewels embellishments.
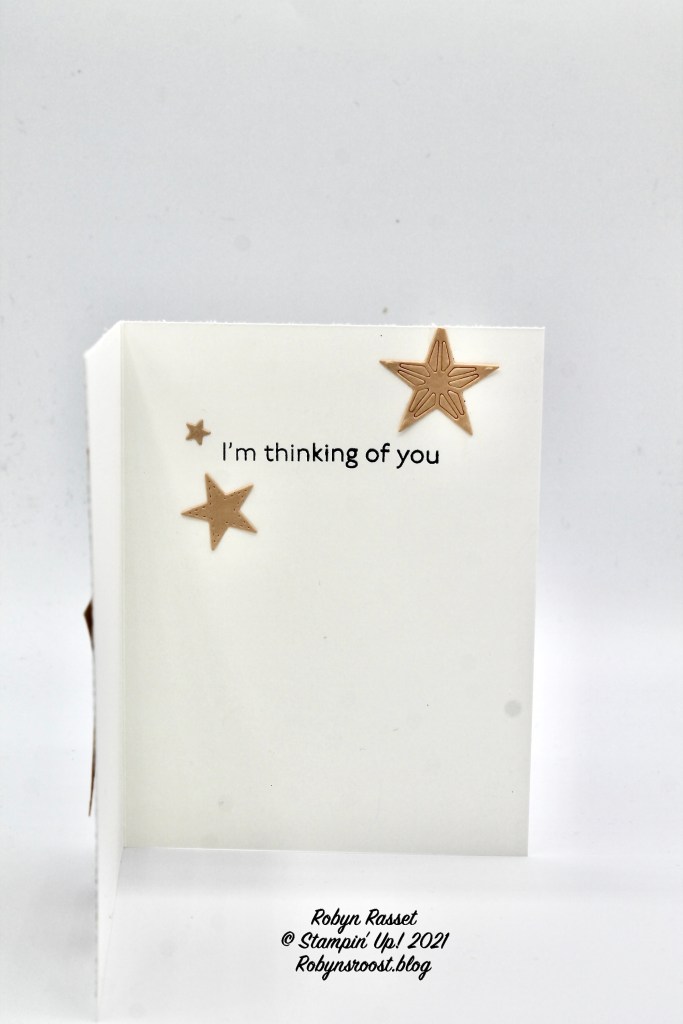
I even cut out a few of little stars and added them to the inside for a little extra love.
Mark your Calendars for these AWESOME Offers!
New Catalog Open House @ The Roost May 8 from 9 am to Noon