

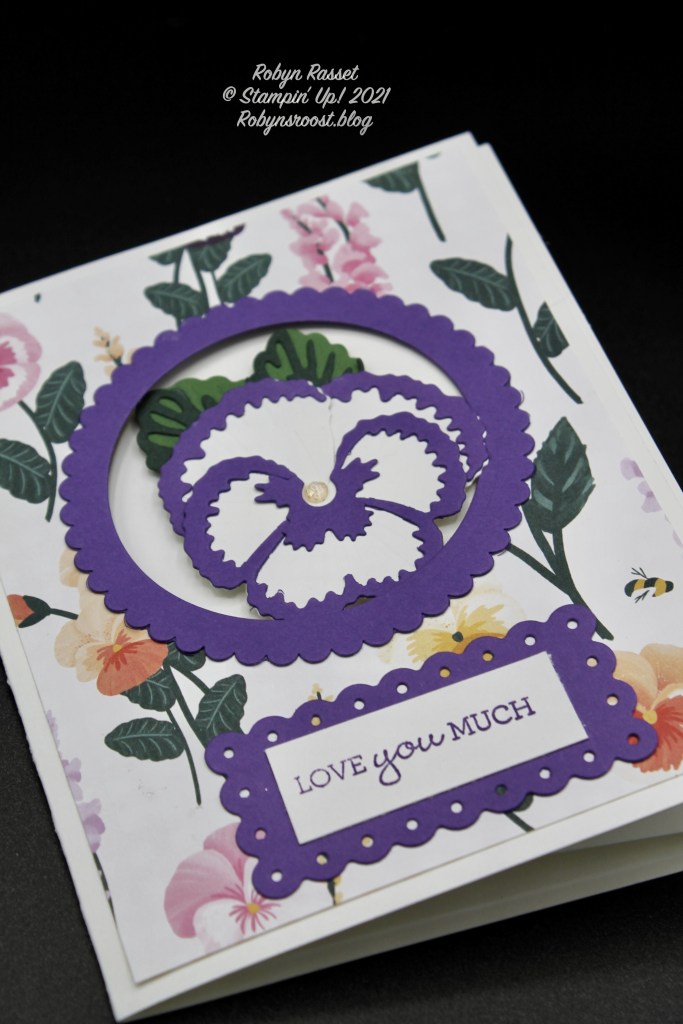
This pretty pansy card is one that I CASED from Susan Campfield. It was so pretty that I didn’t change much from her card.

This inside view shows how the card is put together. It’s basically a standard card base with a second, smaller card base adhered inside. This card really showcases the Pansy Dies. They are so striking in Gorgeous Grape and White!
Paper Sizes:
Basic White Thick 4 ¼” x 8 1/2’” scored at 4 ¼”
Basic White Thick 5 ¼” x 8” scored at 4” and 2”
Gorgeous Grape 3 ¼” square
Gorgeous Grape scraps
Evening Evergreen scraps
Garden Green scraps
Basic White scraps
Pansy Petals DSP 4” x 5 ¼”
Tips: Place sheet adhesive on card stock before die cutting the little flower pieces. This creates stickers and makes it easier to put the flowers together.
Only put adhesive on the outside edges of the Pansy Petals Designer Paper when adhering to the card front. Save the cut out circle to use for base of the pansy that shows through the window.
When adhering the pansy to the circle, make sure that none of the petals or leaves extend beyond the circle.
Don’t add the Gorgeous Grape frame around the window until after the inner circle is placed. To place the inner circle, close the card, add adhesive to the area inside the circle. Adhere the completed pansy circle through the window. This will ensure that it is positioned properly.
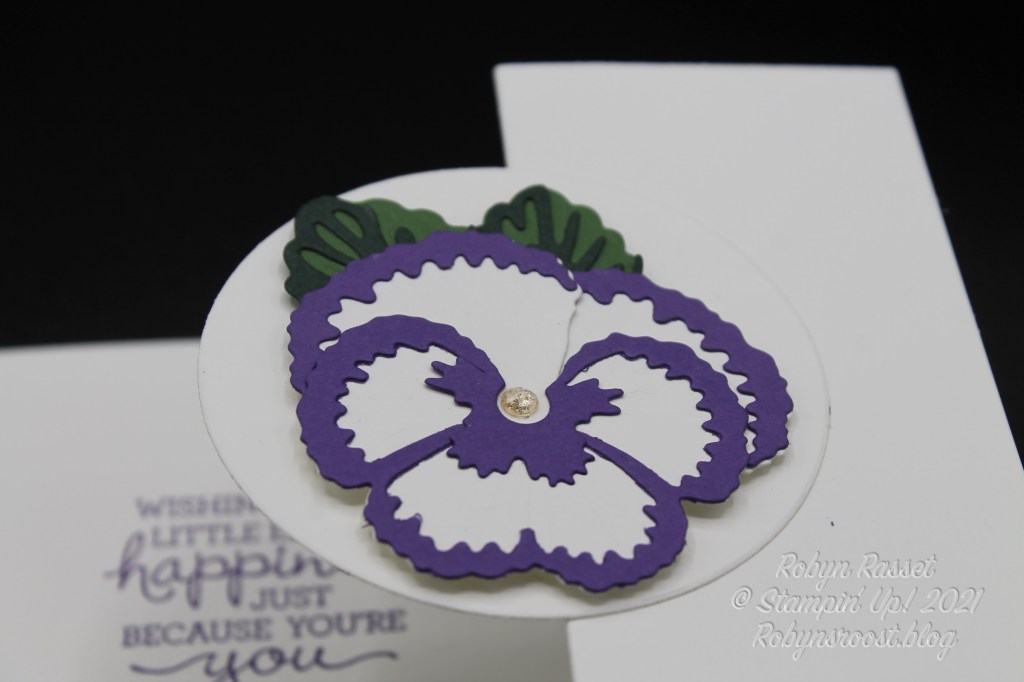
Here is a close-up of the large pansy.
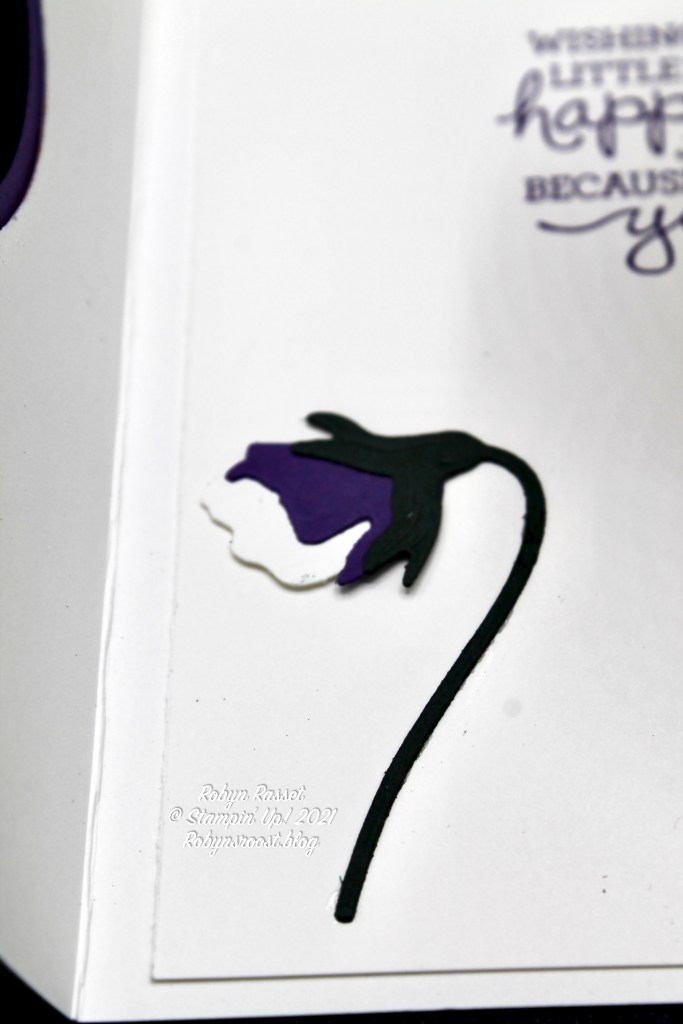
The bud is like a little BONUS in the die set, YAY!
Product List
")
 Designer Series Paper")


