
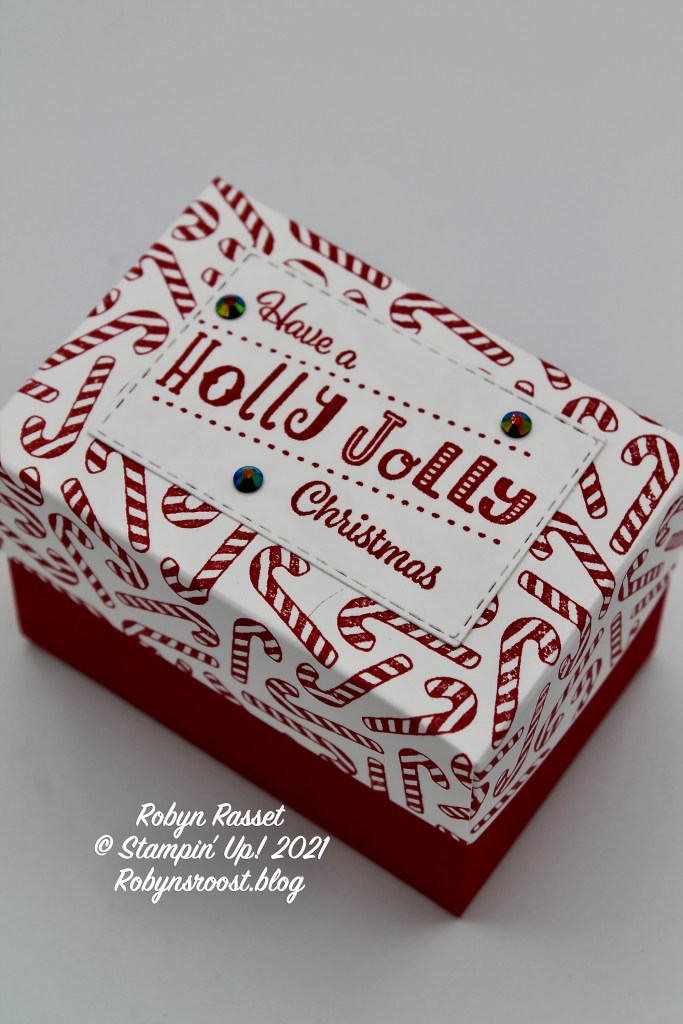
This cute little treat box will hold some candies or a small gift. The finished size is 2″ x 3″ x 2″ and it takes just minutes to make.
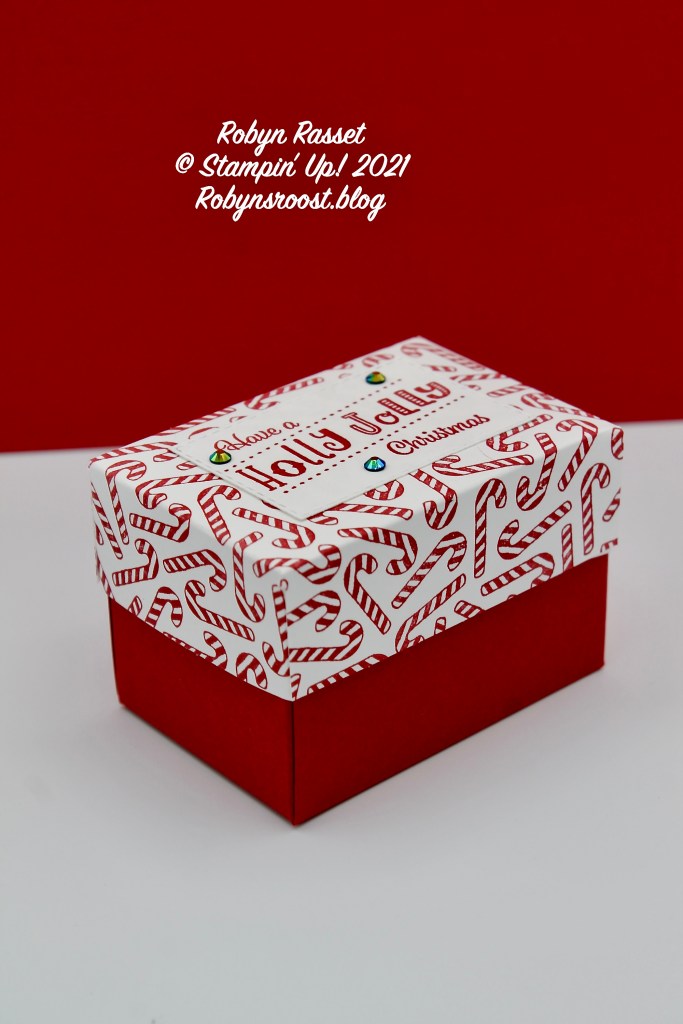
The box is CASE’d from Sam Hammond Donald, a Stampin’ Up! demonstrator from the UK. I was looking for ideas for packaging and I also wanted to try out my new Candy Cane background stamp, so I felt like I had won the lottery when I found Sam’s design. The greeting is from the Holly Jolly Wishes stamp set. It has 8 light hearted Christmas greetings in fun fonts.
Paper Dimensions:
Real Red Box Bottom 6″ x 7″ Scored at 2″ on all sides
Basic White Box Top 4 1/16″ x 5 1/16″ Scored at 1″ on all sides after stamping
Basic White Scrap for Label
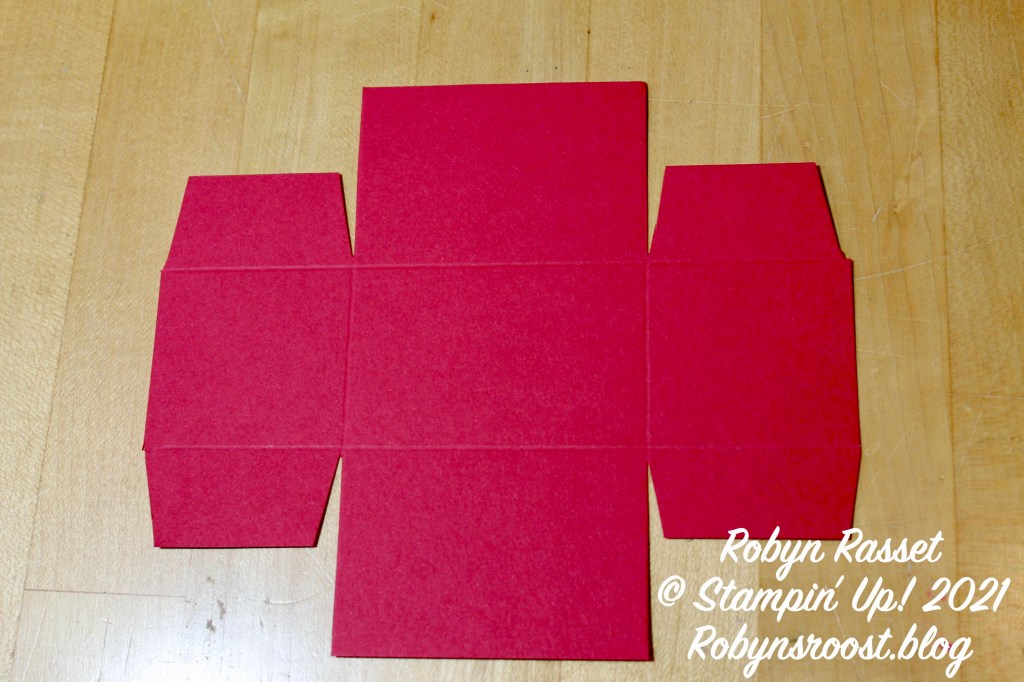
To create the glue tabs cut the score line up until it meets the intersecting score line. Trim the edges at an angle so that they won’t show, and cut about half of the tab off. Fold on all of the score lines and burnish with a bone folder. Adhere with Stampin’ Seal + or Tear and Tape.
Stamp the lid first first. I used my Stamparatus and started with a larger piece of paper and then cut it down to size after stamping. Then form into a box lid using the directions for the bottom.
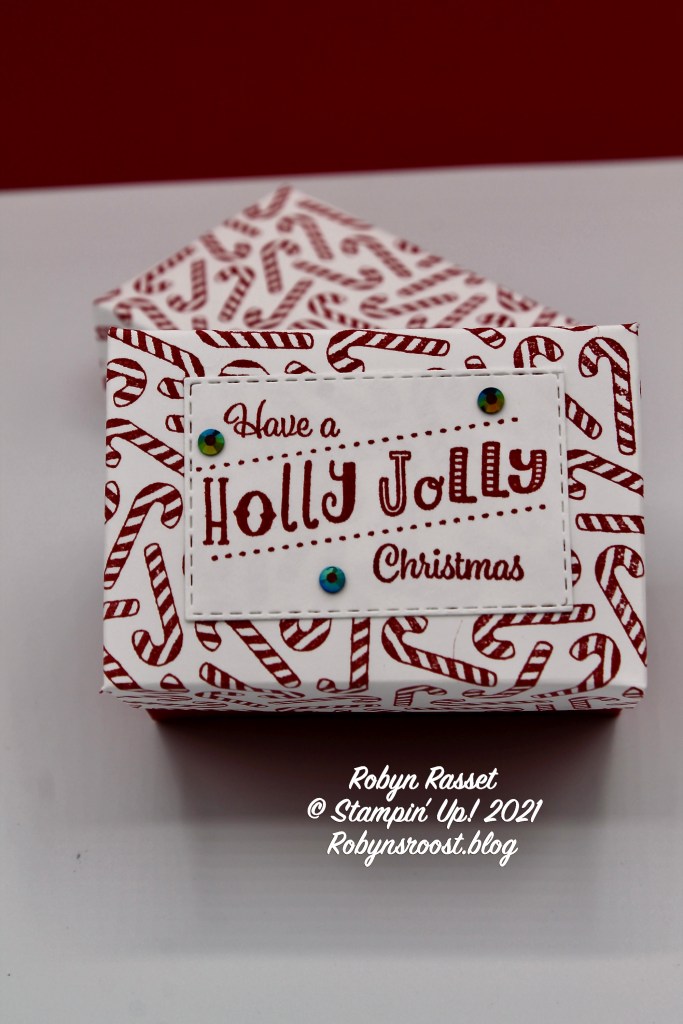
For the label, cut a piece of basic white 2 1/4″ x 1 3/8″, stamp the greeting and attach to the lid, OR if you want to use the Stitched Rectangle Dies as shown on this project, die cut the label twice to shorten the label. To do this stamp the image and die cut with the left side exactly where it needs to be. Next, line up the die again with the right side of the die exactly where it needs to be. Run it into the die machine only until the end is cut. You will feel the die enter the machine roller. This will give a nice stitched line on all 4 sides.
Add some gems to the greeting label for a bit of sparkle. I used the Evening Evergreen colored gems from the 2021-2023 In Color Jewels pack because I wanted some green on the box, but I think that I would swap them for red gems in the Wonderful Gems pack for my next box.
Product List

")


Cute!
LikeLike