
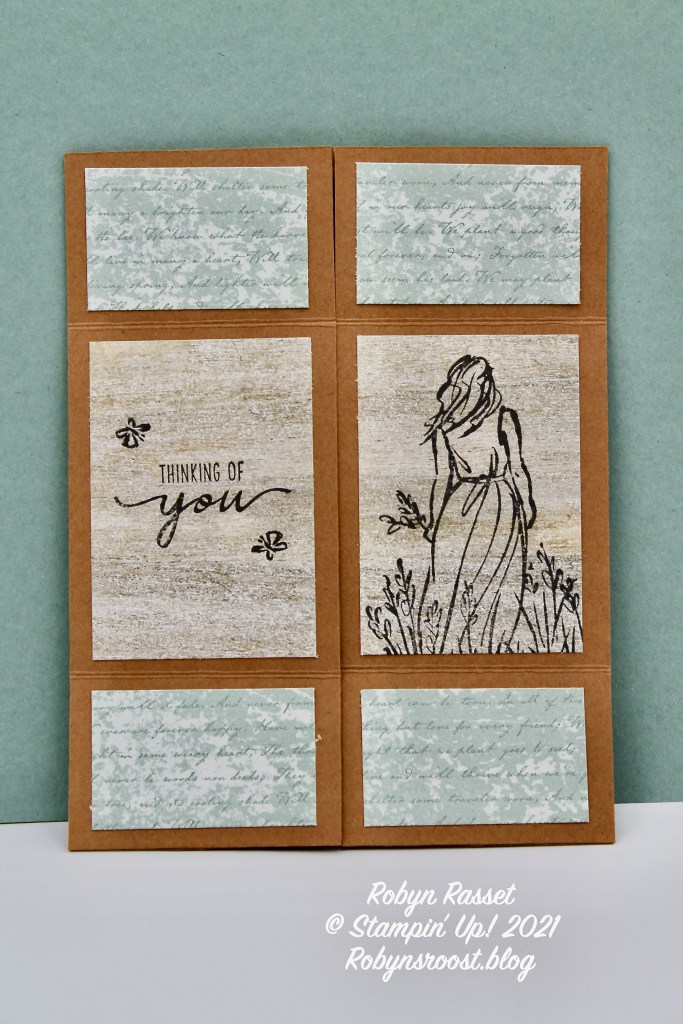
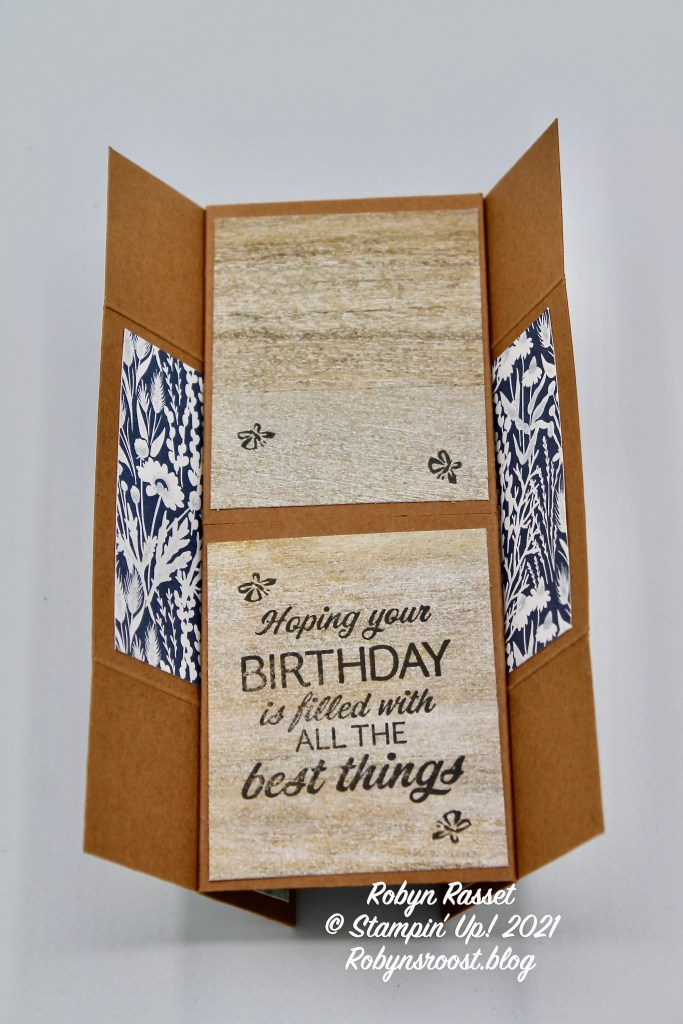
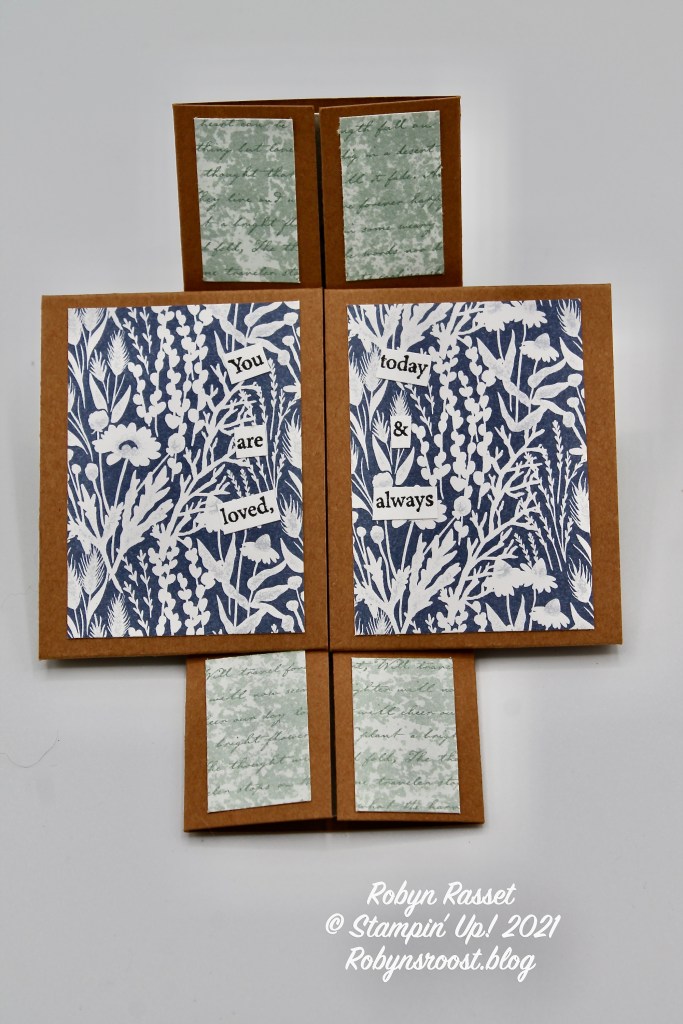
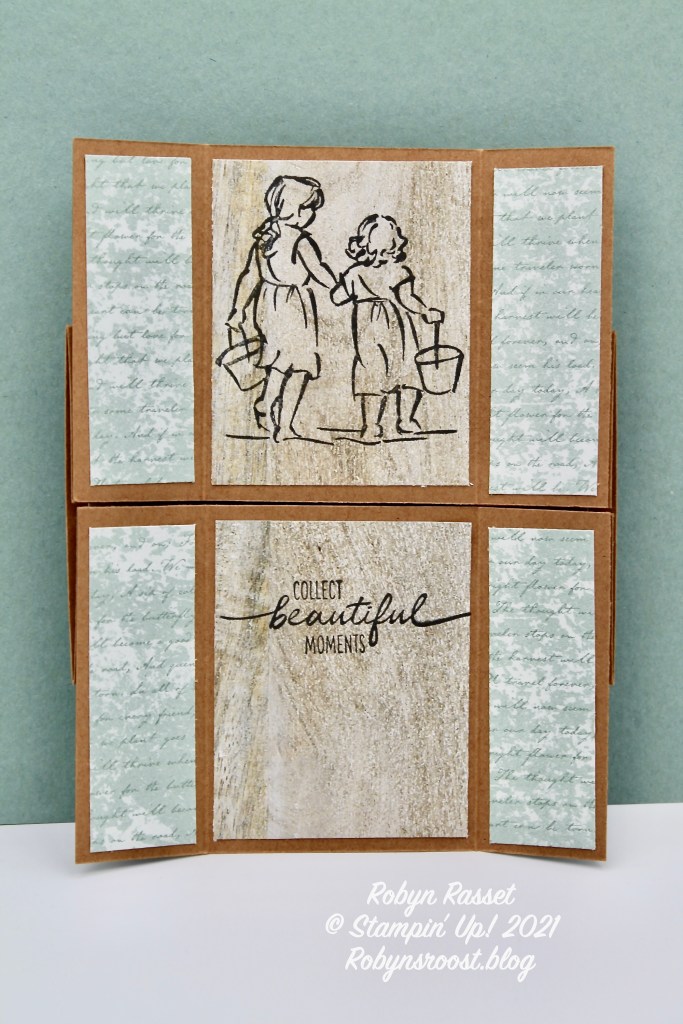
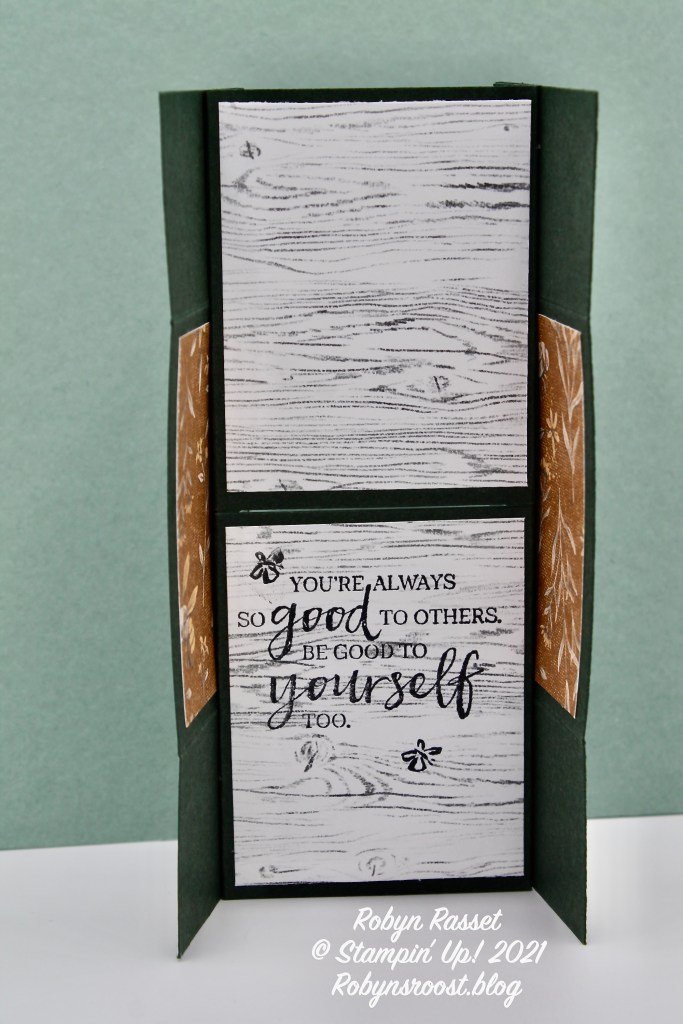
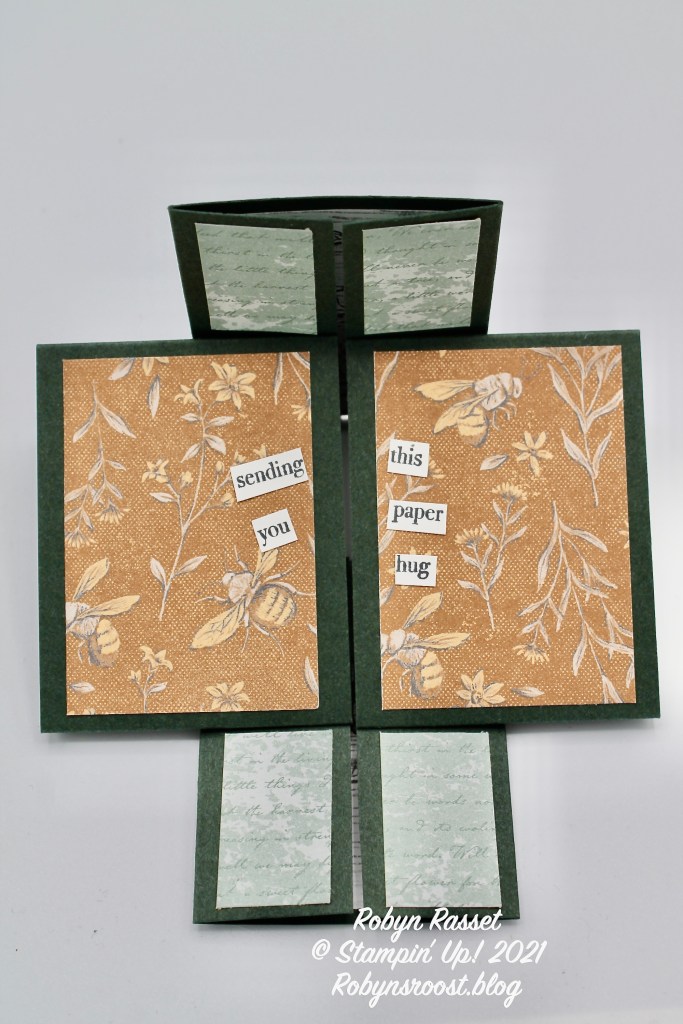
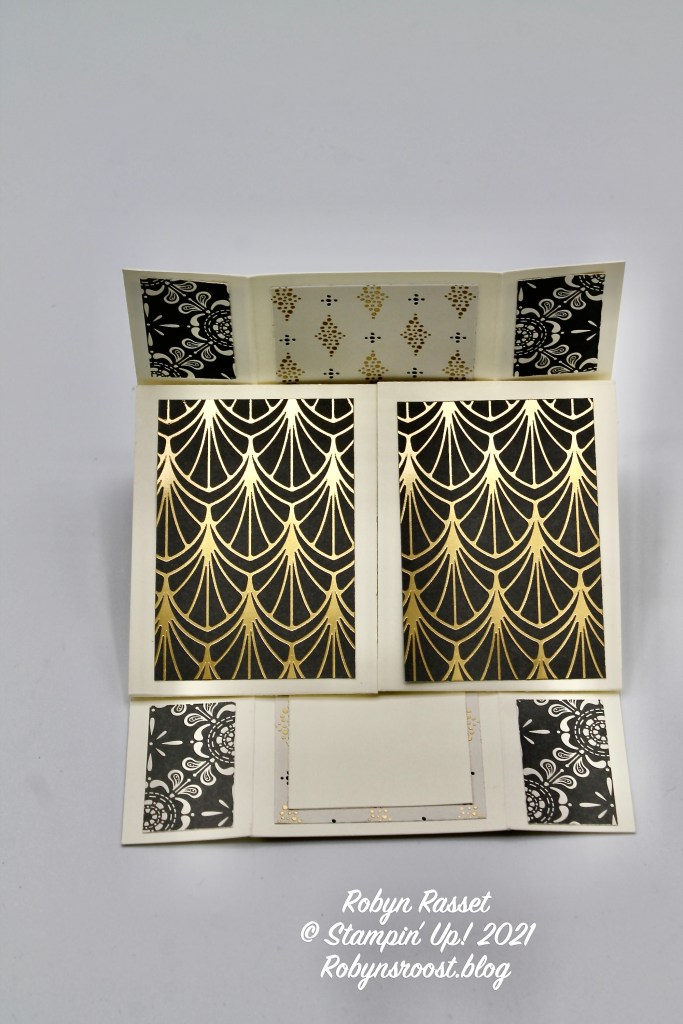
Creating a card using the Never Ending Technique requires a bit of concentration and attention to detail but isn’t as hard as it looks. Once the base is assembled there are 4 ‘pages’ or sections to decorate.
Paper Dimensions:
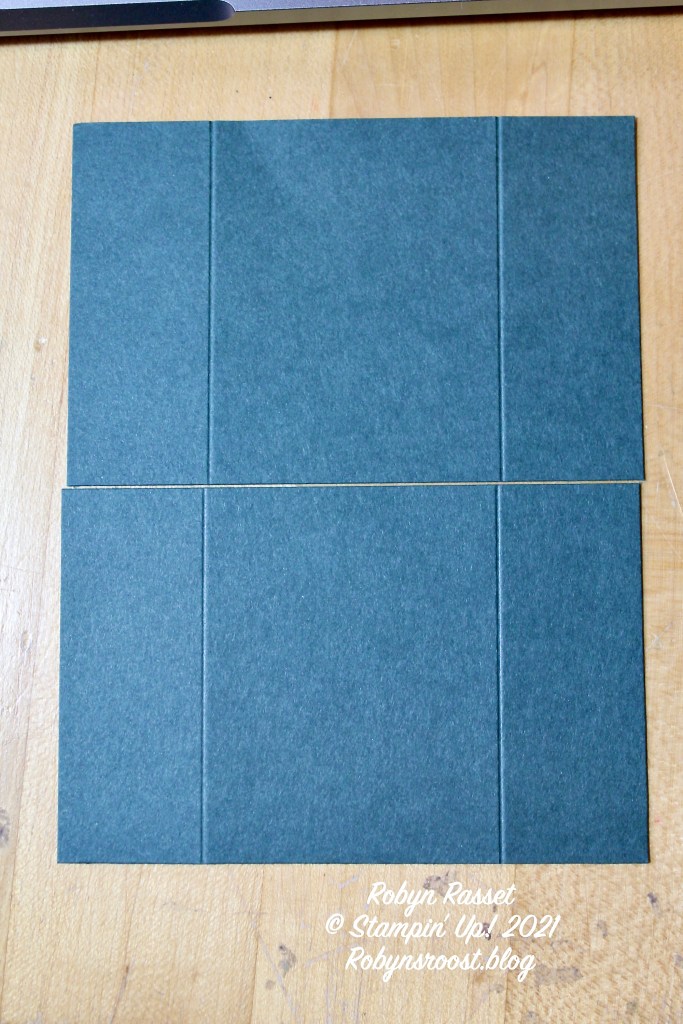
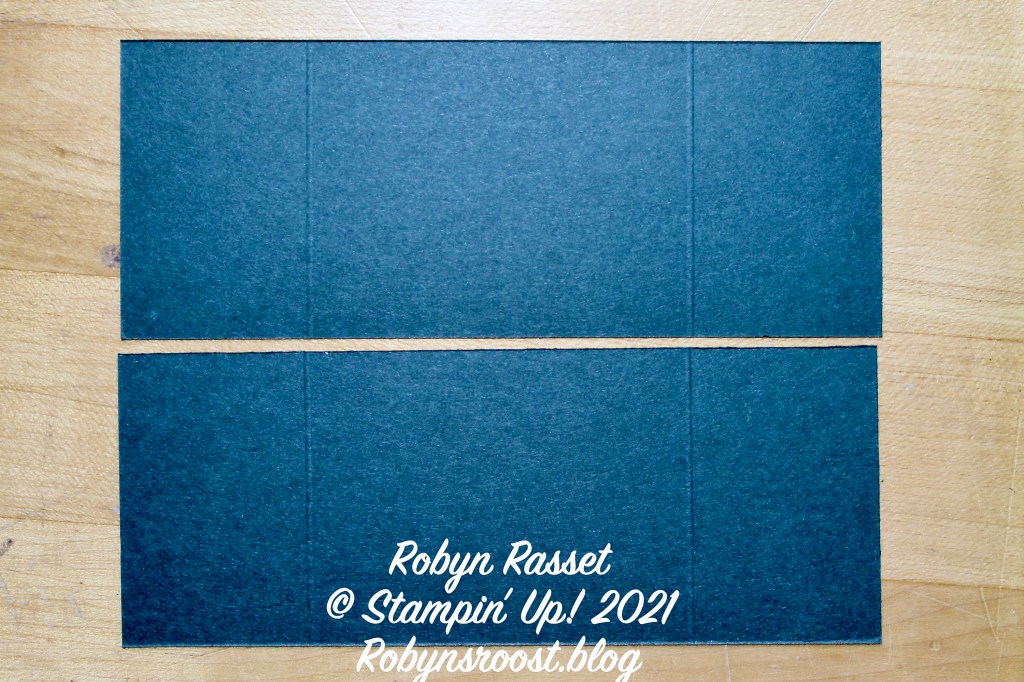
2 pieces of Cinnamon Cider 5 1/2″ x 4 1/4″ for the base
Score one along both long sides at 1 1/16″ and cut in half at 2 3/4″
Score the second along both short sides at 1 3/8″ cut in half at 2 1/8″
Section 1 Designer Paper
2 at 2 1/2″ x 1 3/4″
4 at 1 1/8″ x 1 3/4″
Section 2 Designer Paper
2 at 2 1/2″ x 2″
Section 3 Designer Paper
2 at 2 1/2″ x 1 3/4″
4 at 3/4″ x 1 1/4″
Section 4 Designer Paper
2 at 2″ x 2 1/2″
4 at 7/8″ x 2 1/2″
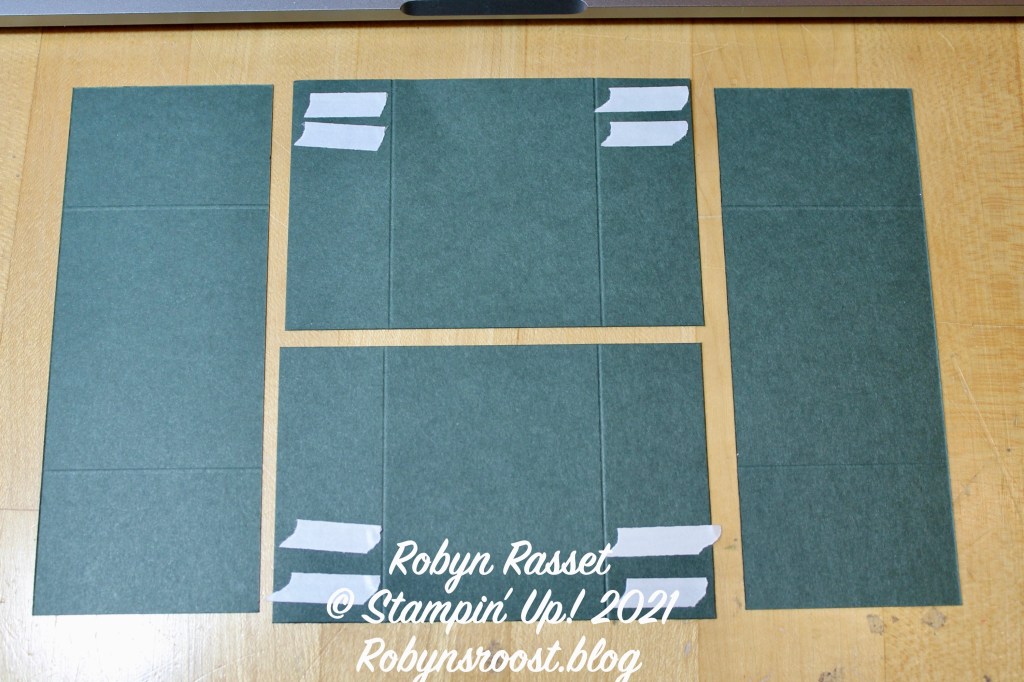
To adhere the two bases together, imagine that the two long pieces on the sides are going to fit directly over the two pieces with the tape runner on them, with no space left between any of the layers. It’s very important that these layers are all lined up so that the card will flip without sticking. Watch my Never Ending Card Video to SEE the card come together.
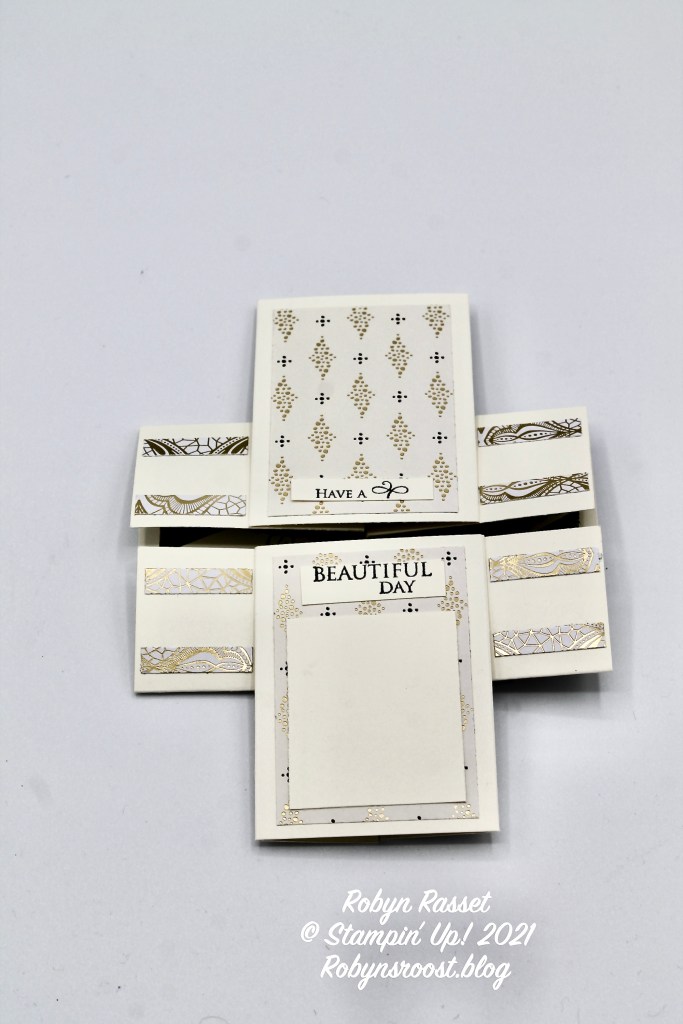
Except for the words on Section 3, which are stamped on basic white and snipped apart, all of the stamping is done directly onto designer paper. If you want to stamp on basic white paper, simply replace those pieces with white.
I hope that you have a day filled with Never Ending Joy!
Product List

|

|
||

|
")
")

 Designer Series Paper")

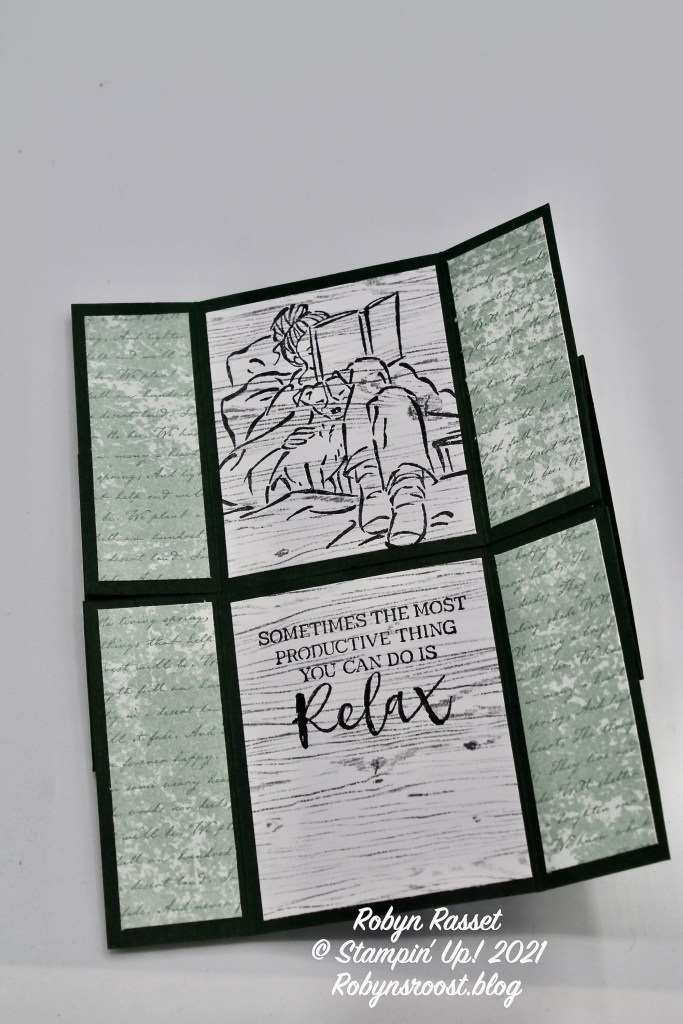
Here are a couple of other Never Ending Cards that I’ve created this past week. One uses a stamp set called In the Moment and some awesome new DSP that will be in the upcoming January to June Mini Catalog.

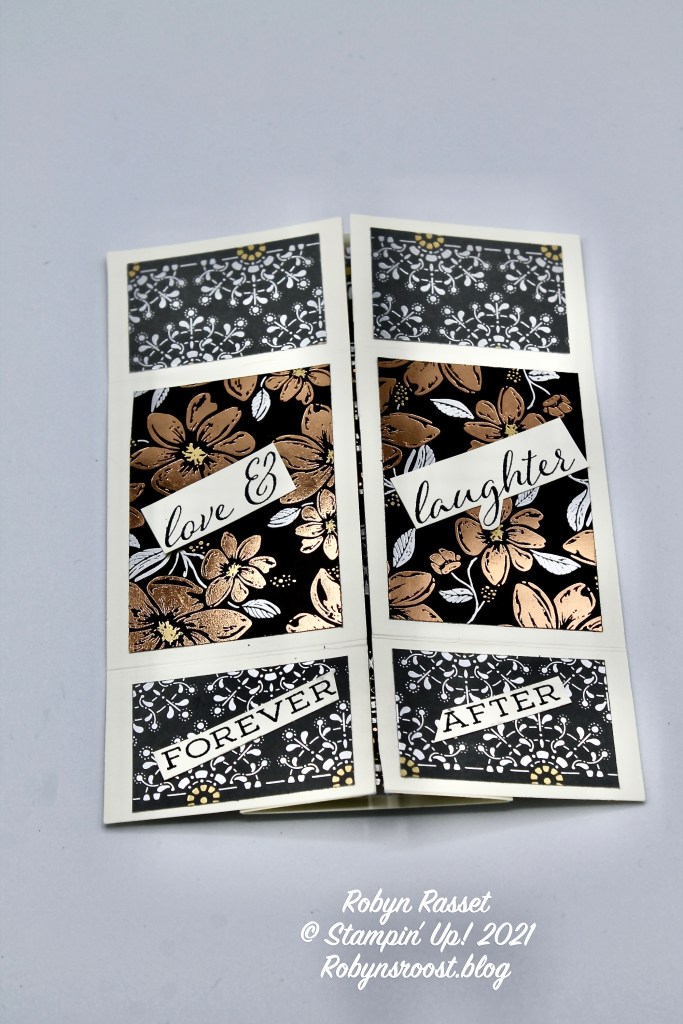
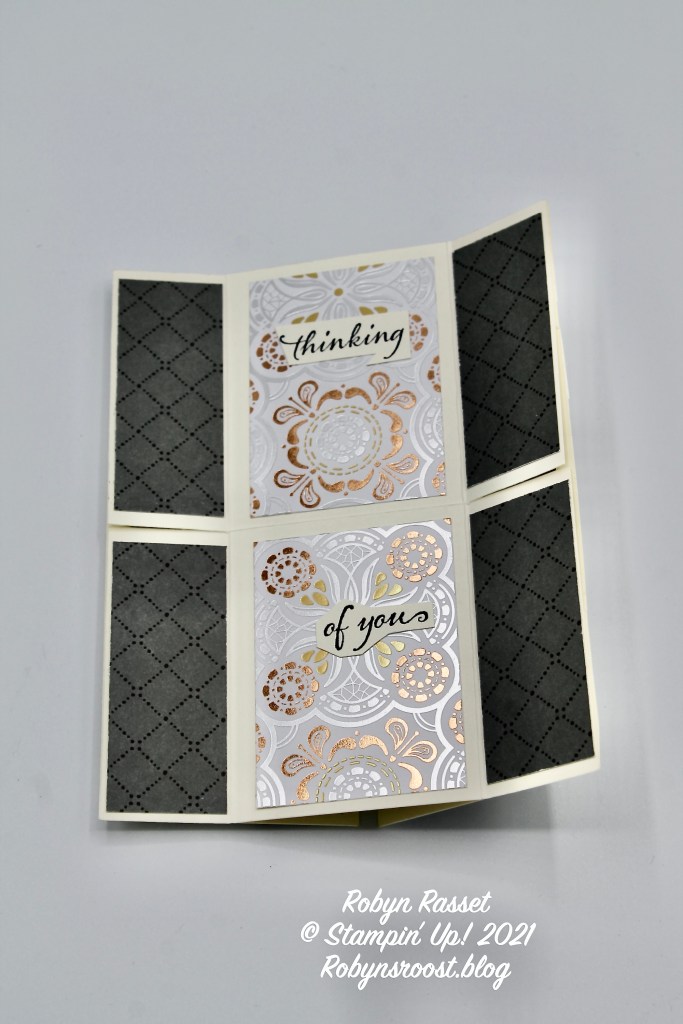
This next card is a wedding card using the Forever Fern, and Very Versailles stamp sets with the Simply Elegant Designer Paper.

Wow! You made a lot of is lot of never ending cards.. I like them all, but I like the 1st one the best.
LikeLike
The card is a very nice and time consuming one. I doubt I would ever make one for anyone
Sent from my Verizon, Samsung Galaxy smartphone Get Outlook for Android
________________________________
LikeLike