
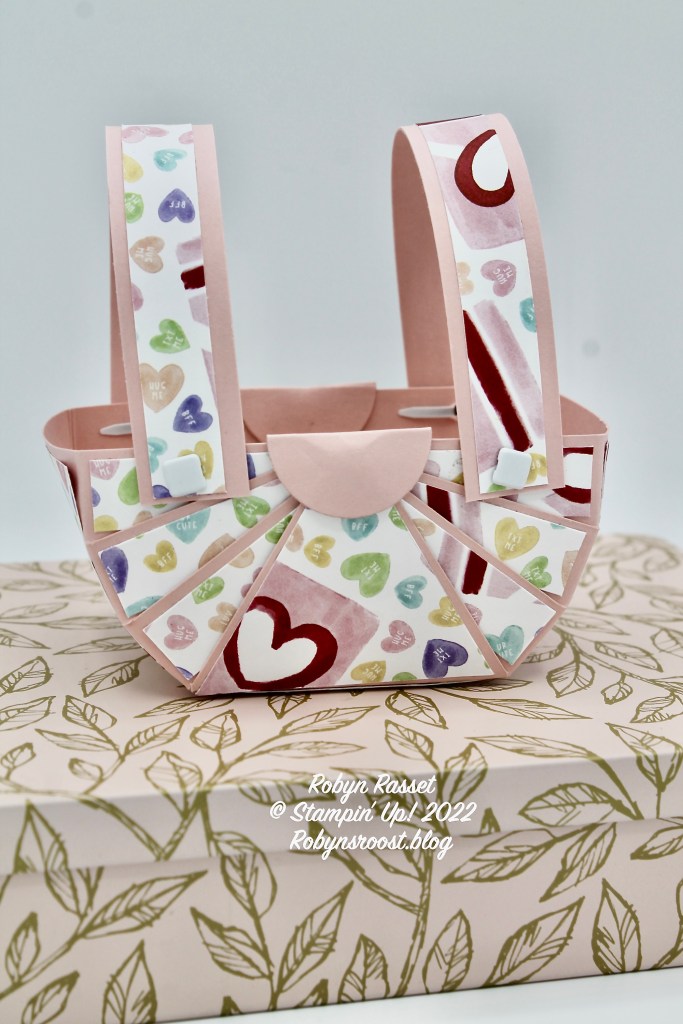
This cute little basket would be perfect for small Easter treats, flowers for a May basket or candies for Valentine’s Day. I found the design in an old copy of a Papercrafting Magazine and just had to give it a try.
Paper Dimensions:
- Cardstock Base 6″ x 6″
- Pattern Paper 12 pieces 1/2″ x 1 7/8″
- Pattern Paper 5 7/8″ x 1 7/8″
- Pattern Paper 2 pieces 2 1/8″ x 1 7/8″
- Cardstock Handles 2 pieces 3/4″ x 6″
- Pattern Paper 2 pieces 1/2′ X 5 7/8″
- Cardstock circles 1″
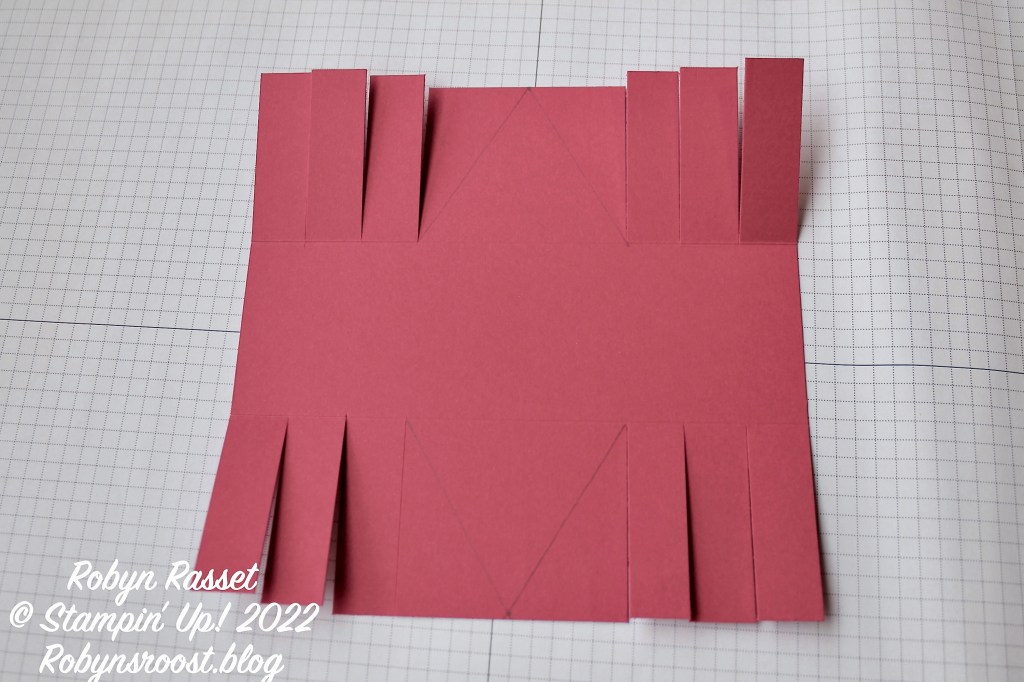
To create the base:
- Score at 2″ and 4″
- Turn paper 90° line up at 5/8″ and cut from edge of paper to score line. Do Not CUT between score lines. Skip over the area between the score lines and cut from score line to edge on the other side. Do this again at 1 1/4″ and again at 1 7/8″, creating little flaps with a bigger square in the middle.
- Flip the paper over to the other side and repeat step 2. When you are done the base will look like the photo above.
- To make the center square into a triangle, measure and mark 1 1/8″ on the edge, then cut from the mark to the score line. ( See pencil mark on drawing above.This will complete preparation of the base.
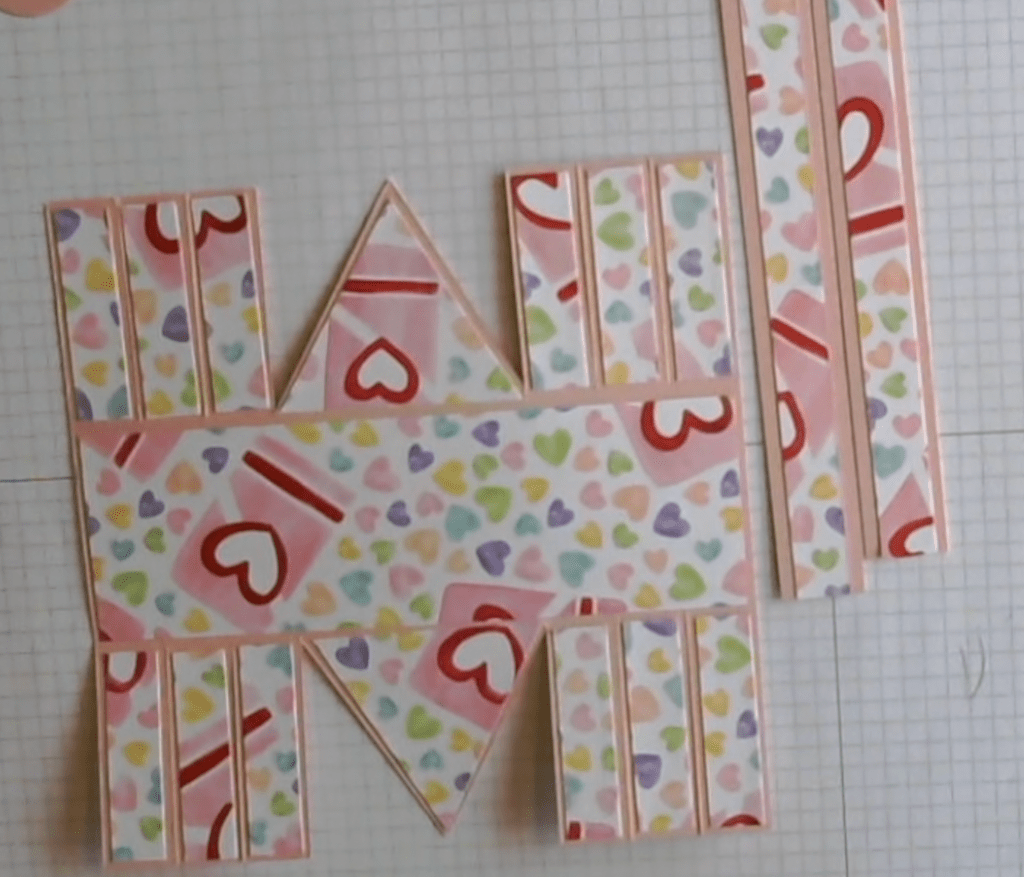
To adhere the patterned paper to the base.
- If the paper has a direction be sure to keep it orientated correctly.
- To create the triangle pieces start with the 2 1/8″ x 1 7/8″ paper. With the 2 1/8″ measurement as the bottom, measure to the center of the top (1 1/16″) and cut from the mark to the bottom corner.
- Adhere patterned paper strips to handle pieces.
Shaping the Basket
- Start with the two opposite end flaps on one side and pull them together to start forming one side of the basket. Add a drop of glue to one and hold the pieces together until dry.
- Do the same thing on the other side of the basket. Try to over lap the pieces the same on both sides so that the basket is straight.
- Continue gluing the flaps one at a time on both sides.
- Pull up the triangle and glue to finish the sides.
- Trim off any tips that protrude over the basket edge.
- Score the center of the 1″ cardstock circle, fold, add glue and adhere to the point where all of the pieces come together.
- Use the sharp point on the Take Your Pick tool to make holes for the brads to attach the handles.

Watch my Gift Basket with Two Handles Video Tutorial for more detailed instructions.
Product List
 Designer Series Paper")


