
Pinwheels make me think of spring and bright colors! So for the #doswts381 blog hop which is the final entry in the Chinese New Year I decided to use the bright and cheerful Sunshine & Rainbows SALE-a-bration Designer Series Paper.

The pinwheel starts out as a 3″ square of the Sunshine & Rainbows DSP. Fold the square diagonally, point to point, both directions. Measure and mark 3/4″ from the the along each score line. Cut from the outside edge to the mark along the score line. Do this on all 4 lines. Use the pointed end of the Take Your Pick Tool to make a small hole in the center (where all the score lines meet) and make a hole near the tip of every other point (where you cut the score lines). Use a brad and gather all the points into the center to create the pinwheel.

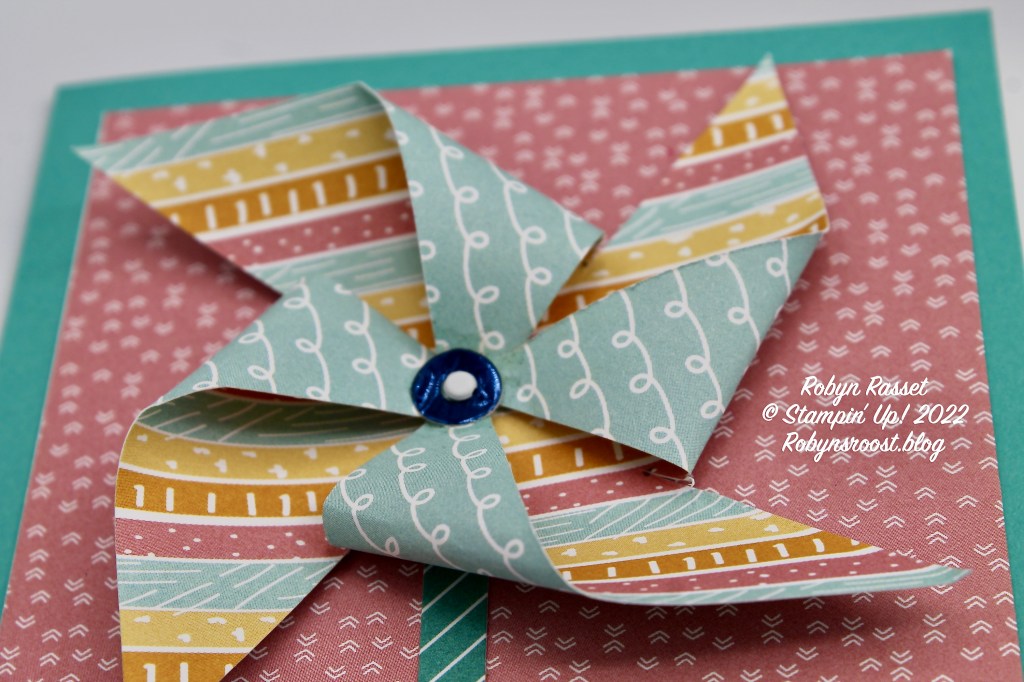
I added the Blue Foil center after the brad was inserted. It is glued around the brad. It is the reinforcement piece from the Tailored Tags Die set and the center fit over the brad. If you are using a larger brad or a punched circle, add it first before the tips. The ‘stick’ is a 1/4″ x 3 1/2″ piece of the Sunshine & Rainbows DSP.
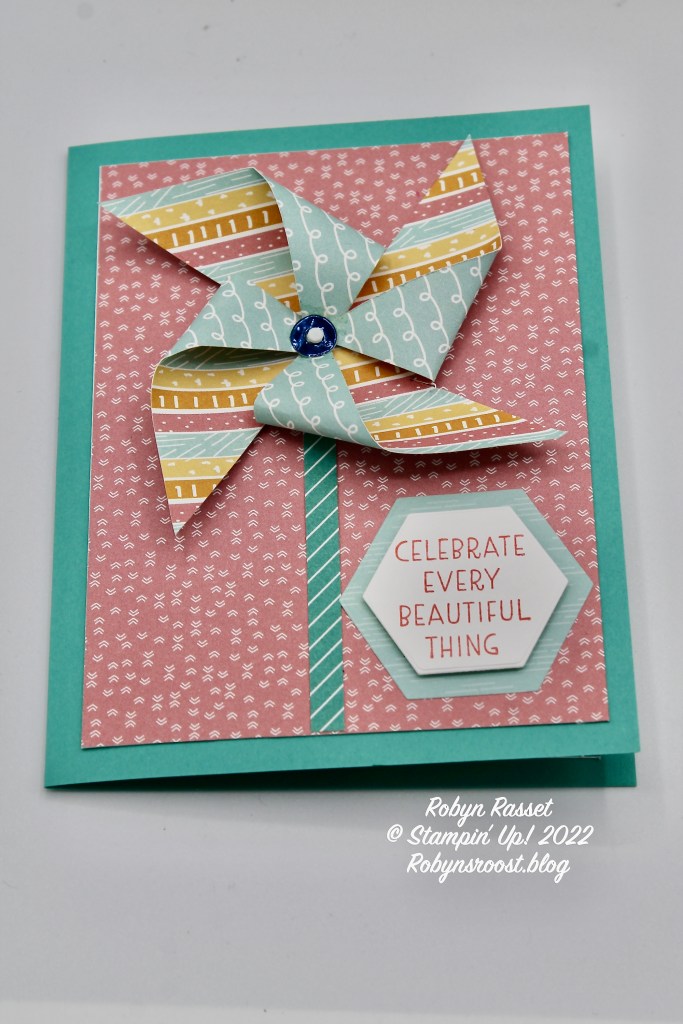
The greeting is stamped in Flirty Flamingo ink and is from the Catching Butterflies Hostess set. The cool hexagon shape is from the Beautiful Shapes Die set. I love how it has 4 different shapes with multiple sizes for layering.
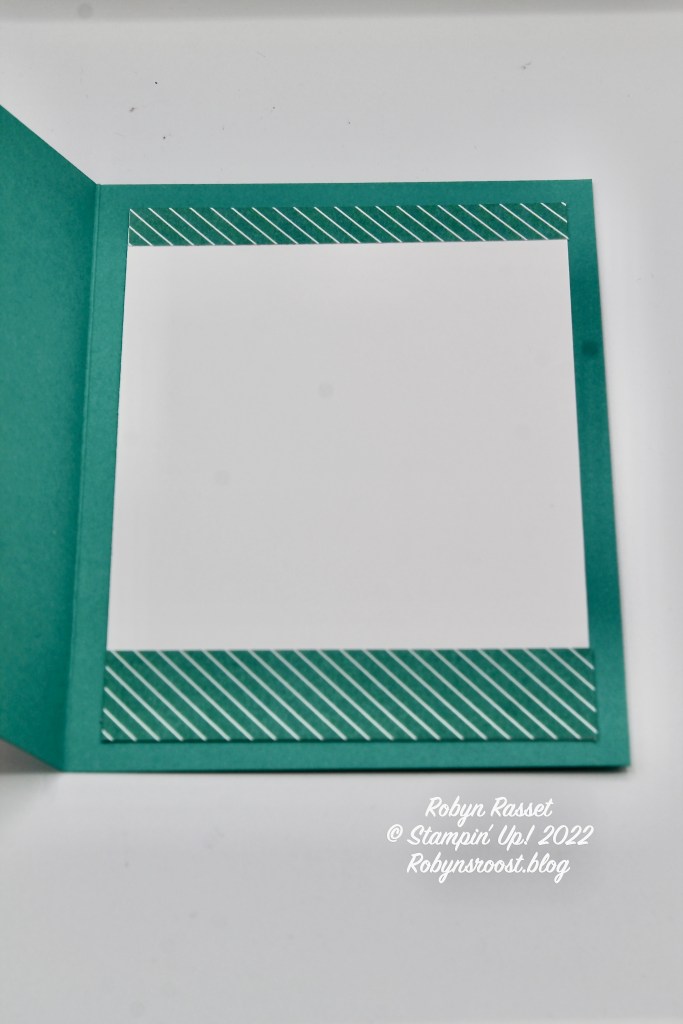
Add a couple of scraps of Sunshine & Rainbows DSP to the inside to spruce it up a bit.
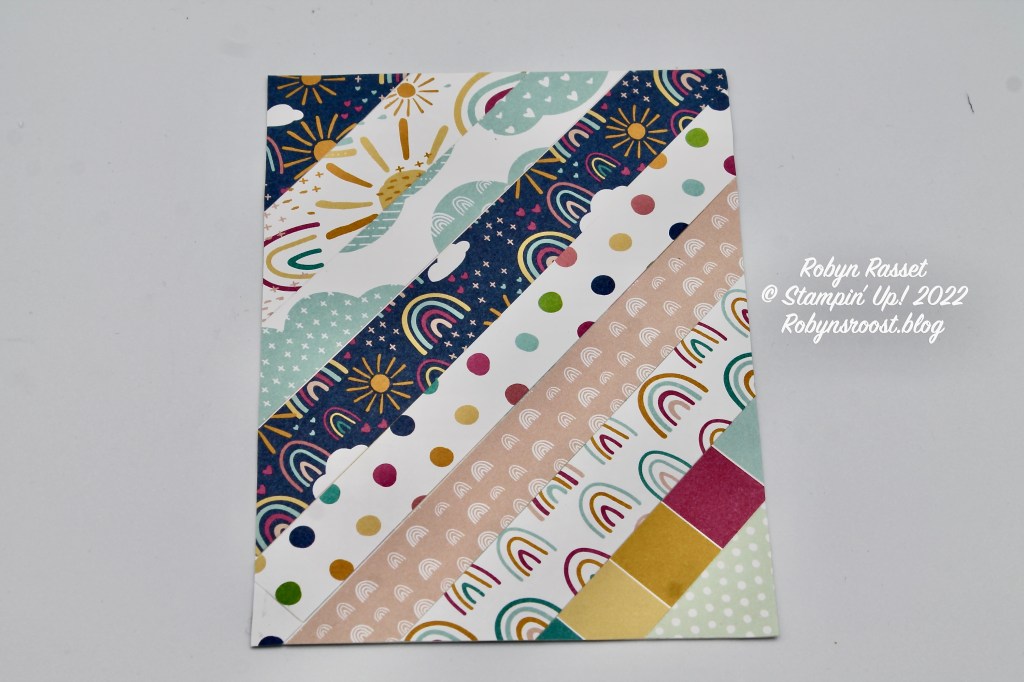
Before I put away my Sunshine & Rainbows Designer Series Paper, I decided to see what I could do with the pile of strips that I had. I created this background piece. Now, any suggestions as to what I should add to it?
Be sure to click on the Blue Frog Box Below to see more Pinwheel inspiration from the other STARS!

Product List
")


 Designer Series Paper")


Oh how fun! I love how you used the DSP to make it so cheerful and fun. I also have the hexagon dies and will have to try that for my sentiments.
LikeLike
Love the 3D Pinwheel – fabulous! Thanks for playing along for Stamping with the STARS #DOswts381.
LikeLike