As promised here is my first alternative design using the Key to My Heart Paper Pumpkin Kit. The cut out key on this card front design made me think ‘shaker card’.
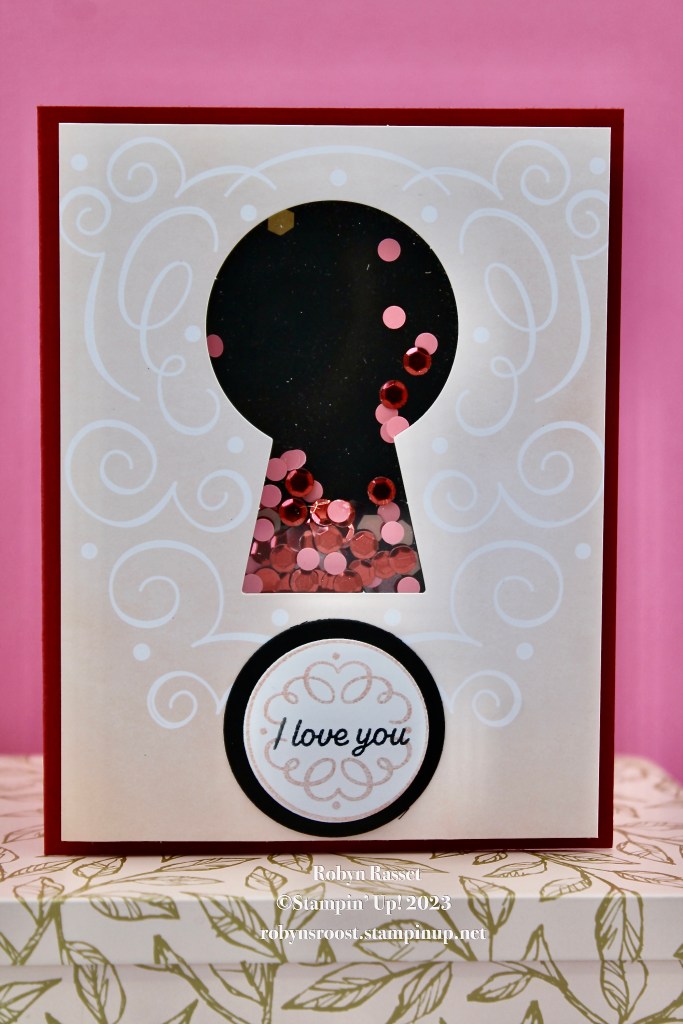
The first thing I did was cut off the front of one of the card bases. I ended cup cutting some off of both sides and the bottom to make the piece 3 3/4″ x 5″. Next, I glued a piece of window sheet on the back side over the keyhole, then after letting that dry (I used liquid glue), I used the foam strips and outlined the keyhole with them. The foam strips make it easy to bend into circular shapes!
My first plan was to die cut some little hearts with the Fitting Florets Dies but I was too lazy, lol, and used the Sequins for Everything instead. I put a nice pile of the red sequins in the keyhole. Then a piece black cardstock (cut the same size as the window sheet) was adhered using the foam strips. To put the shaker onto a real red card base, more of the foam strips were used on the corners and Stampin’ Seal + was added to the center.
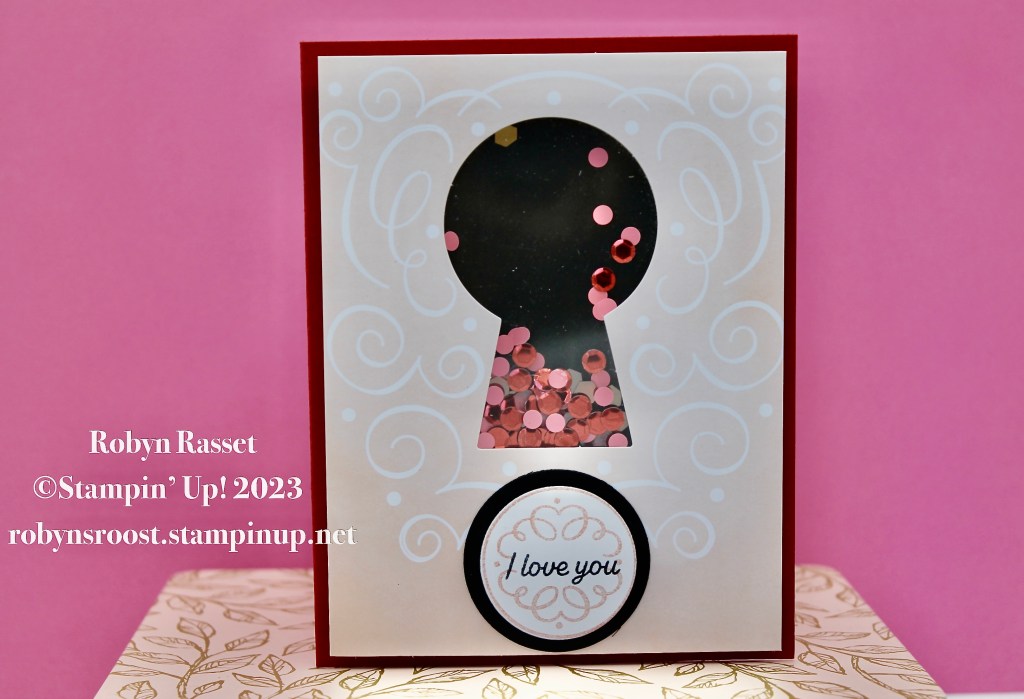
The fun decorative circle from the Key to My Heart stamp set was inked with Petal Pink and stamped on basic white. The I love You greeting was stamped with Tuxedo Black. Both circles were die cut with the Layering Circles Dies.
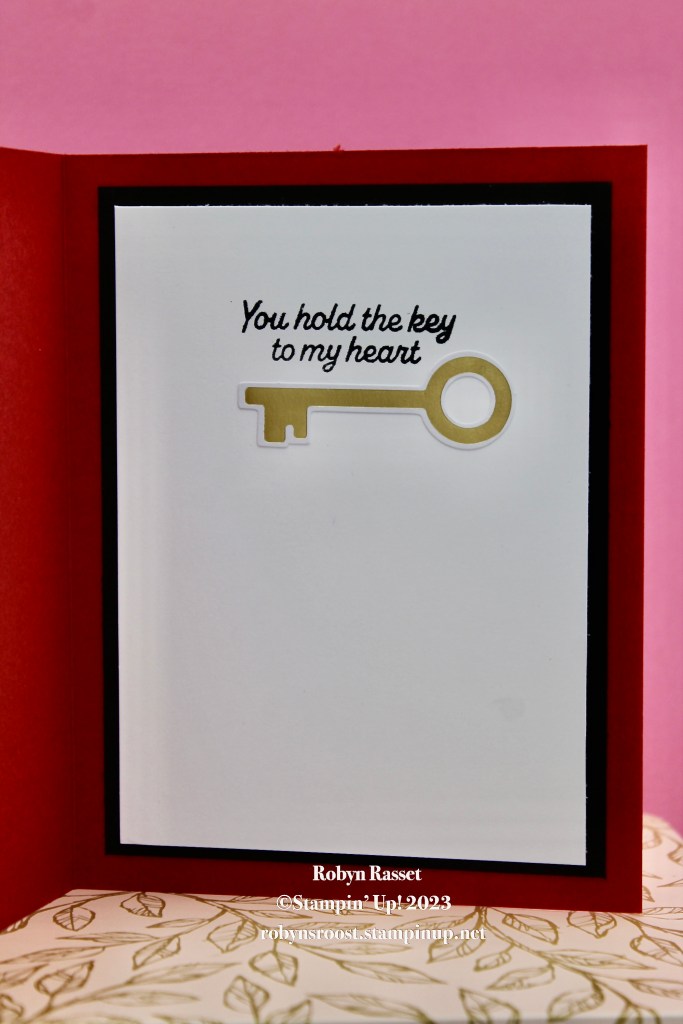
The inside was finished off with one of the die cut keys from the Paper Pumpkin kit and another greeting from the stamp set. To set it off even more a basic black matte layer (3 3/4″ x 5″) was added under the white (3 1/2″ x 4 3/4″) greeting layer.
Whether you make the Key to My Heart Paper Pumpkin Kit exactly to the directions or blaze your own creative trail, this kit is super cute!
Product List – There are several options for subscribing to Paper Pumpkin. I recommend doing the 3 Month Prepaid and qualifying for a free SALE-A-BRATION item. See below the product list for a sneak peek at the February Kit.