
Last night I finally opened my March Paper Pumpkin Kit, the Ten Years of Growth kit. which celebrated the Paper Pumpkin 10 year anniversary. It’s hard to believe that it’s been 10 years already! I became a Stampin’ Up! demonstrator the same year that Paper Pumpkin started. I sure am glad that I finally decided to purchase a Starter Kit and join back then! I have made so many amazing, and creative friends.
So today I have the 13 cards that I created with the Ten Years of Growth Paper Pumpkin Kit to share with you. I will note where I have used some additional products from my (very large) stash, but the only stamps used were the two sets from the kit.
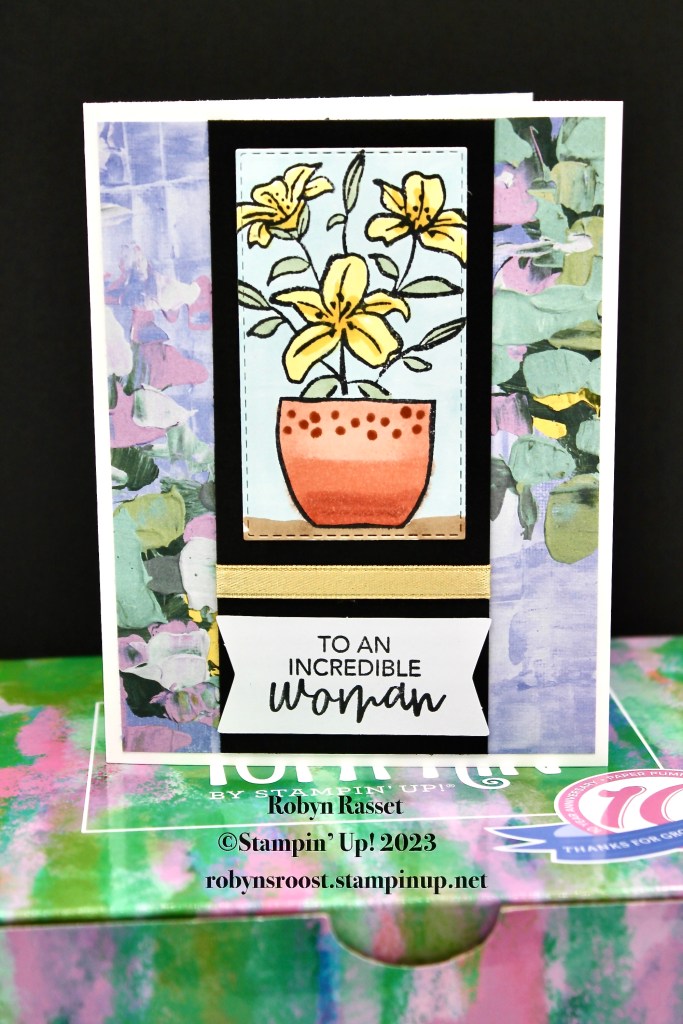
This is one of my favorites! I added a 4″ x 5 1/4″ piece of the Fancy Flora Designer Paper, a 2″ x 5 1/4″ piece of Basic Black and a Stitched Rectangle Die cut of Basic White. The flower has been colored with Stampin’ Blend Markers and a small piece of Gold Shimmer Ribbon is glued flat, without any knot or bow.
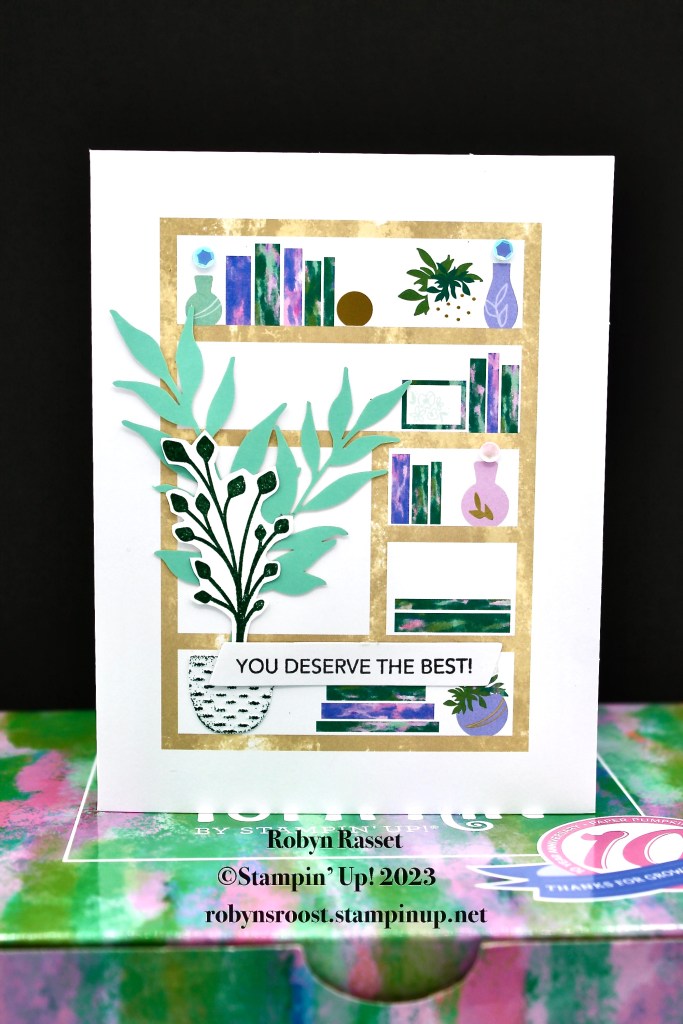
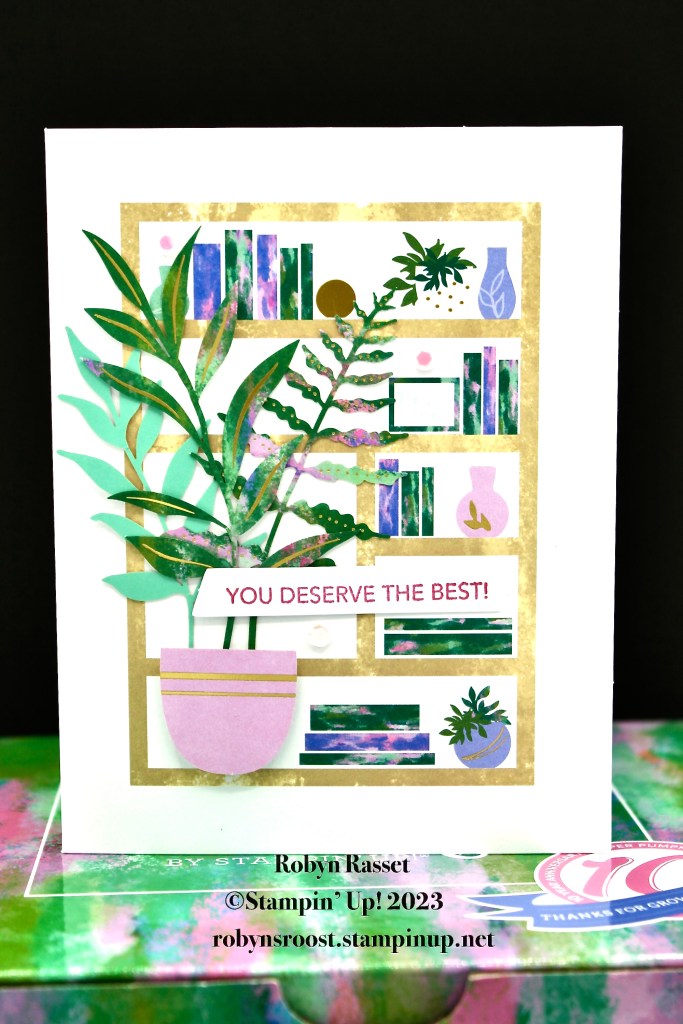
The kit has 3 different designs of card bases and I love this shelf one! I really didn’t change much on these from the original instructions. The flower pot is from the kit but has had a Shaded Spruce ink spot dragged across it to add a bit of color. The flower stem in the foreground was stamped on Basic White with Shaded Spruce ink and then fussy cut. Three Adhesive Backed Sequins added above the vases on the shelves.
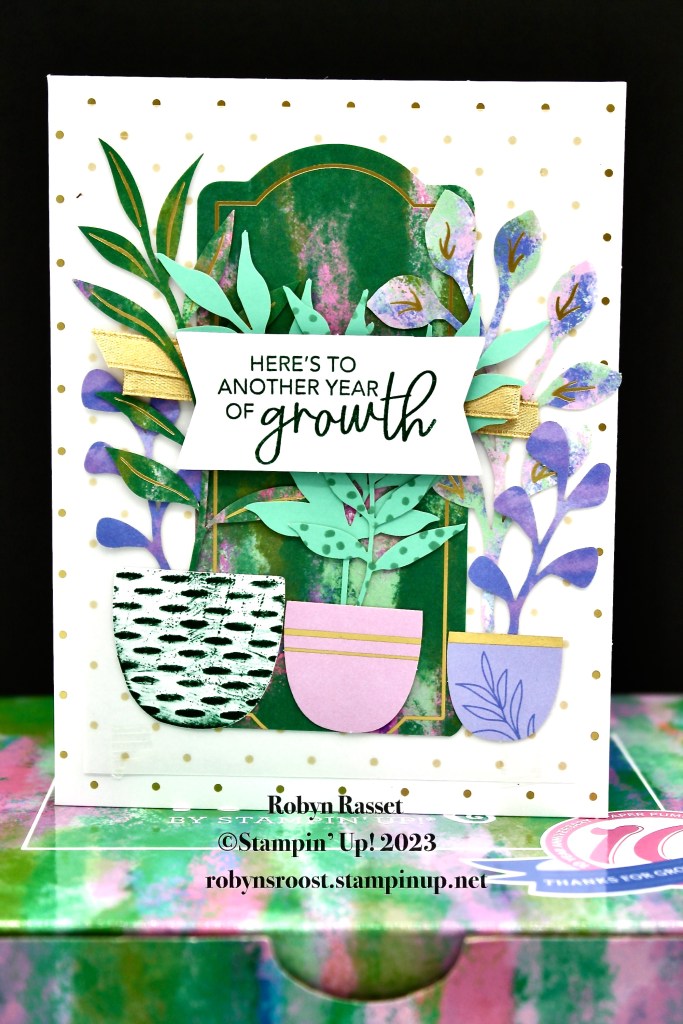
The only added item on this card, not from the kit, are the Adhesive Backed Sequins. I love these embellishments! They are flatter than gems, so go through the mail better, but still add texture and sparkle.
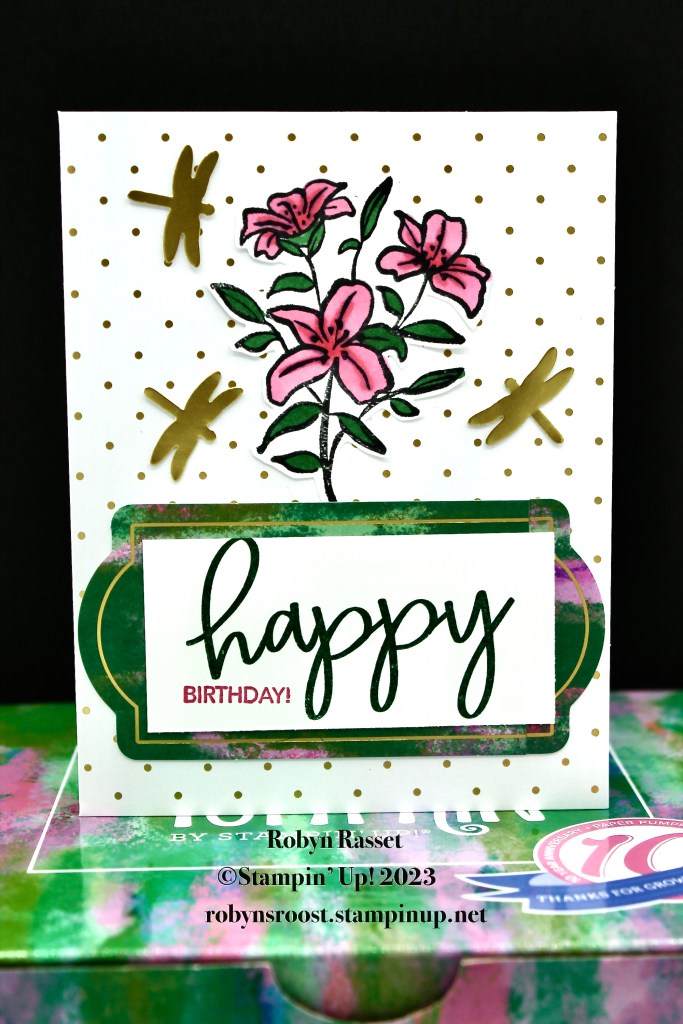
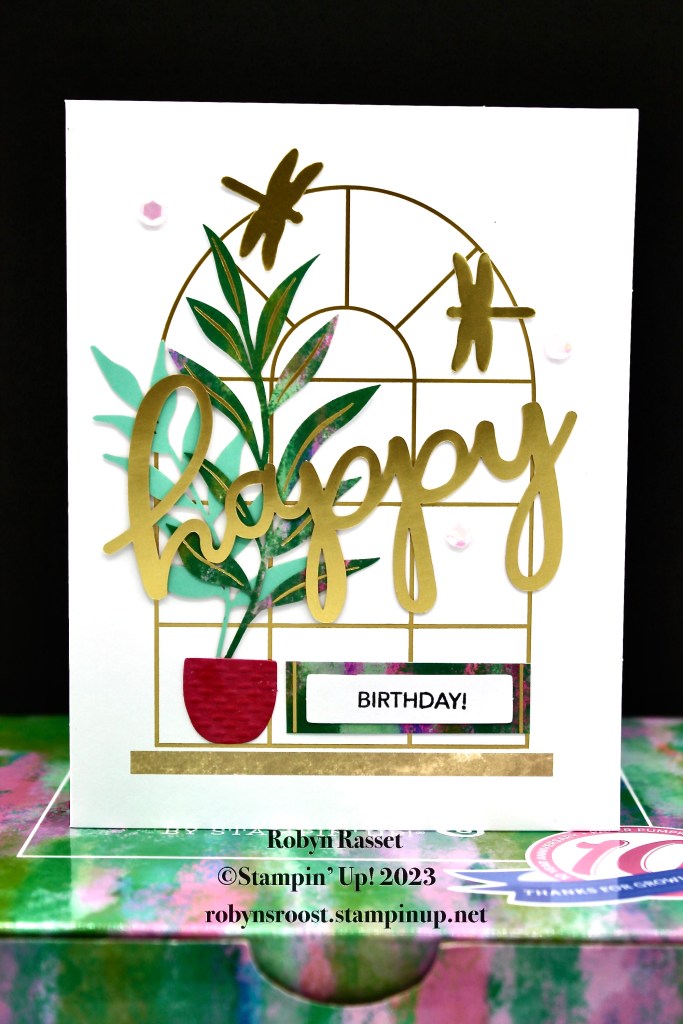
There was so much extra gold foil left after punching out the ‘happy’ die cuts that I just had to find a punch that was small enough to use some of the scrap. The little dragonflies from the Dragonfly Punch fit great, I think I ended up getting 5 of them. In addition I used some Basic White cardstock for the greeting and the flower (which was fussy cut after stamping with Tuxedo Black ink and coloring with Stampin’ Blend Markers). The large green die cut label has actually been shortened and then glued back together to layer under the greeting. I used the small strip that was cut out as a matte layer on another card. Don’t waste anything!
This card is done exactly as shown in the directions with the addition of 3 Adhesive Backed Rhinestones.

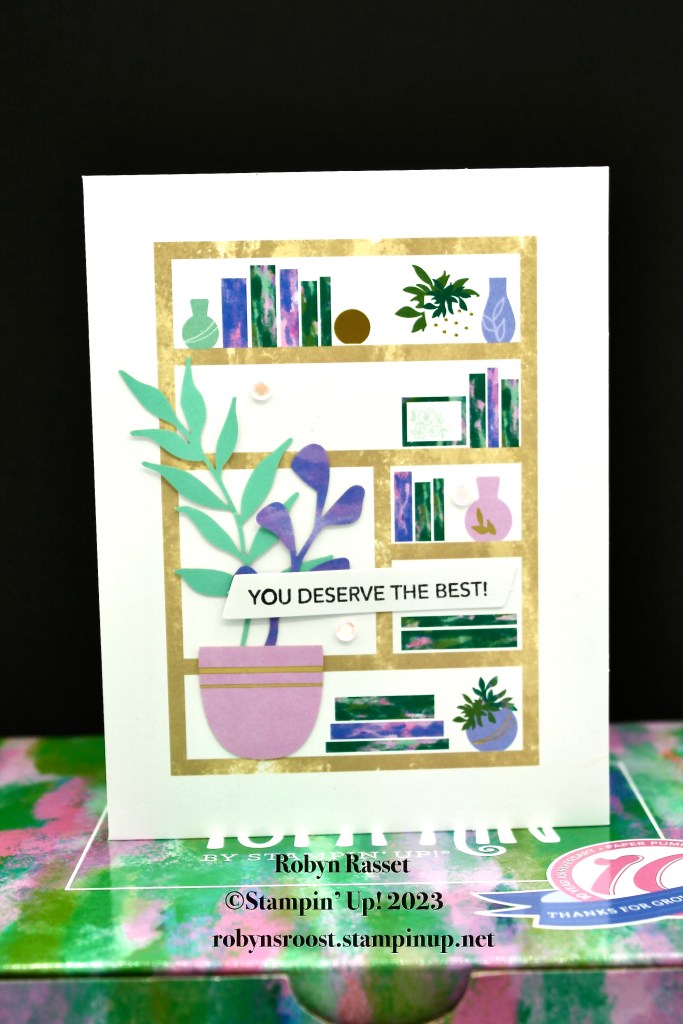
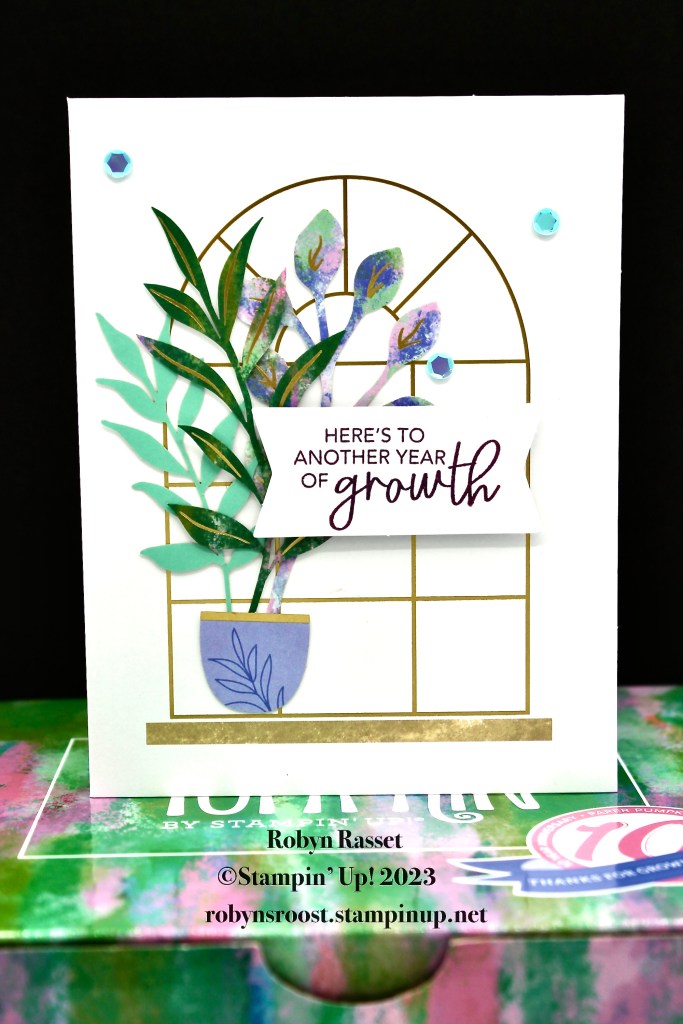
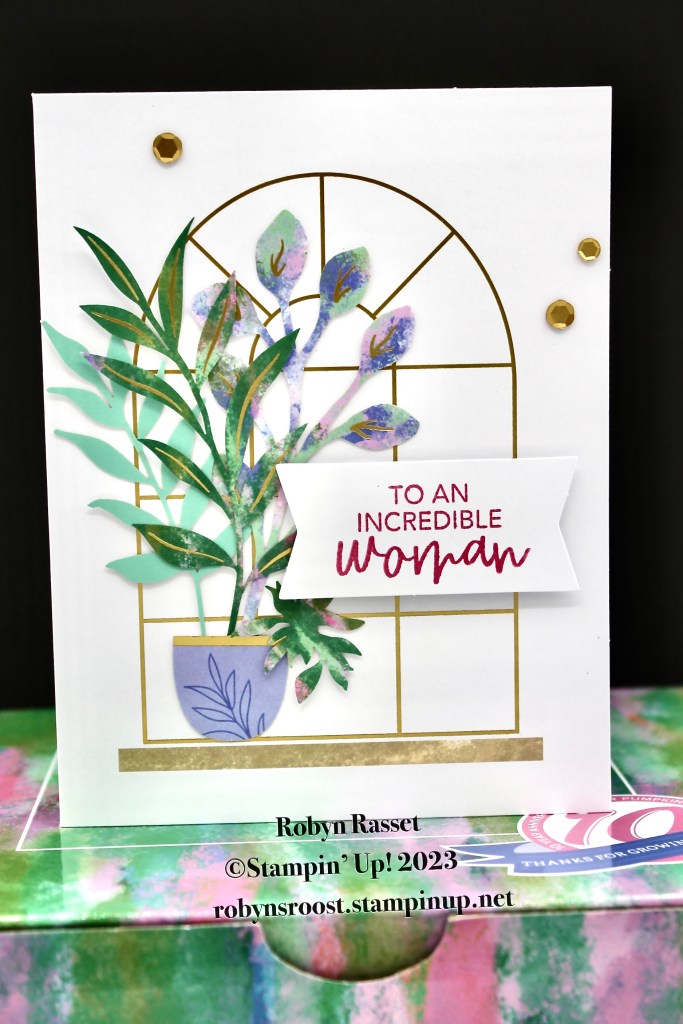
This card has the label edge sliced off and adhered on the fold. All of the items are from the kit except for those pretty sequins.
Here again one of the white flower pot die cuts from the kit has been colored by dragging on ink pad lightly across it. Some Gold Shimmer Ribbon was added bunched up behind the greeting and a piece of vellum is layered in the background.
This card is another made exactly to the kit directions. I did a big boo-boo though on this card. I inked up the stamp with the Polished Pink ink when I had forgotten to clean it after using it in the black ink! I did not swear!! Really! But I did use several scrap pieces of paper to ‘sort of’ remove the black ink from the Polished Pink pad. I’ve only done this twice in 10 years and both times it was on a pink ink pad, lol.
This card uses that little piece of label that I removed, as a matte under the birthday greeting. This flower pot was pressed into the Polished Pink ink pad until it was completely saturated. I did have to let it dry before adding it to the card. The remaining dragonflies were added as well as some sequins.
Here’s another one done to the kit directions with some Adhesive Backed Sequins added. That’s one of the great things about the Paper Pumpkin Kits, they can be completed exactly to the directions or if you don’t care for the card design, change it up!
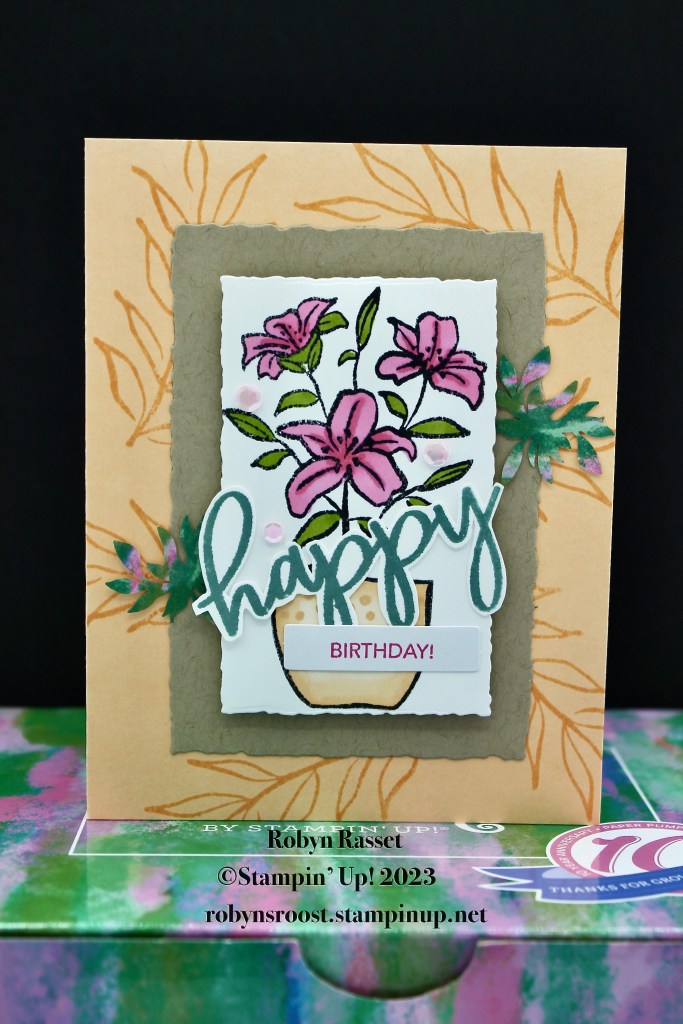
This card uses a few more extra supplies.. The card base is a 1/2 sheet of Pale Papaya cardstock with two die cuts from the Deckled Rectangle Dies, one done with Crumb Cake cardstock and the other Basic White. The happy was stamped with Lost Lagoon ink on a piece of Basic White paper and then fussy cut. The leaves on the base were stamped with Pale Papaya ink. The flower is colored with Stampin’ Blend Markers. More of the Adhesive Backed Sequins were used on this card.
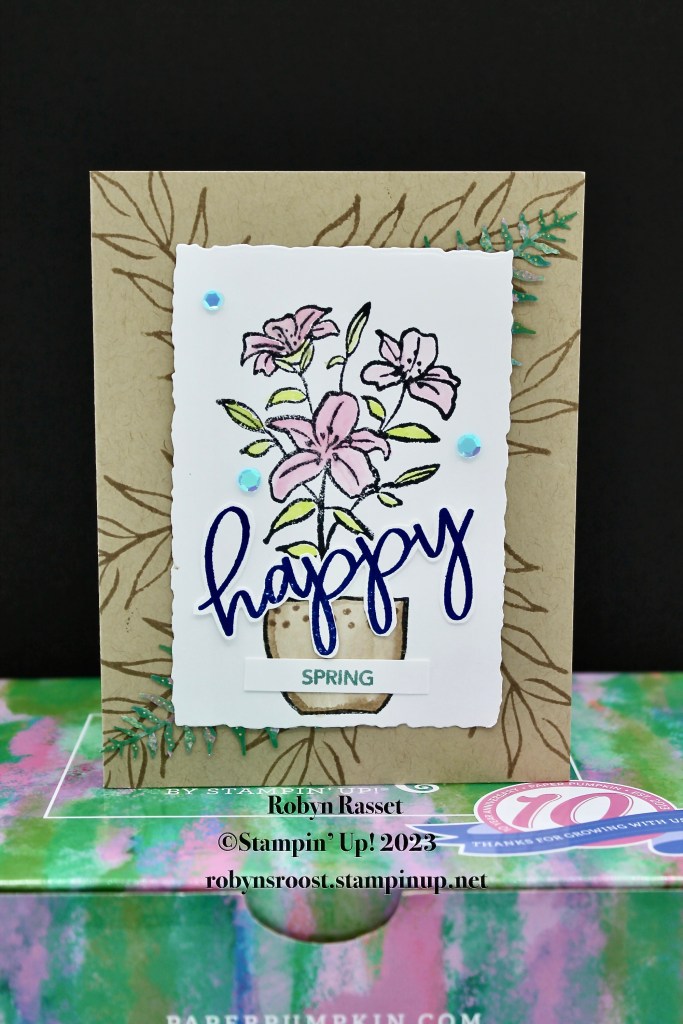
Similar to the card above, this one starts with a Crumb Cake base and only has one Deckled Rectangle die cut layer. The flowers were watercolored with inks and a water painter brush. More sequins again were added.
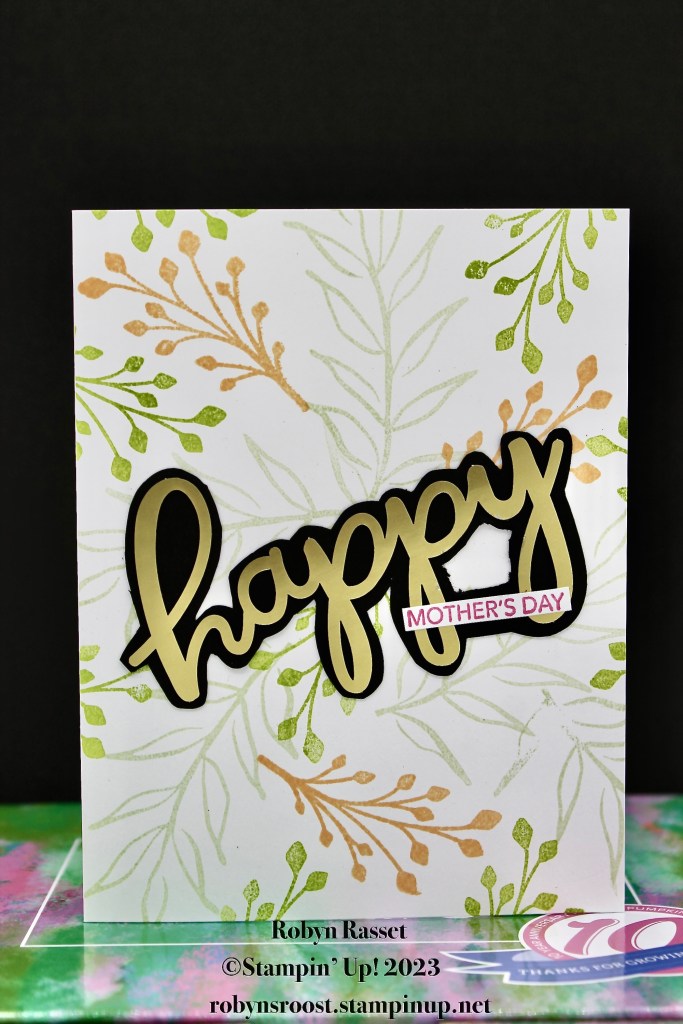
This last card has a Basic White card bae stamped with the two different leaf stamps from the kit in three colors: Lemon Lime Twist, Soft Seafood, and Pale Papaya. The gold ‘happy’ die cut from the kit was adhered to a piece of Basic Black and then it was fussy cut to create a shadow.
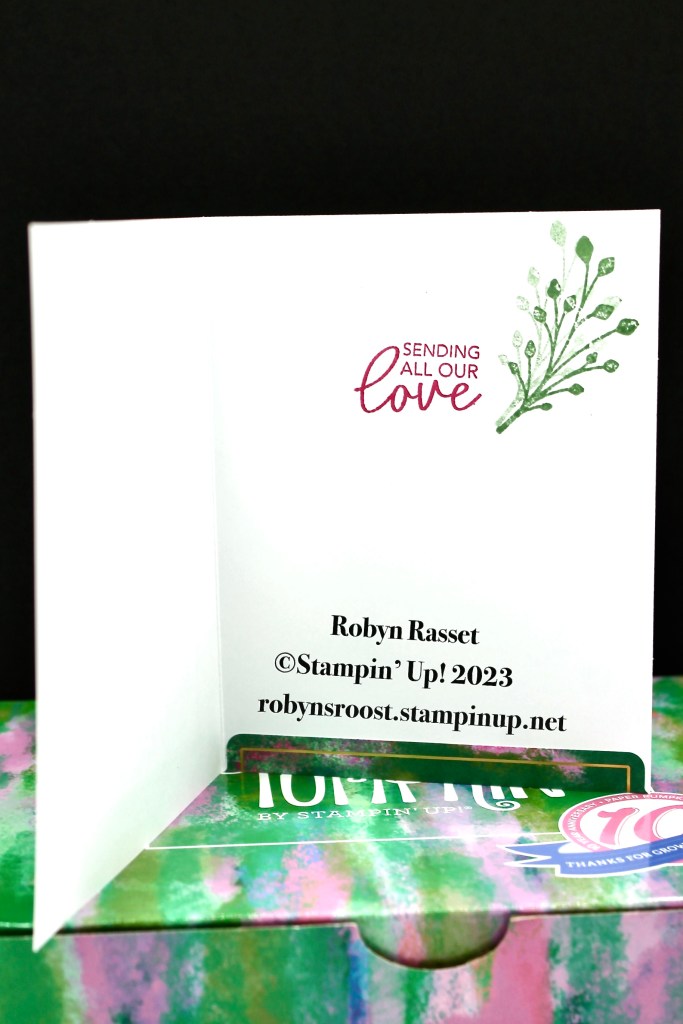
Here a slice of the label from the kit was added to the inside.
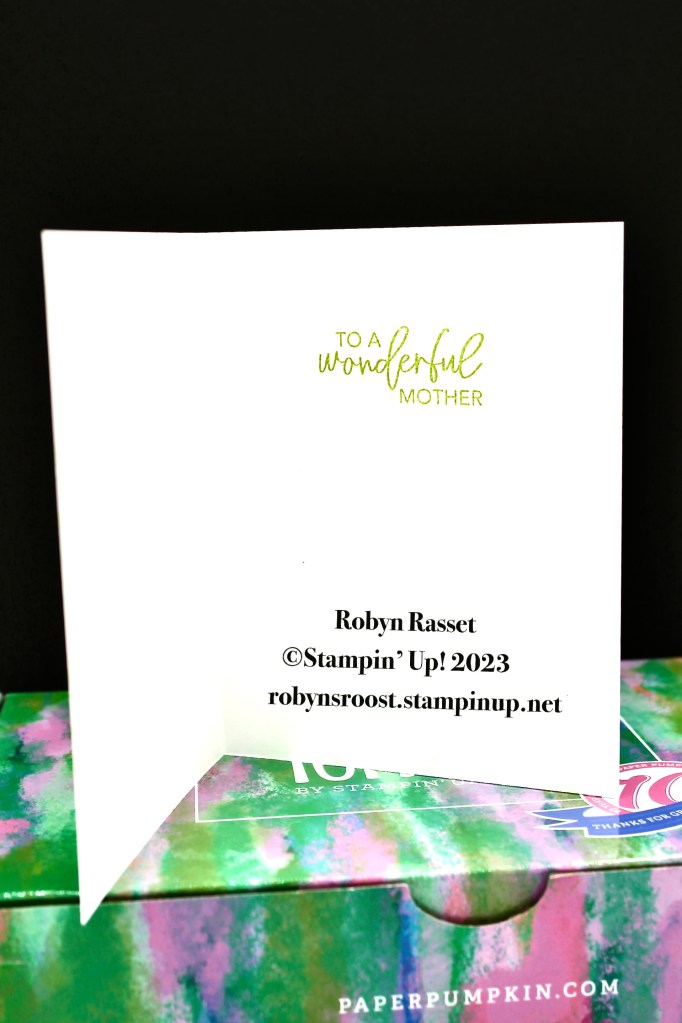
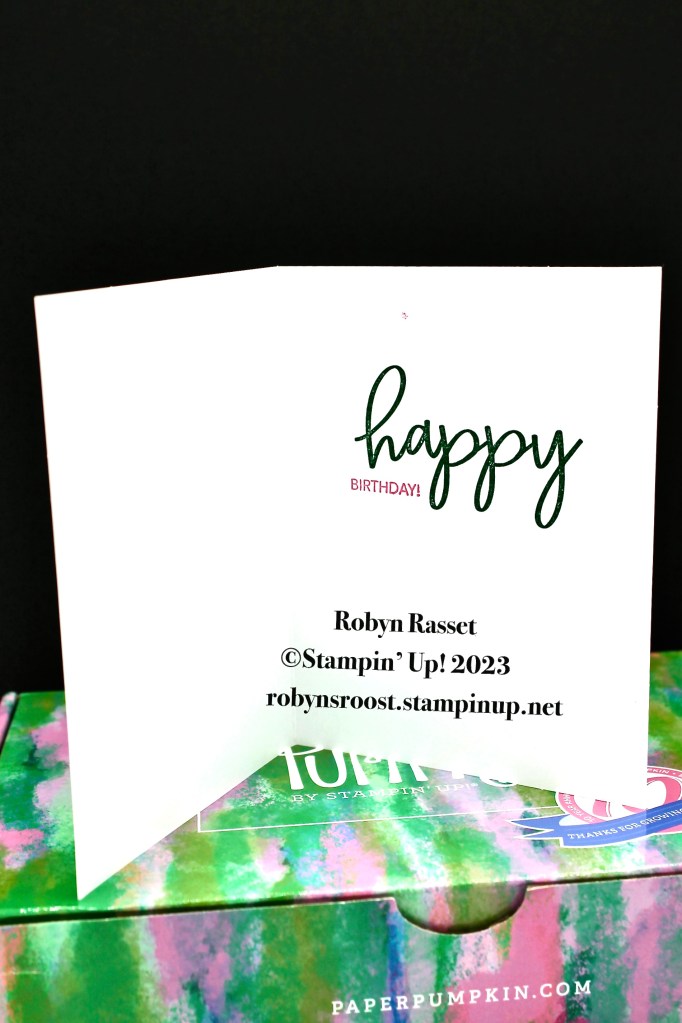
I love that this kit had greetings that work for both the inside and outside.
There were actually 3 little pieces left over from the kit after these cards were made. Best of all, the two stamp sets can be used over and over again. I like to purchase extra stamp cases to store my Paper Pumpkin stamps in. There are even covers available that can be printed out and inserted into the cases.
I hope that you find some inspiration from these cards and have a wonderful day.
P.S. I just have to share that I was working on this blog post at the Beach Pavilion at Saddlebag Lake Resort where my Florida winter home is located and a snake slithered by across the concrete about 2 feet behind me. I looked at him, he looked at me and then went on his way. I’m not terrified of snakes, but it was it a bit startling! Next year I’ve promised myself that I will have internet installed in the house so that I don’t have to head down to one of the community centers that have wifi!

Nice
Sent from my Verizon, Samsung Galaxy smartphone Get Outlook for Androidhttps://aka.ms/AAb9ysg ________________________________
LikeLike
Robyn, I checked these out on your site and love all your alternatives. This is one of my favorite kits and I have two extras that haven’t been opened. I’m so excited to find these pretty cards.
LikeLike