
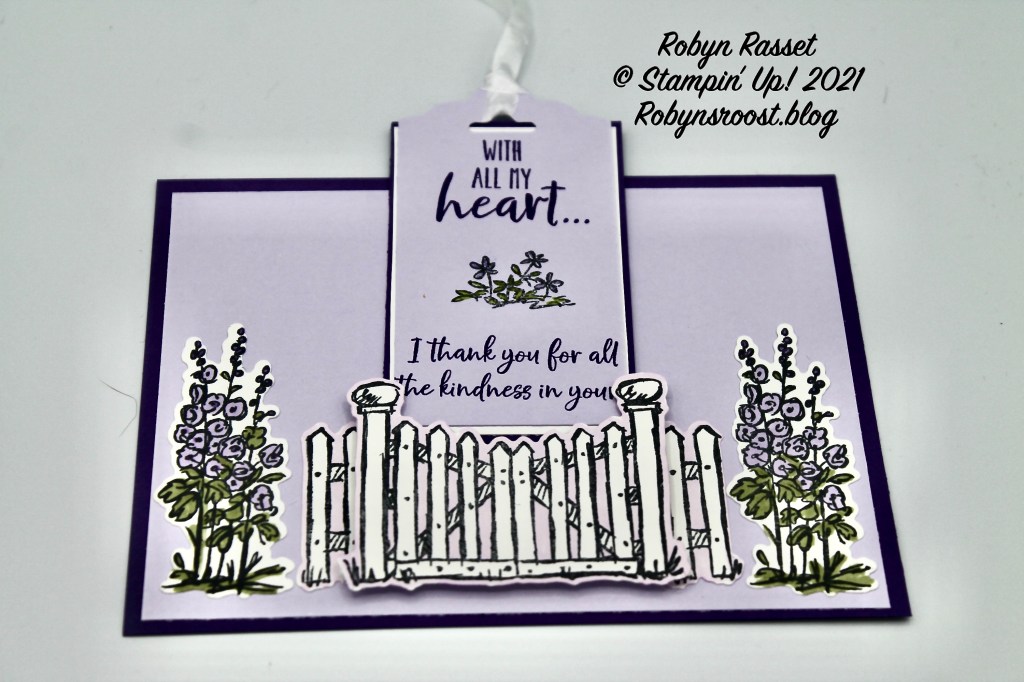
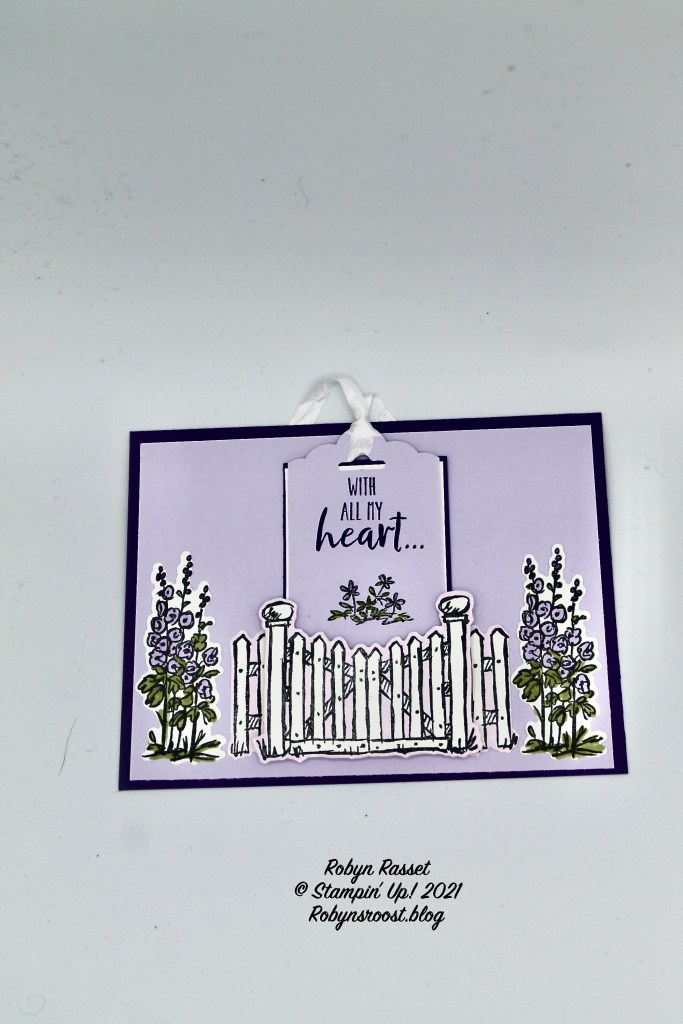
The garden fence from the Grace’s Garden stamp set makes a perfect tag holder for this pretty thank you card. I’ve used a 5 1/2″ 4 1/4″ Gorgeous Grape card base for this card, but if you wanted to create an opening card base, start with a 5 1/2″ x 8 1/2″ card base instead.

The tag slides right into to pocket created by adhering the garden gate with foam strips. This tag started out having a white matting but I changed my mind and added a Gorgeous Grape matting. When we did this card for my Creative Cards Class we left off the white layer and it looked much nicer.
Directions:
- Cut a 5 ½” x 4” Base of Gorgeous Grape.
- Cut a 5 ¼” x 3 ¾” piece of Purple Posy and adhere to the base.
- Stamp 2 of the flower bunches and 2 of the small fence pieces. Stamp one of the gate pieces on basic white card stock. Color the flowers and the area behind the boards on the fence. Die cut all of these pieces with the Garden Gateway Dies.
- Glue the flowers and small fence pieces to the card front. Be sure to space the fence pieces so that the gate fits between them.
- Use the Foam Adhesive Strips along the bottom and sides of the gate to adhere the gate. Place the strips as close to the edge as possible.
- Cut a 1 ¾” x 4” piece of Purple Posy and center in the Scalloped Tag Punch and punch the top of the tag. You may need to adjust the length of this piece so check before stamping.
- Stamp the image and greetings on the tag. Color in the flowers with Stampin’ Write Markers. Stampin’ Blends may bleed when used on colored card stock.
- Cut a 1 7/8” x 3 ¼”piece of Gorgeous Grape and layer behind the tag.( Use this to adjust the length of the tag)
- Add some Butterfly Embellishments to the background if desired.
Product List – Sales prices are not shown below but will show correctly on order.
")


 Crinkled Seam Binding Ribbon")


