
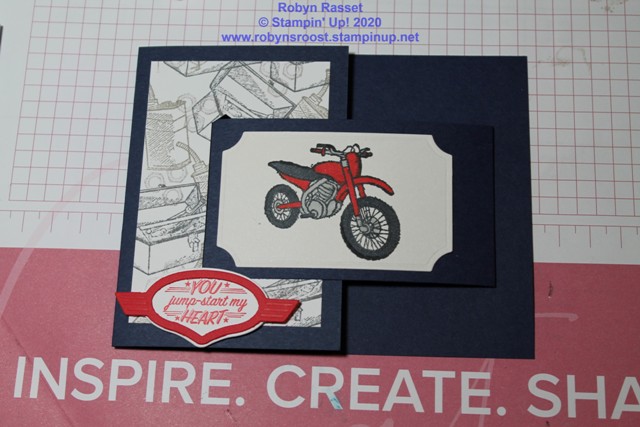
I’m loving the new Petal to the Metal stamp set in the new Stampin’ Up! Mini Catalog! The Geared Up Garage stamp set and Garage Gears Dies make a perfect pair for the Petal to the Metal set. With 6 grandsons I need all the guy themed stamp sets that I can get. My family enjoys going on 4 wheeling trips, so I’m going to have to include the 4 wheeler on a scrapbook page soon.
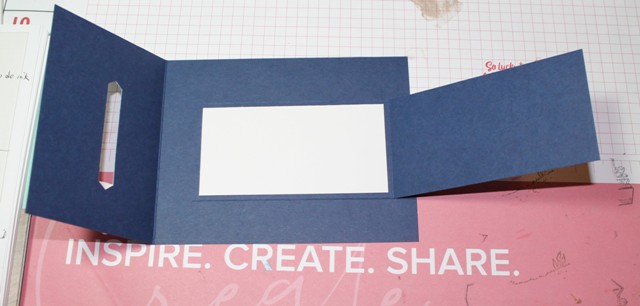
The photo above shows the card opened so that you can see how it was constructed. Here are the directions:
1. Start with a Night of Navy card base cut to 4 1/4″ X 8 1/2″ Score at 3″ on the long side.
2. Cut a piece of Shimmery White paper 2 1/2″ X 3 3/4″. Stamp the nuts, tool box and gas can from the Geared Up Garage set. Use the 3 shades of gray to stamp them. Adhere to the 3″ wide flap on the cardbase.
3. Insert the Modern Label Punch into the flap. Punch. Leave about 3/4″ unpunched on each edge. You will have to punch twice to make the slot long enough.
4. Cut a piece of Night of Navy 2 1/4″ X 8 1/2″. Score at 4 1/4″.
5. Use the label die from the Painted Label Die and cut a label from the Shimmery White paper. Stamp the cycle with Tuxedo Black. Color the cycle with Stampin’ Blends and adhere to the front of the buckle. Cut a piece of whisper white 2″ x 4″ and adhere to the inside of the buckle.
6. Cut the Sign base from the Garage Gears Dies with whisper white, and the outline with Poppy Parade. Stamp the greeting from the Garage Gears with Poppy Parade.
7. To position the buckle, slide the end into the slot, open the flap and add adhesive to the back, carefully close to adhere in place.
8. Add the greeting sign, use it cover the slot, especially if the slot is a bit too long.
Product List


This is a neat technique. I might have to give this a try.
LikeLike