
If you watched my Facebook Live on Friday you saw the unboxing of the Expressions in Ink Paper Pumpkin kit. As I unboxed the kit, I didn’t get really excited about it, but as I started putting the cards together it really started to grow on me! The cards are super easy to put together. As I said in the video, I’m really liking the new layout for the instructions. This kit is perfect for someone who wants pretty, handmade cards in minutes. I especially loved that it included two ink spots in great colors (Bumblebee and Evening Evergreen) for flower cards. They are a nice addition to my spot collection. I love using my ink spots when I travel and they are also good for the Stamparatus. The stamp set in this kit is one that I could see being used over and over again. It has nice greetings and the pretty flower and splotchy fill in stamp. I made one of each card exactly to the directions, then created a second card with a twist. Finally, I created a card using just the stamps and a few supplies from my shelf.
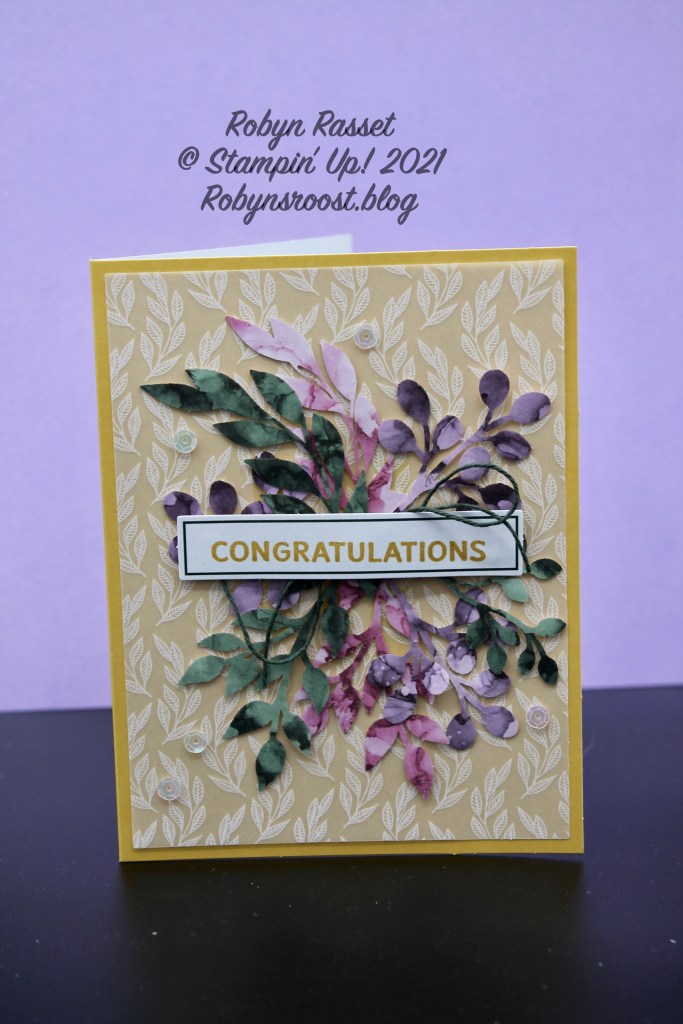
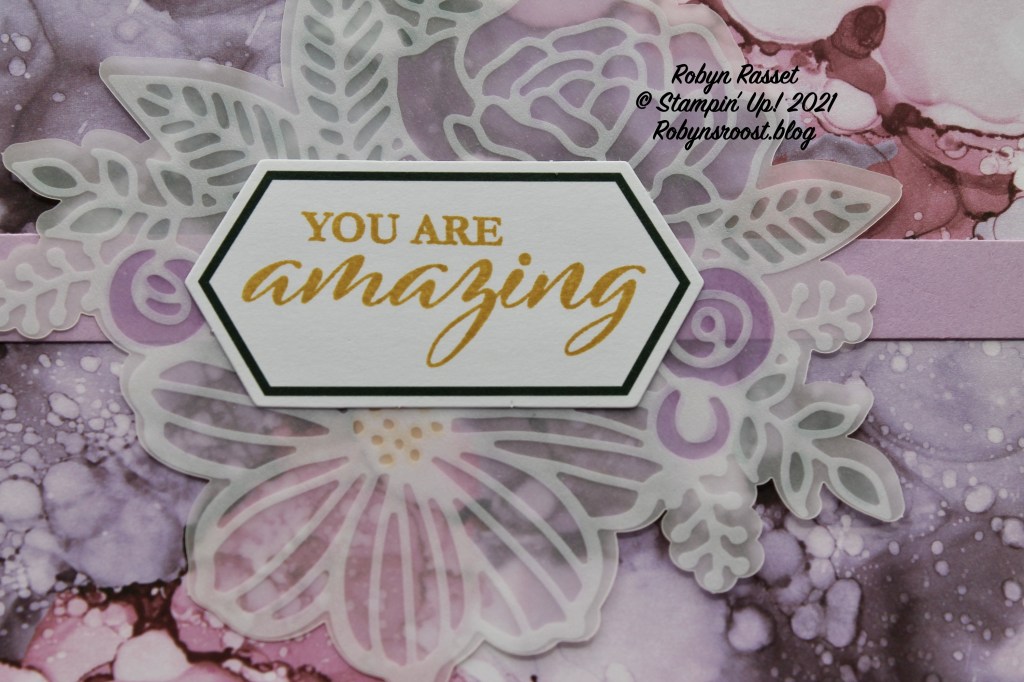
The Bumblebee based card has so much awesome detail and was so simple to make! Adhere the vellum, punch out the 3 sprigs, stamp the greeting and adhere everything. I especially liked the sequins with adhesive on them. They really added just that right touch of sparkle to the cards.

This close-up shows the detail of the vellum, sprigs and twine.
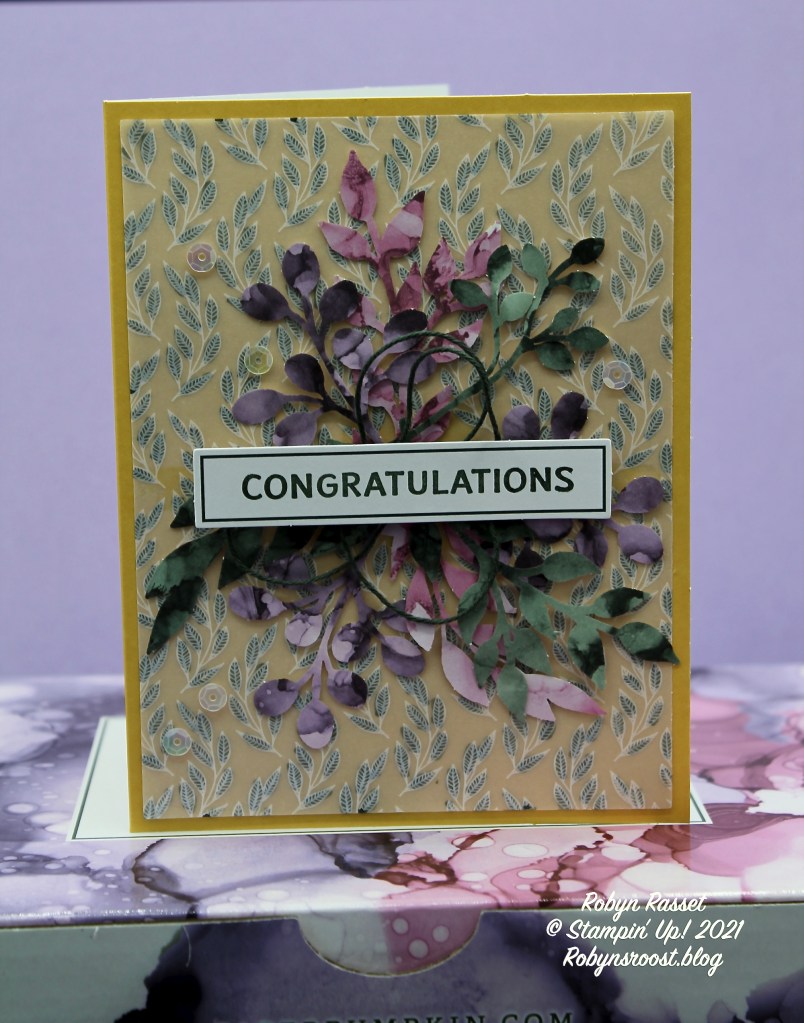
For my card with a twist, I colored the back side of the vellum leaves with an Evening Evergreen Stampin’ Blend Marker and switched up the ink on the greeting to Evening Evergreen. I also added a bit more of the twine.
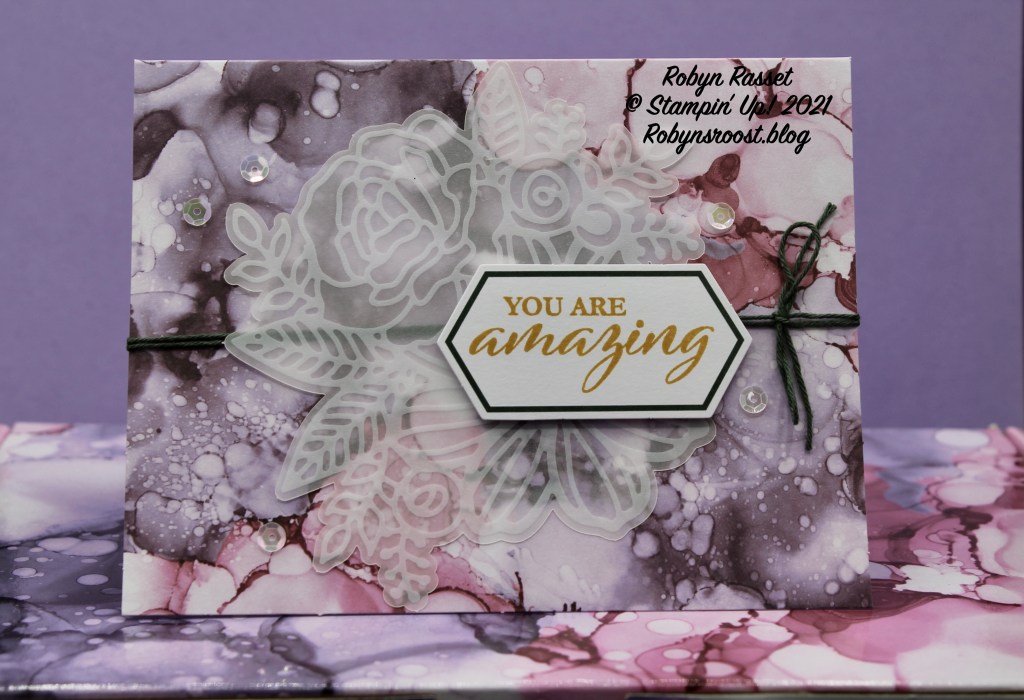
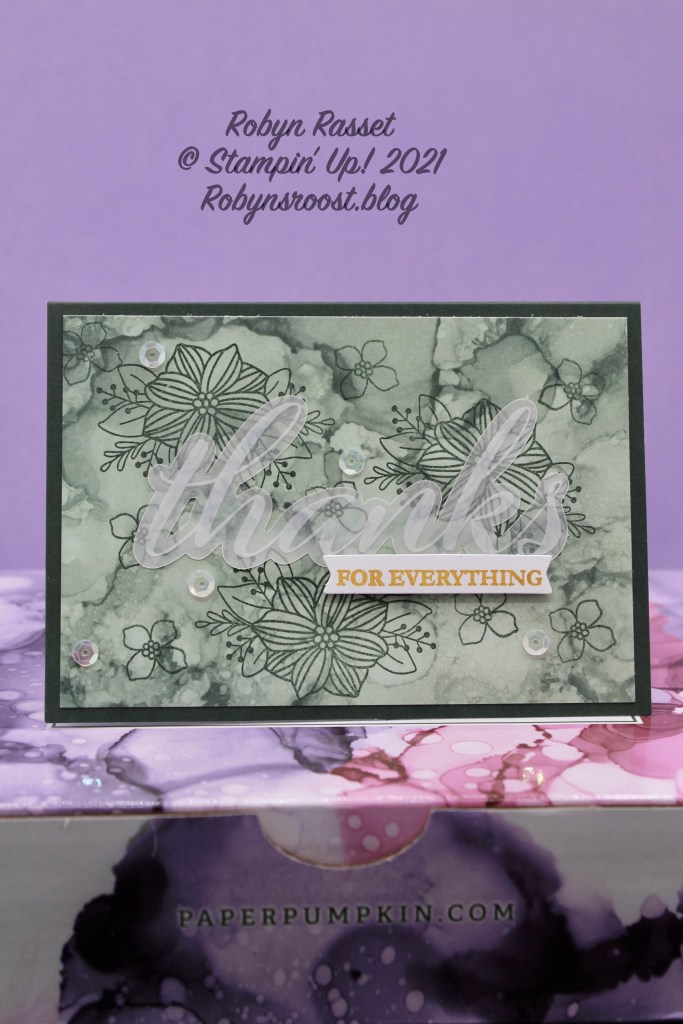
The card above is created exactly to the instructions included in the kit.
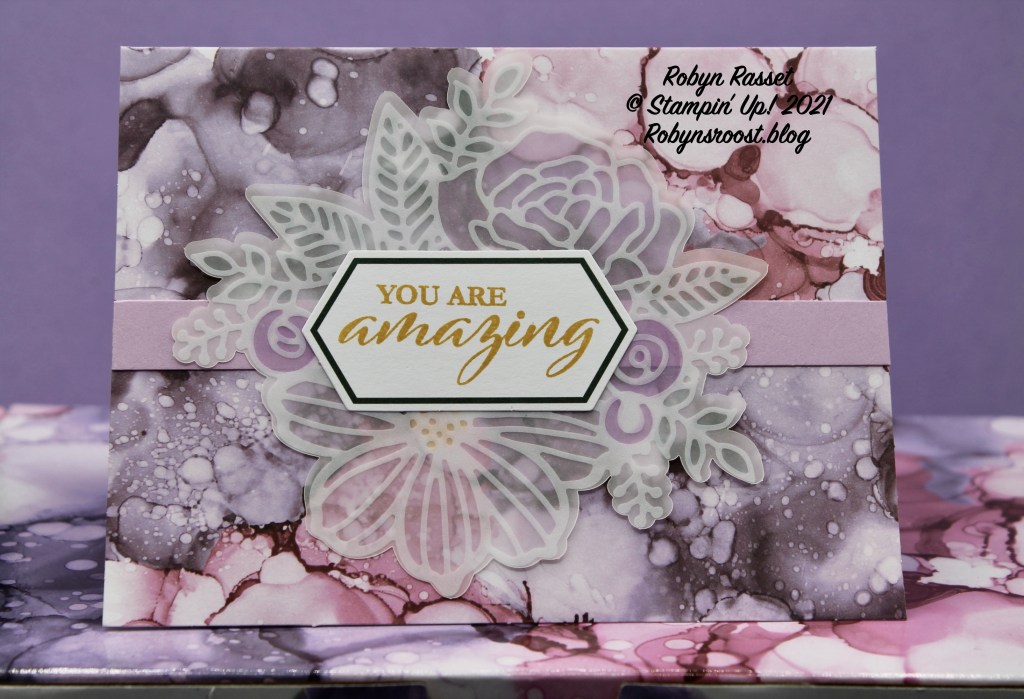
For the card with my personal twist, I swapped the twine for a strip of Fresh Freesia card stock and colored the back of the vellum piece with Highland Heather and Soft Succulent Stampin’ Blends.
The coloring added a subtle difference.
The final card is smaller, a little thank you note. I loved the way the flowers stamped onto the green designer paper added interest. This card is also made following the directions.
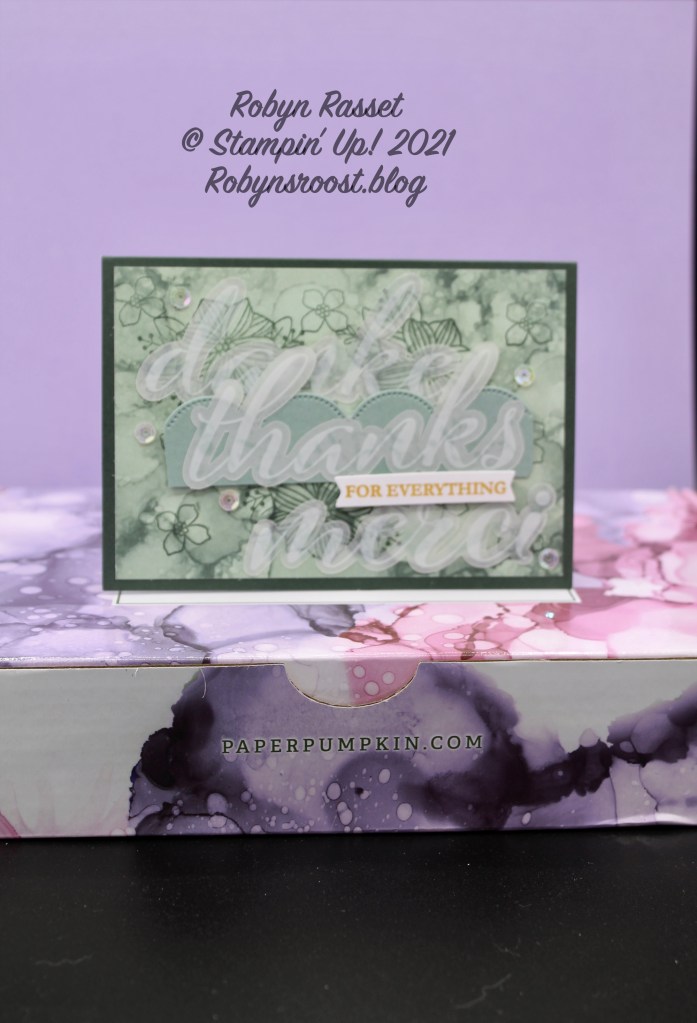
I thought it was sad to toss out the thanks greetings in the other languages, so I added them to this card. I had the strip of scallops (cut with the Scalloped Contours Dies) that was laying in my scrap pile and added it under the vellum thanks to make it stand out just a bit.
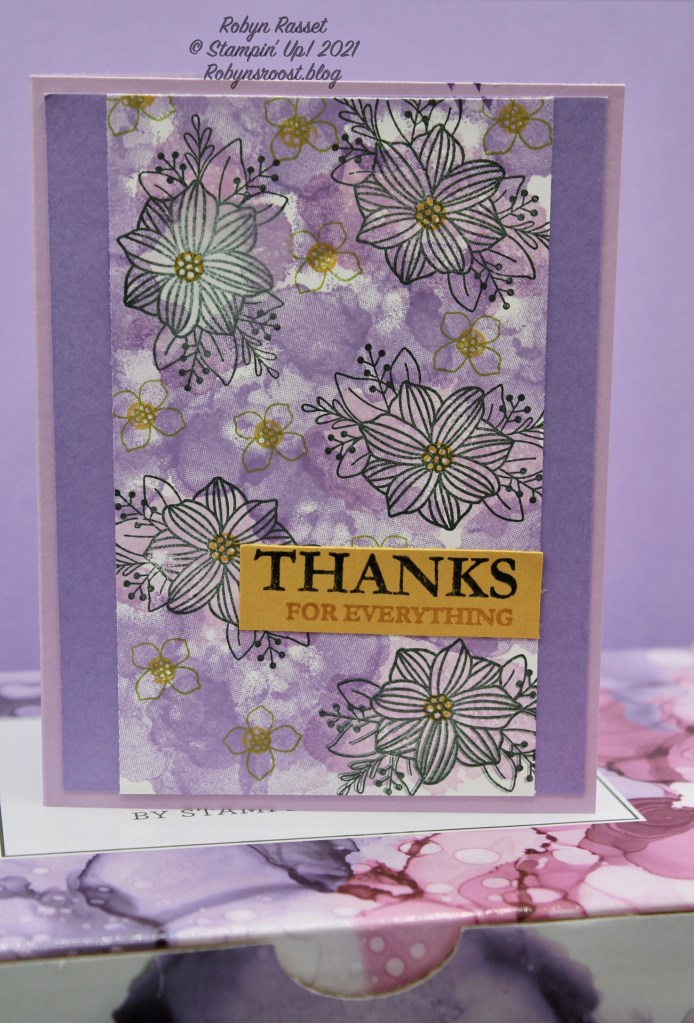
My final card today uses just the stamp set from the Expressions in Ink Paper Pumpkin Kit. The Basic White center piece is 3 1/4″ x 5 1/4″. The large flowers are stamped with Evening Evergreen and the smaller flowers are stamped with Granny Apple Green. The centers of both flowers are stamped with Bumblebee. The splotchy fill in stamp was used to cover the entire piece. The splotchy stamp was inked with Fresh Freesia and spritzed with some alcohol before stamping over the large flowers. The stamp was dried off on a piece of paper towel between each inking. After the large flowers were all colored, the splotchy stamp was inked with Highland Heather and used to fill in the rest of the paper.
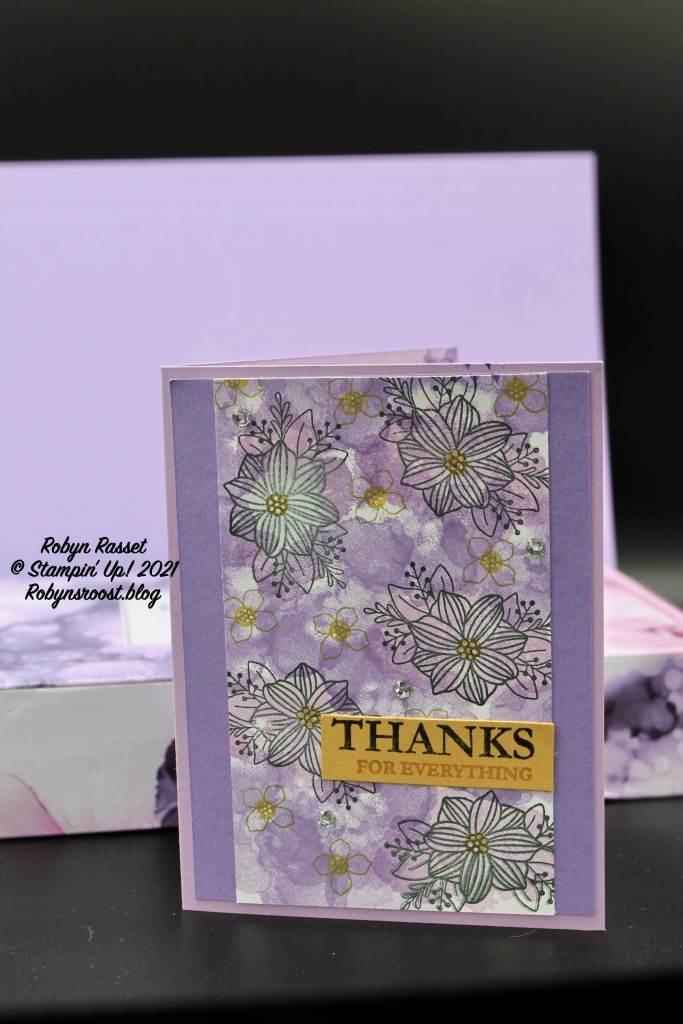
The card base is Fresh Freesia. The Highland Heather layer is 5 1/4″ x 4″. The greeting is stamped with Tuxedo Black and Bumblebee on a 5/8″ x 2 1/4″ piece of Bumblebee. A scattering of Rhinestone Jewels was added, but I think the sequins from the Paper Pumpkin Kit would have been a nicer addition.
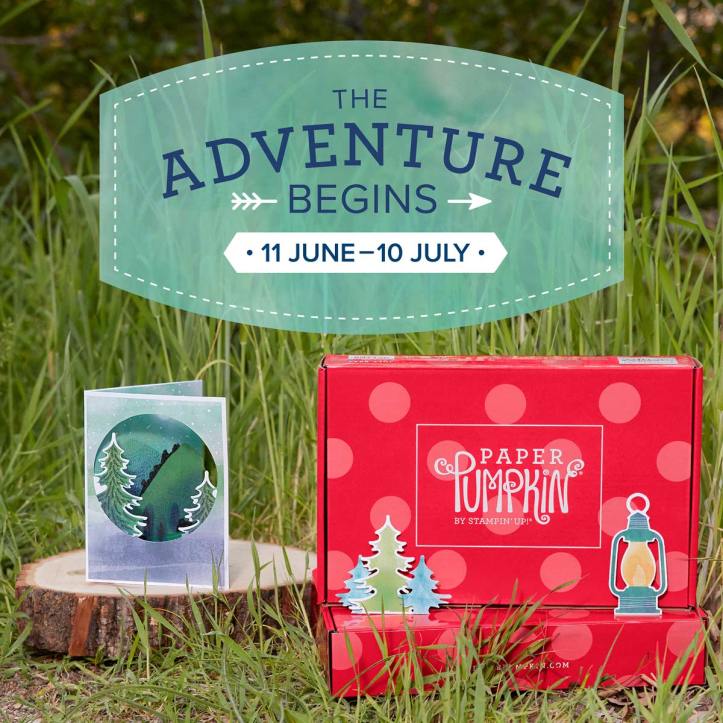
Next month’s Paper Pumpkin Kit is a woodsy themed one. Great for at the cabin or camping. I could see it being used to scrapbook a camping vacation. Did you know, if you are a Paper Pumpkin subscriber you can purchase past kits if they are available? It’s a great perk of being a subscriber. Another great thing is that you can suspend the subscription for a month if you don’t like the kit that is coming, or if life is just too busy.
I like to buy either a 6-month or a 1-year subscription during Sale-a-bration and not only save some money but snag some free stuff at the same time. So if you aren’t already a subscriber, I would suggest doing a month to month subscription now and then in August purchasing a longer subscription to take advantage of the Sale-a-bration Event.
Another suggestion – Purchase the 6-month Paper Pumpkin Subscription as part of a Starter Kit on August 2 and let the fun begin!
Prepaid Paper Pumpkin Subscriptions


Month-to-Month Subscription
Patterned Paper Sale Coming July 1
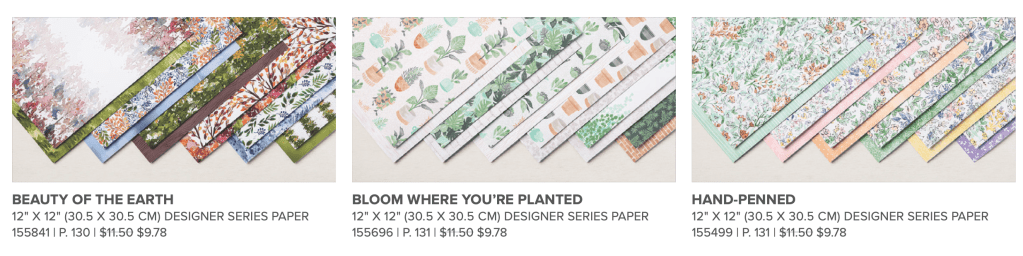
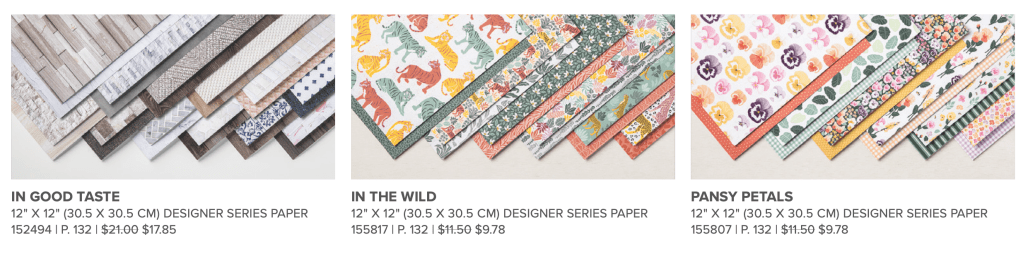
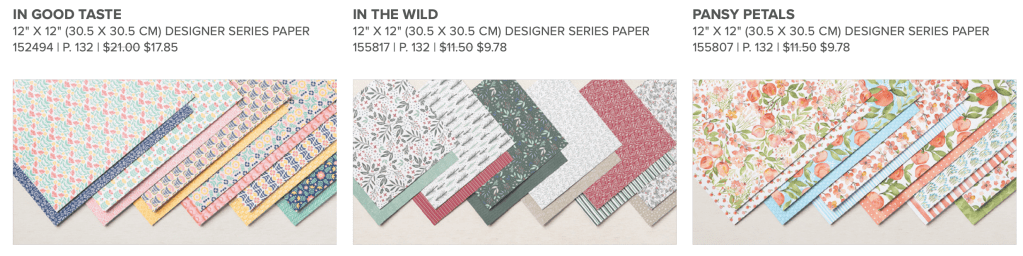
Like to try a sample of the papers? Take part in a Paper Share. Split a selection of papers with 3 other people. To reserve your spot or for questions, please contact me at rrasset@frontier.com

Lovely card! I love this PP kit.
LikeLike